
Beautiful Plants For Your Interior
Beautiful Plants For Your Interior
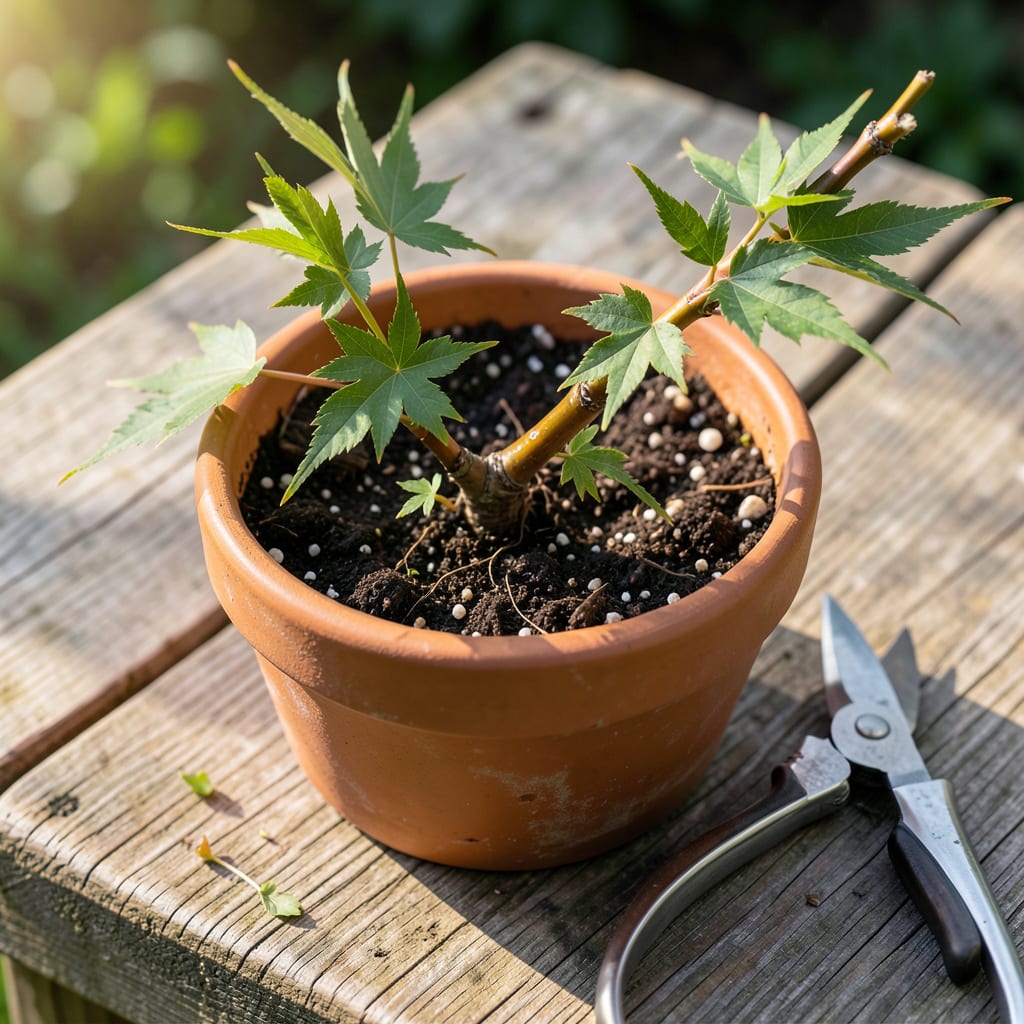
I turned one Japanese maple into a dozen with a simple cutting method. No fancy equipment, just timing and patience.
Mid-summer works best when the wood is semi-hard. You’ll see roots in 4-6 weeks with the right moisture and shade. This technique gives you free plants that thrive in your climate.
📚 In This Guide
Here’s the method I rely on. Tested across seasons, works in any climate.
Choose a healthy 6-8 inch semi-hardwood cutting from the current season’s growth in early summer. The ideal stem bends slightly but doesn’t snap—this indicates it’s mature enough to root but still young enough to adapt. Use sharp pruners sterilized with rubbing alcohol to make a clean 45-degree cut just below a leaf node.
Remove all leaves from the lower 2-3 inches of the cutting, leaving 2-3 leaves at the tip to support photosynthesis. This reduces water loss while maintaining enough foliage for energy production. Dip the cut end in rooting hormone powder to stimulate root development.
Fill a 4-6 inch pot with a sterile, well-draining mix of 50% perlite and 50% peat moss. This combination holds enough moisture for rooting while preventing rot. Water the medium thoroughly and let it drain completely—it should feel damp but not soggy when squeezed.
Create a hole 2-3 inches deep in the center of the pot using a pencil or dibber. This ensures the cutting fits snugly without damaging the delicate stem. The hole should be just wide enough to accommodate the cutting without bending it.
Insert the cutting into the prepared hole, gently pressing the medium around the base to eliminate air pockets. The bottom 2-3 inches should be buried, with the first set of remaining leaves just above the soil line. This positioning maximizes contact with the rooting hormone and medium.
Place the pot in a location with bright, indirect light and maintain a consistent temperature of 65-75°F. Cover the pot with a clear plastic bag or place it in a propagation chamber to retain humidity. Mist the cutting daily to keep the foliage hydrated, but avoid waterlogging the medium.
Check for root development after 4-6 weeks by gently tugging on the cutting—resistance indicates roots have formed. Alternatively, look for new growth at the tip, which is a sign the cutting has established itself. Once roots are 1-2 inches long, the cutting is ready for transplanting.
Carefully remove the cutting from the rooting medium and transplant it into a larger pot filled with a well-draining potting mix. Keep the new plant in partial shade for the first week to reduce transplant shock, then gradually introduce it to its permanent growing conditions.
Small details make the difference between success and failure when propagating.
The Cutting Selection: In Step 1, that 6-8 inch semi-hardwood cutting must bend without snapping. I’ve found cuttings taken in early morning retain more moisture, and the 45-degree cut maximizes surface area for root hormone absorption while preventing water from pooling on the cut surface.
Rooting Medium Precision: For Step 2, the 50% perlite and 50% peat moss mix isn’t arbitrary. Perlite provides the drainage that prevents rot, while peat moss retains just enough moisture. I test the medium by squeezing a handful—it should hold shape briefly then crumble, not drip.
Environmental Control: Step 3’s 65-75°F range is critical. Below 65°F and root development stalls. Above 75°F and you risk fungal issues. I place my propagation setup near a north-facing window for consistent bright, indirect light, and the clear plastic bag creates a mini greenhouse effect without cooking the cutting.
Patience and Observation: Those 4-6 weeks in Step 4 can feel like forever. Between us, I check for resistance when tugging gently after 4 weeks, but I don’t disturb the cutting otherwise. New growth at the tip is your most reliable sign that rooting has succeeded.
Yes! Softwood or semi-hardwood cuttings taken in late spring or early summer (June-July) root best. Use a rooting hormone and keep the cutting in a humid, warm environment with indirect light for best results.
Rooting typically takes 4–8 weeks, depending on conditions like temperature, humidity, and cutting health. Patience is key—avoid disturbing the cutting to check for roots too soon!
A well-draining mix works best. Try a blend of 50% perlite or sand and 50% peat moss or coconut coir. This prevents rot while retaining enough moisture for root development.
Wilting often signals underwatering or low humidity, while blackening suggests rot from overwatering or poor drainage. Adjust moisture levels and ensure the mix isn’t soggy. A clear plastic bag can help maintain humidity.
Yes, but success rates drop. Rooting hormone boosts chances, especially for finicky varieties. If skipping it, use a high-humidity setup and fresh, healthy cuttings to improve your odds.
