
Beautiful Plants For Your Interior
Beautiful Plants For Your Interior
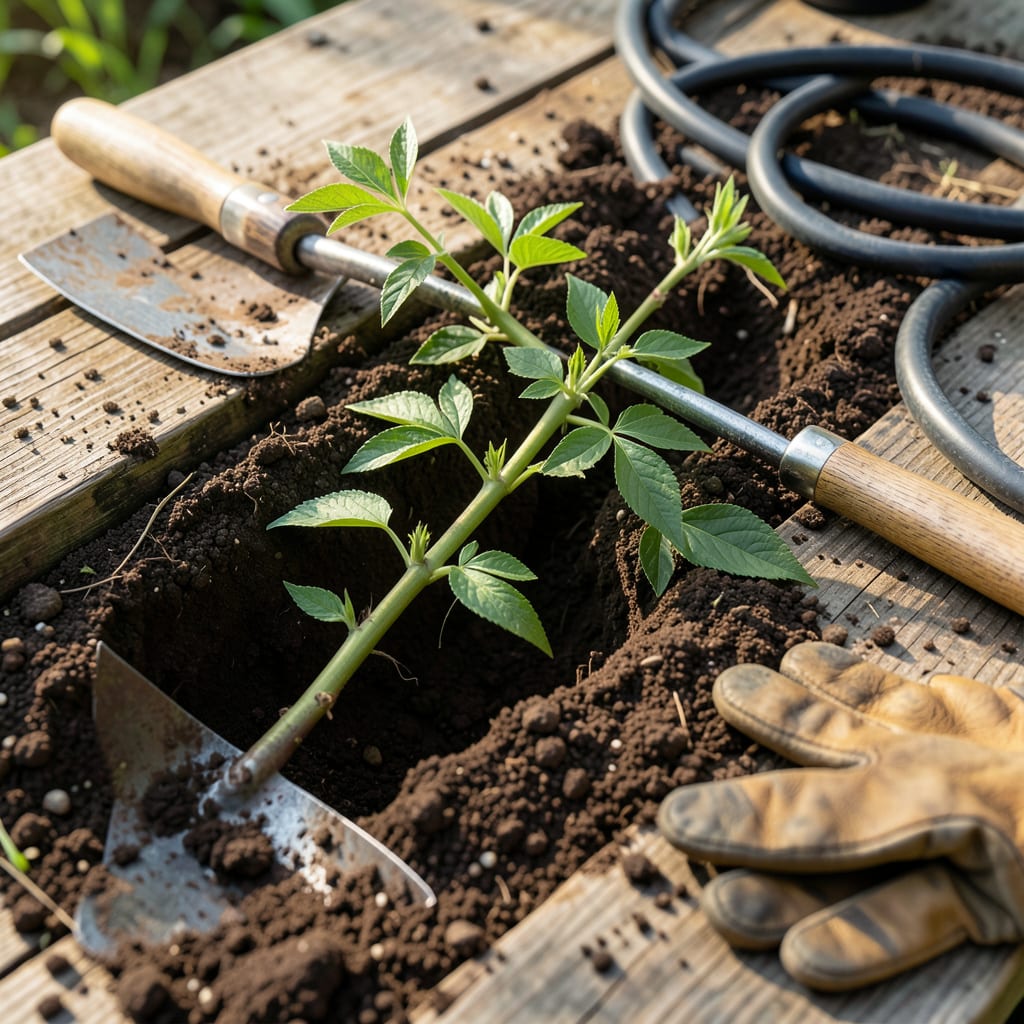
I turned one clematis into a dozen with this method. It’s simpler than most propagation guides make it sound, and the plants establish faster than anything I’ve bought from a nursery.
You’ll need sharp pruners, rooting hormone, and patience—about 4-6 weeks for roots to form. The key is keeping humidity high and resisting the urge to check progress too soon.
📚 In This Guide
This simple layering method gives you new plants with minimal effort and high success rates.
Choose a healthy, flexible stem that’s at least 12 inches long and has several leaf nodes. I look for new growth from the current season, as it roots more reliably than older wood. Gently bend the stem toward the ground without breaking it—you want it to lie flat along the soil.
Remove the leaves from the bottom 6-8 inches of the stem, leaving at least two leaves at the tip to keep the cutting alive. This bare section is where roots will form, so make sure it’s free of foliage. Scrape a small patch of the outer layer off the stem with your fingernail to expose the green cambium layer underneath—this encourages faster rooting.
Dig a shallow trench about 2-3 inches deep where you’ll bury the stem. If the soil is dry, water it lightly first so the stem makes good contact. Lay the stripped section of the stem into the trench, then cover it with soil, firming it gently to remove air pockets.
Leave the tip of the stem with its remaining leaves exposed above the soil. I use a small rock or a bent piece of wire to hold the buried section in place so it doesn’t pop out of the ground. Keep the area consistently moist but not soggy—roots will begin forming in 4-8 weeks.
Check the stem weekly for signs of rooting. You’ll know it’s working when you see new growth at the tip or resistance when you gently tug the stem. If the soil dries out, roots won’t form, so water whenever the top inch feels dry to the touch.
Once roots have established—usually after 8-12 weeks—you can cut the new plant free from the parent with clean pruners. Sever the stem just below the rooted section, then dig it up carefully to avoid damaging the new roots. The parent plant will recover quickly, and you’ll have a new clematis ready to transplant.
Move your new clematis to a pot or prepared garden spot with well-draining soil. Plant it at the same depth it was growing in the trench to prevent stress. Water thoroughly after transplanting to help the roots settle into their new home.
Keep the soil moist for the first 2-3 weeks while the plant adjusts. Clematis prefers a cool root zone, so I mulch around the base with organic matter to retain moisture and regulate temperature. Once you see new growth, you’ll know it’s successfully established.
Here are my best insights to help you succeed with this propagation method.
Stem Selection: In Step 1, focus on choosing current season’s growth as it roots more reliably. I always look for stems with visible leaf nodes spaced about 4-6 inches apart – this gives you that ideal 6-8 inch bare section needed for root formation while maintaining enough foliage at the tip.
Soil Preparation: For Step 2, pre-moisten the soil before creating your 2-3 inch deep trench. This ensures the stem makes immediate contact with damp earth, which is crucial for root initiation. I’ve found that using a garden trowel to firm the soil around the buried stem eliminates air pockets that could delay rooting.
Patience and Observation: During the 4-8 week rooting period in Step 3, resist the urge to check too frequently. I check weekly by gently tugging the stem – when you feel resistance, that’s your sign roots are forming. The 8-12 week mark is when I typically see enough root development to separate the new plant.
Transplant Care: After transplanting in Step 4, I maintain consistent moisture for those critical 2-3 weeks. Clematis roots are particularly sensitive to drying out during this adjustment period, so I water deeply every 2-3 days unless we’ve had significant rain.
Yes, but it’s less reliable than soil. Softwood cuttings can root in water, but they may struggle to adapt when transplanted. Use a well-draining soil mix for better success rates.
Early summer is ideal for softwood cuttings, or late summer for semi-hardwood. Avoid extreme heat or cold, as these conditions reduce rooting success.
Roots typically form in 4-8 weeks, depending on temperature, humidity, and cutting type. Keep the soil moist and provide indirect light for faster results.
Wilting often means too much sun or inconsistent moisture. Ensure high humidity, partial shade, and evenly damp soil. Remove any dead or moldy cuttings promptly.
Yes! Natural alternatives like cinnamon (fungicide) or honey (mild rooting aid) can work, though commercial hormones are more effective for stubborn varieties.
