
Beautiful Plants For Your Interior
Beautiful Plants For Your Interior
That moment when you realize your shrubs have taken over the yard is frustrating—but completely fixable. I’ve wrestled with overgrown bushes that seemed impossible to remove, only to discover that the right technique makes the job manageable. The key is working with the plant’s structure, not against it, using leverage and patience rather than brute […]
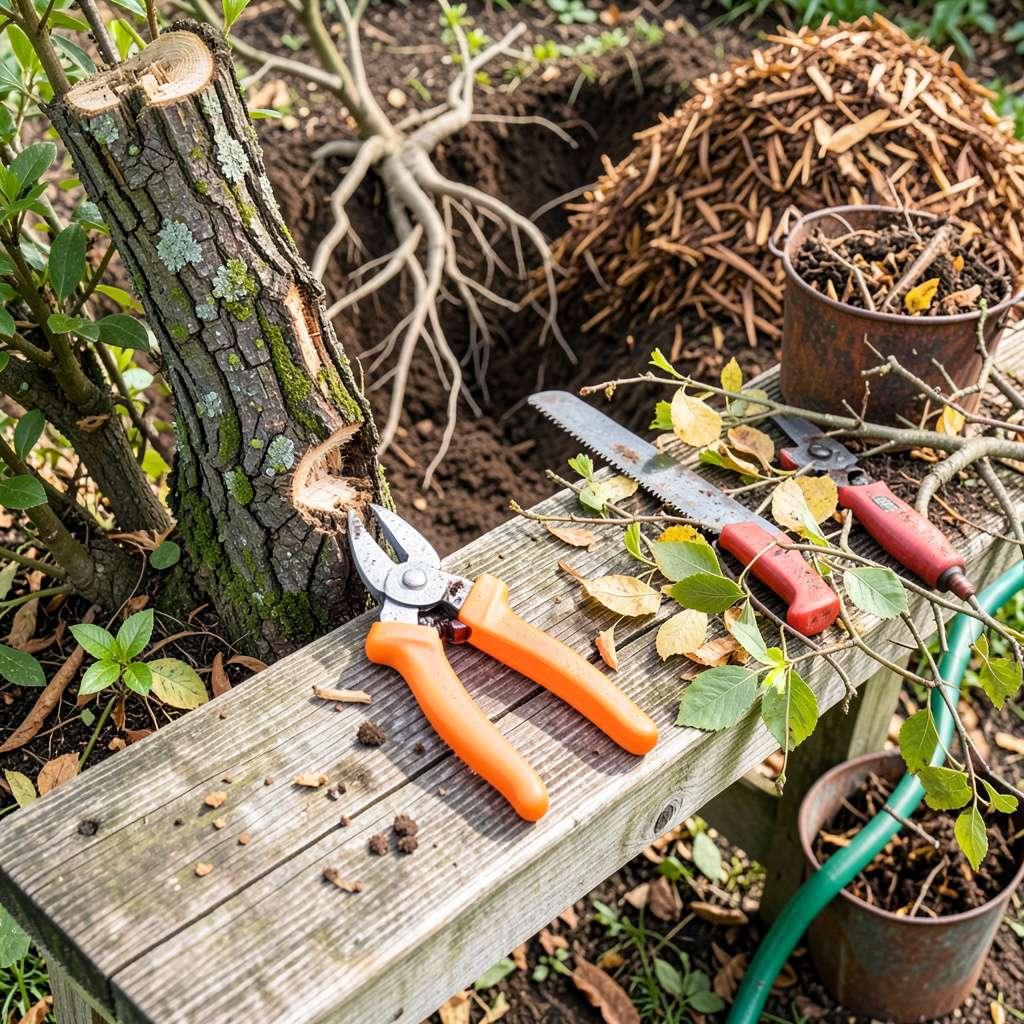
That moment when you realize your shrubs have taken over the yard is frustrating—but completely fixable. I’ve wrestled with overgrown bushes that seemed impossible to remove, only to discover that the right technique makes the job manageable. The key is working with the plant’s structure, not against it, using leverage and patience rather than brute force.
You don’t need heavy machinery or professional help to reclaim your space. With a sharp pruner, a sturdy shovel, and a systematic approach, even the most stubborn shrubs can be removed in an afternoon. I’ve cleared dozens of overgrown plants from my own yard, and the process always starts with reducing the plant to manageable pieces before tackling the roots.
The real secret? Timing and technique. Cutting back the foliage first gives you access to the base, where you can work the roots loose without damaging nearby plants. You’ll feel that satisfying moment when the root ball finally gives way—proof that persistence pays off. What’s left is a clean slate ready for your next gardening project.
This method works for everything from unruly forsythia to massive lilac bushes. Whether you’re making room for new plantings or just reclaiming your yard, the right approach turns what seems like a weekend-long chore into a straightforward afternoon project. Let’s get those shrubs out for good.
📚 In This Guide
Safety goggles (ANSI Z87.1 rated) 👓
This method works for even the most stubborn shrubs—no heavy machinery required, just smart technique.
Start by examining the shrub’s size, stem thickness, and location. I always look for the main trunk(s) at the base—these are your primary targets. Note any obstacles like fences, power lines, or nearby plants you want to protect. A shrub under 6 feet tall with stems thinner than 2 inches in diameter can usually be handled with hand tools.
Decide whether you’ll remove it all at once or in sections. For very large shrubs, I recommend working in stages over a few days to avoid exhaustion. Mark a 3-foot clearance zone around the shrub with spray paint or sticks—this gives you room to maneuver safely with tools.
Using sharp loppers or a pruning saw, remove all branches starting from the outside and working inward. Cut branches at a 45-degree angle just above where they meet the main stem. This prevents tearing the bark and makes the final removal cleaner. I focus first on removing dead or damaged branches—they come off easiest and give you confidence.
Work systematically from the top down, creating a “stump” of main stems about 18-24 inches high. You’ll know you’re done with this phase when you can see all the way through the shrub’s center. Collect branches immediately in piles—leaving them scattered creates tripping hazards as you work.
Now you’re ready to tackle the main stems. For stems under 1.5 inches thick, heavy-duty loppers usually suffice. Position the blades as close to the ground as possible and make clean, decisive cuts. Thicker stems require a pruning saw—use a back-and-forth motion rather than pushing hard, which can bend the blade.
You’ll feel resistance at first, then a sudden give when you’re through. Don’t force the tool if it binds—step back, reposition, and try again. I always wear thick gloves during this phase because the exposed stems can be surprisingly sharp. Leave the stumps for now; you’ll address them after the main shrub is gone.
For small stumps (under 3 inches diameter), dig around the base with a sharp spade to expose roots. Cut through visible roots with your loppers, then rock the stump back and forth to loosen it. Larger stumps may require a stump grinder or repeated cutting to ground level followed by natural decay (which takes 6-12 months).
Fill the hole with the soil you removed, tamping it down firmly with your foot. Water the area lightly to help the soil settle—this prevents future sinking. I like to mark the spot with a small stick until the ground levels out naturally, which usually takes about 2 weeks.
Rake up all small debris and run a magnet over the area to collect any metal fragments from tools. For the branches you removed, cut them into 3-foot lengths and bundle with twine for easy disposal. I always check local regulations—some areas allow yard waste pickup while others require you to take it to a composting facility.
The area will look bare at first, but this is your chance to improve the soil. Spread a 2-inch layer of compost over the space and work it into the top 4-6 inches of soil. This prepares the bed perfectly whether you plan to plant new shrubs, create a flower bed, or simply lay sod.
Removing overgrown shrubs doesn’t have to be backbreaking work—these practical insights will save you time and frustration.
The Planning Phase: When assessing your shrub in Step 1, pay special attention to underground utilities before marking your 3-foot clearance zone. I learned this the hard way after accidentally nicking a sprinkler line. Call your local utility locating service (it’s free!) to mark gas, water, and electrical lines—this prevents costly repairs and dangerous situations. The extra 10 minutes is always worth it.
Tool Technique: In Step 3, when cutting those main stems, I’ve found that applying a small amount of rubbing alcohol to your pruning saw blade makes cutting through thick stems noticeably easier. The alcohol acts as a lubricant and helps the blade glide through wood that might otherwise gum up the teeth. Just wipe the blade with a alcohol-soaked rag between cuts for best results.
Stump Strategy: For those larger stumps mentioned in Step 4 that require natural decay, here’s what nobody tells you: drilling several 1-inch holes in the top of the stump and filling them with Epsom salt accelerates the rotting process. Cover the stump with a tarp to keep it moist, and you’ll often see significant decomposition in just 3-4 months instead of the full 6-12 months. This trick has saved me countless hours of manual labor.
Soil Preparation: When working that 2-inch layer of compost into the top 4-6 inches of soil in Step 5, I always add a handful of worm castings to the mix. This might seem like overkill, but the castings introduce beneficial microbes that help break down any remaining root fragments while giving new plantings an immediate nutrient boost. The difference in plant establishment is remarkable.
Prune most shrubs once a year in late winter or early spring (before new growth starts). For fast-growing varieties (like butterfly bush or privet), a light trim mid-summer keeps them in check. Avoid heavy pruning in fall—it can stimulate tender growth before winter!
Yes! Use the “third rule”: never remove more than ⅓ of the plant at once. For severely overgrown shrubs, spread pruning over 2–3 seasons. Start by cutting dead/diseased branches, then thin inner growth to improve airflow. Patience is key!
For immediate removal:
Warning: This kills the plant—only do this if you’re replacing it!
Try renovation pruning (cutting back to 6–12 inches above ground) for deciduous shrubs like lilac or forsythia. Do this in early spring—they’ll regrow in a season! For evergreens (like junipers), transplanting to a larger space may work if roots aren’t damaged.
Common mistakes:
Give it 4–6 weeks to recover before assessing damage.
Removing overgrown shrubs doesn’t have to be daunting—with the right tools, techniques, and patience, you can reclaim your yard in no time! 🌿✨ Start small, prioritize safety, and don’t rush the process. Whether you’re pruning, digging, or replanting, every step brings you closer to a cleaner, healthier outdoor space.
Feeling motivated? Grab your gloves and shears—your shrubs (and future self) will thank you! For ongoing maintenance, set a seasonal pruning schedule to keep overgrowth at bay. Happy gardening! 🌱
