
Beautiful Plants For Your Interior
Beautiful Plants For Your Interior
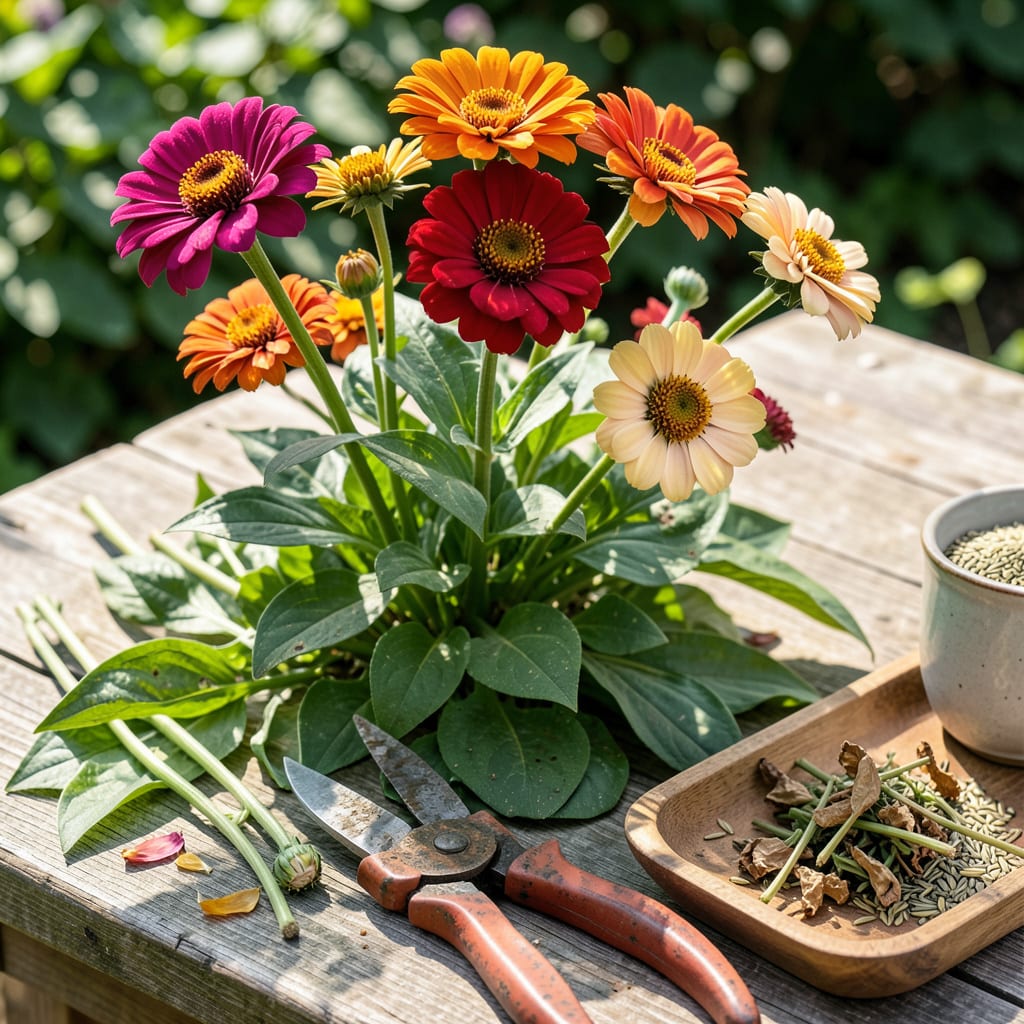
I used to think zinnias were just “cut and come again” flowers—until I learned the pruning trick that turns them into bloom machines. The first time I pinched back my seedlings, I nearly panicked. But within weeks, those plants exploded with twice as many flowers, standing sturdy instead of flopping over like my previous attempts.
Here’s the thing—zinnias want to be pruned. A simple snip at the right spot tells the plant to branch out instead of growing tall and leggy. You’ll get bushier plants, bigger blooms, and a season that stretches from early summer straight through frost. No fancy tools required, just sharp pruners and 10 minutes every couple weeks.
📚 In This Guide
Here’s my foolproof method for encouraging bushier plants and nonstop flowers—it works every time.
Begin pruning when your zinnias reach 12-18 inches tall with at least 4-6 sets of leaves. This usually happens about 4-6 weeks after planting. You’ll notice the main stem thickening and side branches starting to form—this is your signal to act.
Don’t wait until you see buds forming. Pruning too late means you’ll sacrifice the first wave of blooms. I like to do my initial cut when the plant looks vigorous but hasn’t started flowering yet—that’s when it has the most energy to redirect into new growth.
Locate the main stem and follow it up to the top 3-4 sets of leaves. Using clean pruners or your fingernails, snip just above a leaf node (where leaves meet the stem). This forces the plant to branch out instead of growing tall and leggy.
You’ll feel a slight resistance as you cut through the stem—that’s normal. Make a clean cut at a 45-degree angle to prevent water from pooling on the wound. I always pinch off the very tip of the stem rather than cutting lower down, which gives me more control over the plant’s shape.
Strip off any leaves on the lower 4-6 inches of the stem. These leaves often touch the soil and can develop fungal issues. You’ll see the stem become bare at the bottom—this is exactly what you want for better air circulation.
Don’t remove more than one-third of the plant’s foliage at once. The remaining leaves need to keep photosynthesizing to fuel new growth. I like to work my way around the plant, removing a few leaves from each side until I’ve created that clean, bare stem base.
Once flowers appear, check plants every 2-3 days for spent blooms. When a flower starts to fade and the petals look papery, follow the stem down to the first set of healthy leaves and snip just above them. You’ll often see new buds forming at this junction.
This isn’t just about looks—regular deadheading prevents the plant from putting energy into seed production. I can always tell when I’ve missed a few days because the plant starts looking tired and stops producing new buds as quickly.
About 8-10 weeks into the season, when blooms start getting smaller, cut the entire plant back by one-third. This seems drastic, but you’ll see fresh growth within a week. Choose a point where several strong side branches emerge.
After this cut, water deeply and add a light fertilizer. The plant will reward you with a second wave of even bigger blooms. I’ve found this works especially well in hot climates where zinnias can get stressed by late summer heat.
Pruning zinnias properly makes all the difference between a leggy plant with few blooms and a bushy, flower-packed showstopper. Here’s what I’ve learned from seasons of growing these vibrant flowers.
Timing is Everything: The 4-6 week window mentioned in Step 1 is crucial. I’ve found that pruning too early (before plants reach 12 inches) can stunt growth, while waiting too long (after buds form) means you’ll miss that first flush of blooms. Watch for the main stem thickening and side branches beginning to form—that’s your perfect moment to act. The plant has maximum energy to redirect at this stage.
The Angle Matters: In Step 2, that 45-degree angle cut isn’t just for looks—it prevents water from pooling on the wound, which can lead to rot. I always make my cut just above a leaf node where new growth will emerge. Using clean, sharp pruners makes this easier and reduces stress on the plant. If you’re using your fingernails, wash your hands first to avoid transferring diseases.
Don’t Overdo the Leaf Removal: When stripping lower leaves in Step 3, remember that one-third foliage rule is your safety net. I once got overzealous and removed too many leaves, which set my plants back by two weeks. The remaining leaves need to keep photosynthesizing to fuel all that new growth you’re encouraging. Work gradually around the plant rather than stripping one side completely.
Consistency with Deadheading: The 2-3 day check mentioned in Step 4 might seem frequent, but it’s the secret to continuous blooms. I set a phone reminder to walk through my garden every other day. When you see those papery petals, follow the stem down to where healthy leaves emerge—that’s your cutting point. This isn’t just about aesthetics; it prevents seed formation and keeps energy directed toward new blooms.
Prune zinnias every 2-3 weeks during the growing season (spring to fall). Pinch back young stems early to encourage bushier growth, and deadhead spent blooms weekly to promote continuous flowering. Over-pruning? Avoid cutting more than 1/3 of the plant at once to prevent stress.
Prune in the early morning when stems are hydrated and temperatures are cool. Avoid midday heat (stresses plants) or evening (wounds may stay damp overnight, inviting disease). Use clean, sharp shears for precise cuts—never tear stems!
Yes! For young stems, use your fingernails to pinch off growth tips (great for encouraging branching). For thicker stems, try scissors or a sharp knife—just disinfect blades with rubbing alcohol first to prevent disease spread.
Leggy zinnias often result from too little sunlight (they need 6+ hours daily) or infrequent pruning. If pruning isn’t enough, try staking stems or moving pots to sunnier spots. Over-fertilizing (especially with nitrogen) can also cause weak, stretchy growth.
Pruning reduces pest/disease risk by improving airflow—but only if done correctly! Always remove debris from the base, avoid wet foliage, and disinfect tools. Watch for powdery mildew (common in humid climates) and treat with neem oil if needed.
