
Beautiful Plants For Your Interior
Beautiful Plants For Your Interior
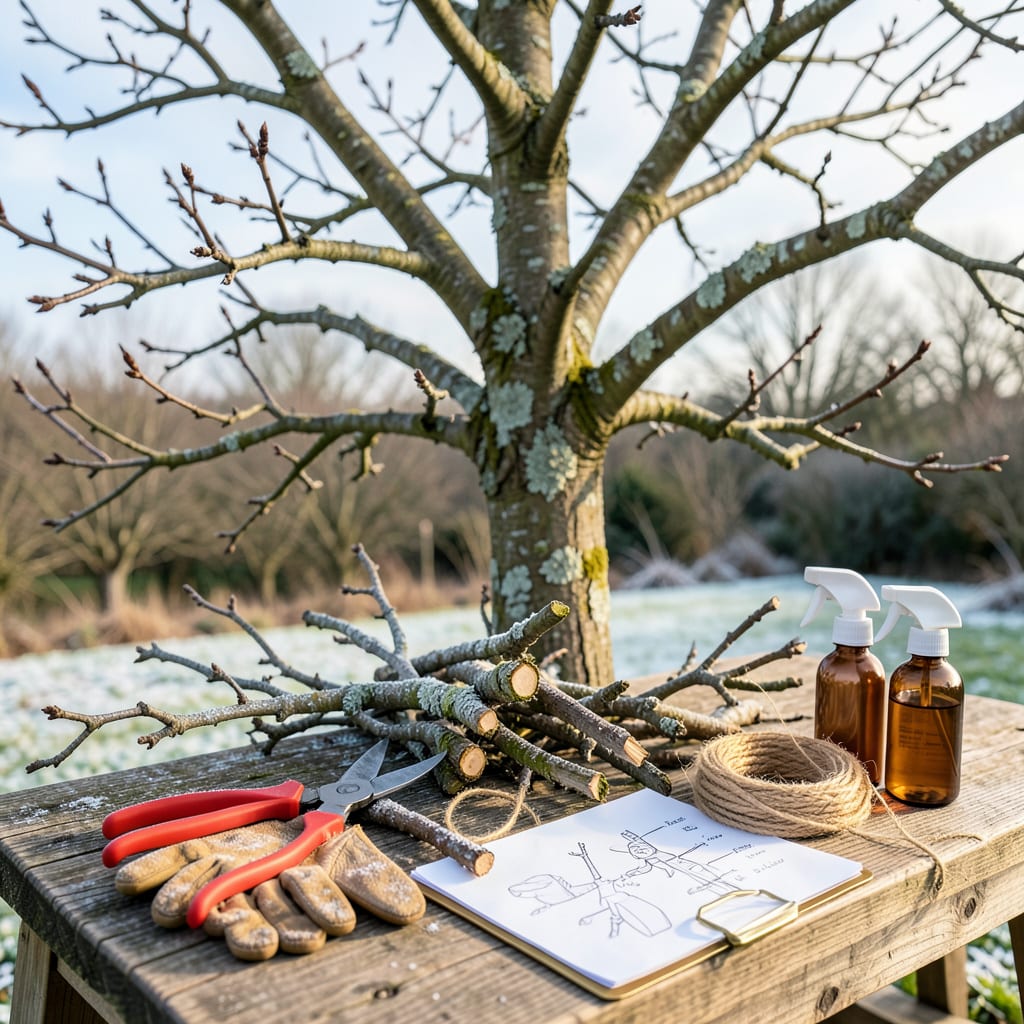
Winter pruning changed everything for my apple trees. The secret? Cutting while trees are dormant means less stress, fewer diseases, and bigger harvests come summer. I used to avoid pruning until I saw how removing the right branches opened up sunlight and airflow—game-changer for fruit quality.
You don’t need fancy tools—just sharp pruners, a saw for thick branches, and 30 minutes on a dry winter day. The key is knowing what to cut: dead wood first, then crossing branches and suckers. Do it right, and your tree will reward you with stronger growth and more apples than ever before.
📚 In This Guide
Winter pruning sets up your apple trees for a productive season—here’s how to do it right.
Prune when trees are fully dormant, ideally between late December and early February before buds swell. I always check the forecast first—you want a dry day above 20°F to avoid frozen wood that might shatter when cut.
You’ll need sharp bypass pruners for small branches, loppers for medium ones, and a pruning saw for anything thicker than 1.5 inches. A sturdy ladder helps reach higher branches safely. Don’t skip the disinfectant—wipe blades with rubbing alcohol between cuts to prevent disease spread.
Start by cutting any branches that are clearly dead (brittle, gray, or peeling bark) or showing signs of disease (cankers, oozing sap). Make clean cuts just outside the branch collar—the swollen area where the branch meets the trunk—without leaving stubs.
Next tackle broken or rubbing branches. These create wounds that invite pests and pathogens. I always step back after each cut to reassess the tree’s shape—you’ll often spot new problem areas once the obvious ones are gone.
Remove about 20-30% of last year’s growth, focusing on branches that cross, grow inward, or compete with the central leader. Your goal is an open “goblet” shape that lets sunlight reach all fruit-bearing branches.
Prioritize keeping branches with wide crotch angles (greater than 45 degrees)—these are stronger and produce better fruit. I like to make thinning cuts (removing entire branches) rather than heading cuts (shortening branches) whenever possible, as this encourages more vigorous new growth.
Now focus on the tree’s overall structure. The central leader should be the tallest point. Shorten competing vertical branches by cutting just above an outward-facing bud—this directs new growth away from the center.
For horizontal branches, shorten by about one-third to encourage fruiting spurs. Always cut at a slight angle so water runs off, and leave about ¼ inch above the bud to prevent dieback. You’ll see the difference next season in both fruit quality and tree health.
Rake up all pruned material immediately—leaving it creates hiding spots for pests. I like to chip branches for mulch or burn diseased wood if local regulations allow. This is also the perfect time to apply dormant oil spray if pest problems were evident last season.
Make notes about which branches you removed and why. Next winter, you’ll have a reference point to track your tree’s progress. Proper winter pruning reduces summer maintenance by 50%—you’ll spend less time managing pests and more time enjoying your harvest.
Winter pruning can feel intimidating, but these practical insights will help you approach your apple trees with confidence and precision.
The Timing Factor: That window between late December and early February mentioned in Step 1 isn’t arbitrary—it’s when trees are fully dormant but haven’t started moving sap yet. I’ve found that pruning too early (before late December) can stimulate unwanted growth, while waiting until after buds swell risks removing potential fruit. Always check the 10-day forecast for temperatures consistently above 20°F before starting—frozen wood doesn’t just make cuts harder, it can actually splinter and damage the tree.
Tool Technique That Makes a Difference: In Step 2, when removing dead or diseased wood, the quality of your cuts matters more than you might think. Always position your bypass pruners so the cutting blade faces the part you’re keeping—not the part you’re removing. This prevents crushing the branch collar. For branches thicker than 1.5 inches, make three cuts: first a notch on the underside, then a relief cut from above, and finally the clean finish cut just outside the collar. This prevents bark tearing that can invite disease.
Canopy Thinning Strategy: The 20-30% removal guideline in Step 3 often surprises beginners, but here’s how I approach it: Start by removing the most problematic branches first (crossing, inward-growing, or competing with the leader), then step back frequently to visualize sunlight paths. I like to imagine sunlight as water—you want it to “flow” evenly through the canopy to all fruit-bearing branches. If you’re unsure about removing a branch, err on the side of keeping it and make a note to reassess next year.
Cleanup That Protects Your Tree: Step 5 mentions cleaning up pruned material, but here’s why it’s non-negotiable: Many apple tree diseases and pests overwinter in fallen debris. I create three piles as I work—one for healthy branches (great for chipping into mulch), one for diseased wood (burn or bag for trash), and one for leaves (compost these separately). This system prevents cross-contamination and gives you a clear visual record of what you removed, which helps with planning next year’s pruning.
Yes! Late winter (just before buds swell) is actually ideal for pruning apple trees. The tree is still dormant, reducing stress, and wounds heal faster as spring approaches. Avoid pruning during extreme cold snaps (below 20°F) to prevent frost damage to fresh cuts.
Skipping winter pruning leads to overcrowded branches, reduced airflow (hello, fungal diseases! ), and smaller, lower-quality fruit. The tree wastes energy on weak growth instead of fruit production. That said, light summer pruning can help—just don’t replace winter pruning entirely.
Never remove more than 25–30% of the tree’s canopy in one season. Over-pruning shocks the tree and stunts growth. Focus on dead/diseased wood first, then thin crowded branches. When in doubt, follow the “less is more” rule—you can always prune more next year!
Nope! Young trees (under 3 years) need structural pruning to shape their scaffold branches. Avoid heavy cuts—just remove competing leaders and poorly angled branches. Mature trees focus on thinning for fruit production. Use our step-by-step guide to adjust for age.
Don’t panic—some sap bleeding (especially in late winter) is normal for apple trees! It doesn’t harm the tree, but you can minimize it by pruning on a dry day and avoiding cuts larger than 2 inches. If bleeding is excessive, hold off on further pruning until the tree is fully dormant next year.
