
Beautiful Plants For Your Interior
Beautiful Plants For Your Interior
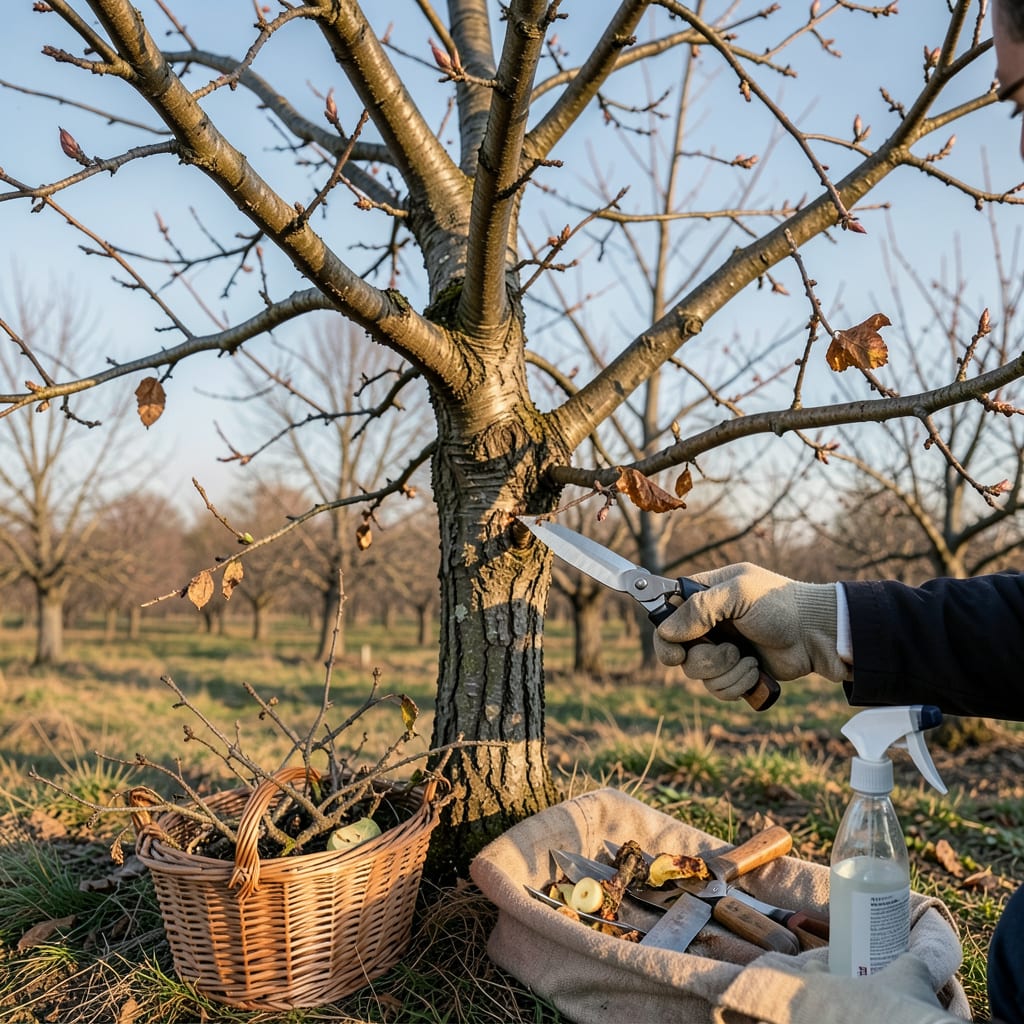
That first pruning cut feels terrifying—like you’re giving your apple tree a bad haircut. But here’s the truth: every snip you make is an investment in sweeter fruit, stronger branches, and a tree that lives decades longer. I’ve turned scrawny, overgrown trees into productive powerhouses just by learning where and when to cut.
Timing matters more than you think. Do it right in late winter (before buds swell), and you’ll get explosive spring growth. Do it wrong, and you risk disease or stunted fruit. The right tools—a sharp pair of bypass pruners and maybe a folding saw—make all the difference. We’ll walk through exactly what to remove and what to keep, so you finish with a tree that’s set up for its best season yet.
📚 In This Guide
Pruning transforms your tree’s health and fruit production—here’s how to do it with confidence and precision.
Prune in late winter or early spring while the tree is still dormant but before new growth begins. This timing minimizes stress and reduces disease risk. I aim for a day when temperatures are above 40°F but before buds start swelling.
Start by walking around the tree to identify dead, diseased, or crossing branches. Look for blackened wood, mushroom-like growths, or branches that rub together. These are your first targets. Also note any suckers (vertical shoots) growing from the base—they steal energy from fruit production.
Begin with dead or diseased wood. Cut these branches back to the trunk or nearest healthy branch using clean, sharp bypass pruners. Make the cut at a 45-degree angle just outside the branch collar (the swollen area where the branch meets the trunk). Never leave a stub, as it invites rot.
Next, tackle crossing or rubbing branches. Remove the weaker of the two entirely. If they’re equal in strength, cut the one that grows more inward toward the tree’s center. You’ll immediately see better airflow, which reduces fungal issues like apple scab.
Apple trees fruit best when sunlight reaches the center. Remove about 20-30% of the smallest, weakest branches in dense areas. Focus on branches growing straight up (called water sprouts) or downward—they rarely produce good fruit.
Step back often to check your progress. The goal is an open, vase-like shape that lets light penetrate. You should be able to toss a baseball through the center without it hitting branches. This might feel aggressive, but the tree will reward you with larger, sweeter apples.
Now, focus on the tree’s scaffold branches (the main structural limbs). Shorten last year’s growth by about one-third to encourage fruiting spurs. Cut just above an outward-facing bud to direct new growth away from the center.
Avoid over-pruning—never remove more than 25% of the tree’s total canopy in one season. I like to mark branches with ribbon before cutting to visualize the final shape. After pruning, the tree should look balanced, with no single branch dominating the structure.
Rake up and dispose of all pruned material immediately—don’t compost diseased wood. Sterilize your tools with rubbing alcohol between cuts if you’ve removed diseased branches. This prevents spreading pathogens to healthy wood.
Watch the tree over the next few weeks. New growth will appear where you’ve made cuts, and you’ll notice improved air circulation. By summer, you’ll see stronger branches and more flower buds forming for next year’s harvest. Pruning now sets up years of healthier, more productive growth.
Pruning apple trees doesn’t have to be intimidating—these practical insights will help you avoid common mistakes and get the best results.
Timing is Everything: The window for pruning in late winter or early spring is crucial. I’ve found that waiting until temperatures consistently stay above 40°F but before buds begin to swell gives the tree time to heal before new growth starts. If you prune too early in winter, the cuts may not callus properly. If you wait until after buds swell, you risk removing potential fruit-bearing wood and stressing the tree.
Tool Preparation Matters: Before you start cutting, make sure your bypass pruners are sharp and clean. I learned this the hard way after spreading disease between cuts with dirty tools. Wipe blades with rubbing alcohol between cuts, especially when removing diseased wood. A 45-degree angle cut just outside the branch collar (that swollen area where branch meets trunk) heals fastest and prevents water from pooling on the cut surface.
The Thinning Test: When you’re removing 20-30% of the smallest branches in Step 3, here’s how to know you’ve done enough: stand back and try to visualize throwing a baseball through the center of the tree. If your imaginary ball would hit branches, you need to thin more. This open structure lets sunlight reach the center and air circulate, which means fewer fungal problems and better fruit quality. It might look drastic at first, but the tree will fill in beautifully.
Future Growth Direction: In Step 4 when you’re shortening last year’s growth by one-third, pay close attention to where you make that final cut. Always cut just above an outward-facing bud—this small detail determines where new growth will emerge. Cutting above an inward-facing bud will create branches that grow toward the center, defeating your efforts to open up the tree. I like to mark my intended cuts with ribbon first to avoid mistakes.
The ideal time is late winter to early spring (February–March) while the tree is still dormant but before new growth starts. Avoid pruning in fall, as it can encourage disease. Light summer pruning (June–July) is okay for shaping but avoid heavy cuts.
Yes! A sharp pair of bypass pruners (for small branches) and a pruning saw (for thicker limbs) are enough for most home gardeners. Just ensure blades are clean and sanitized (use rubbing alcohol) to prevent disease spread. Avoid dull tools—they cause jagged cuts.
Skipping pruning leads to overcrowded branches, reducing airflow and sunlight—both critical for fruit production. Expect smaller, lower-quality apples, increased pest/disease risk, and weak growth. Older trees may also develop structural issues (like splitting limbs).
Never remove more than 20–25% of the canopy in a single year. Focus on:
For young trees (1–3 years old), prioritize training over heavy pruning. Use spreaders or weights to shape branches horizontally (encourages fruiting). Remove only competing leaders or damaged growth. Dwarf varieties may need minimal pruning if spaced properly.
