
Beautiful Plants For Your Interior
Beautiful Plants For Your Interior
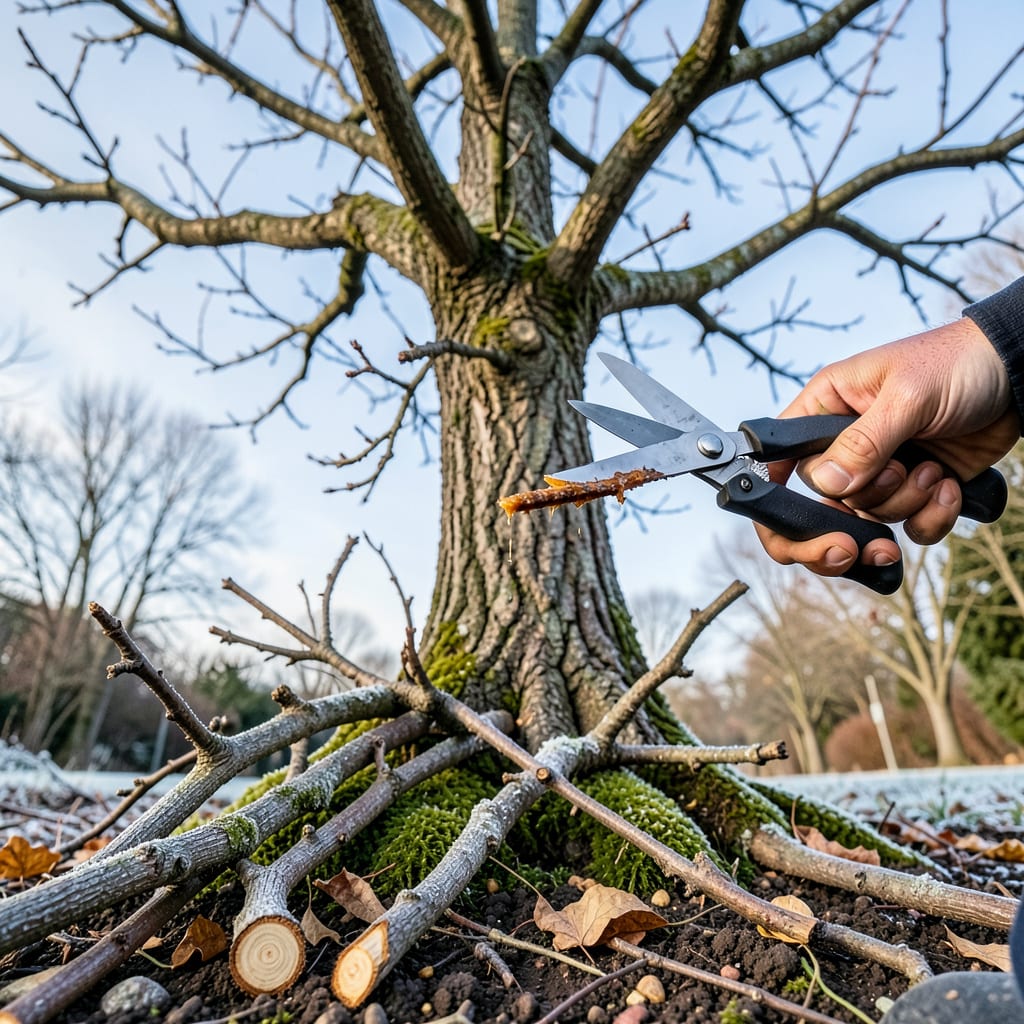
I used to think pruning was just cutting back branches—until I saw what it did to my apple tree. That first season after proper pruning, the fruit doubled in size and the branches stopped breaking under the weight. It’s not about hacking away at your tree; it’s about guiding its energy where it counts: stronger limbs, bigger harvests, and fewer disease problems.
Timing and technique matter more than you’d think. Do it right in late winter, and you’ll get explosive spring growth. Do it wrong, and you might set your tree back a season. I’ll show you exactly where to make each cut—and why that 45-degree angle and the branch collar are your new best friends. No guesswork, just results.
📚 In This Guide
This method will help you shape your tree for better health and bigger harvests—no guesswork required.
Prune when the tree is dormant, ideally in late winter before buds swell but after the worst frost. This timing minimizes stress and reduces disease risk. I always start by walking around the tree to identify dead, diseased, or crossing branches—these are your first targets.
Look for branches that rub together, grow inward, or compete with the central leader (the main upward stem). You’ll notice dead wood by its brittle texture and lack of buds. Diseased branches often show discoloration or cankers—remove these completely to prevent spread.
Use sharp bypass pruners for small branches (under ½ inch) and a pruning saw for thicker limbs. Always cut just outside the branch collar—that swollen area where the branch meets the trunk. Never leave a stub, and never cut flush with the trunk, as both mistakes slow healing.
For larger limbs, use the three-cut method: First, make an undercut 6 inches from the trunk to prevent bark tearing. Second, cut through the branch 2 inches further out. Finally, make the clean collar cut. This prevents damage that could invite pests or disease.
Remove about 20-30% of the tree’s canopy by cutting back crowded branches. Focus on opening the center to allow sunlight to reach all fruit-bearing limbs. I aim for a shape that lets a bird fly through without obstruction—this ensures good airflow, which reduces fungal issues.
Prioritize keeping scaffold branches (the main horizontal limbs) spaced 12-18 inches apart vertically. This structure supports future growth and prevents limbs from shading each other. Step back frequently to check your progress—it’s easy to over-prune when you’re in the moment.
Encourage outward growth by cutting back vigorous upright shoots by about one-third. This redirects energy to fruit production rather than excessive leaf growth. I also remove any water sprouts (fast-growing vertical shoots) and suckers (shoots from the base)—these drain energy without producing quality fruit.
Leave fruit spurs (short, stubby branches where fruit grows) untouched unless they’re overcrowded. On young trees, I shorten lateral branches by one-quarter to promote branching. The goal is a balanced shape that supports both this year’s harvest and next year’s growth.
Remove all cut branches from the area to prevent pests and disease. I like to sanitize my tools with rubbing alcohol between cuts, especially when dealing with diseased wood. This small step makes a big difference in keeping your tree healthy long-term.
Watch for new growth in spring and early summer. If you see excessive suckers or water sprouts, remove them promptly. The first year after pruning, you might notice slightly smaller fruit—but this is temporary. By the second year, you’ll see improved fruit size and quality from the better structure.
Pruning fruit trees properly makes all the difference between a struggling tree and one that thrives with abundant harvests. Here’s what I’ve learned from years of shaping trees for maximum productivity.
Timing is Everything: The late winter window mentioned in Step 1 isn’t just a suggestion—it’s critical. I’ve seen trees pruned too early suffer frost damage, while those pruned too late bleed excessive sap. Watch for when the worst frost has passed but before you see bud swelling. This is when the tree is still dormant but ready to heal quickly from your cuts. The difference between a good prune and a great one often comes down to nailing this timing.
Tool Maintenance Matters: Sharp tools aren’t just easier to use—they’re essential for clean cuts that heal properly. I sharpen my bypass pruners before each pruning session and keep rubbing alcohol handy to sanitize between cuts, especially when dealing with diseased wood as mentioned in Step 5. Dull tools create ragged cuts that take longer to heal and invite pests. A quick wipe with alcohol between branches prevents spreading issues throughout the tree.
The Three-Cut Method Demystified: Step 2 describes this technique perfectly, but here’s why it works: The first undercut prevents bark from tearing down the trunk when the branch falls. I’ve ruined trees by skipping this step—what seems like a shortcut becomes a long-term wound. The second cut removes most of the weight, and the final collar cut allows proper healing. This method might seem time-consuming, but it prevents damage that could take years to recover from.
Visualizing the Ideal Structure: When thinning in Step 3, I use this mental image: Imagine sunlight needs to reach every leaf, and a small bird should fly through the center without touching branches. This “open vase” shape ensures good airflow that prevents fungal diseases. I find it helpful to step back every few cuts to check my progress—it’s surprisingly easy to over-thin when you’re focused on individual branches.
The ideal time depends on the tree type! Prune apple, pear, and quince in late winter (dormant season) for vigorous growth. Peach, plum, and cherry trees thrive with summer pruning (after harvest) to prevent disease. Avoid pruning in fall—it encourages weak new growth before winter.
While pruning shears are best, you can use a sharp serrated knife (for small branches) or a pruning saw (for thicker limbs). For young trees, even clean scissors work in a pinch! Always disinfect tools with rubbing alcohol to prevent spreading disease.
Never remove more than 25-30% of the tree’s canopy in one season—over-pruning stresses the tree and reduces fruit production. Focus on dead/diseased branches first, then thin for airflow. Pro tip: Step back often to check balance!
Don’t panic! Temporary “shock” (wilting or slow regrowth) is normal. If you followed proper cuts (just outside the branch collar), the tree will recover. Avoid heavy pruning in extreme heat or drought. If branches ooze sap excessively, you may have pruned too late in spring.
Nope—modern research shows sealing wounds can trap moisture and encourage rot! Let cuts heal naturally, but do make clean cuts (no jagged edges). Only use wound sealant for oak or elm trees to prevent specific diseases like Dutch elm disease.
