
Beautiful Plants For Your Interior
Beautiful Plants For Your Interior
That first successful croton cutting changed everything for me. One plant became three, then five—all from a single stem I almost tossed in the compost. Propagating crotons isn’t just about saving money; it’s about watching those bold, colorful leaves emerge from nothing but water and patience. The secret lies in choosing the right stem and […]
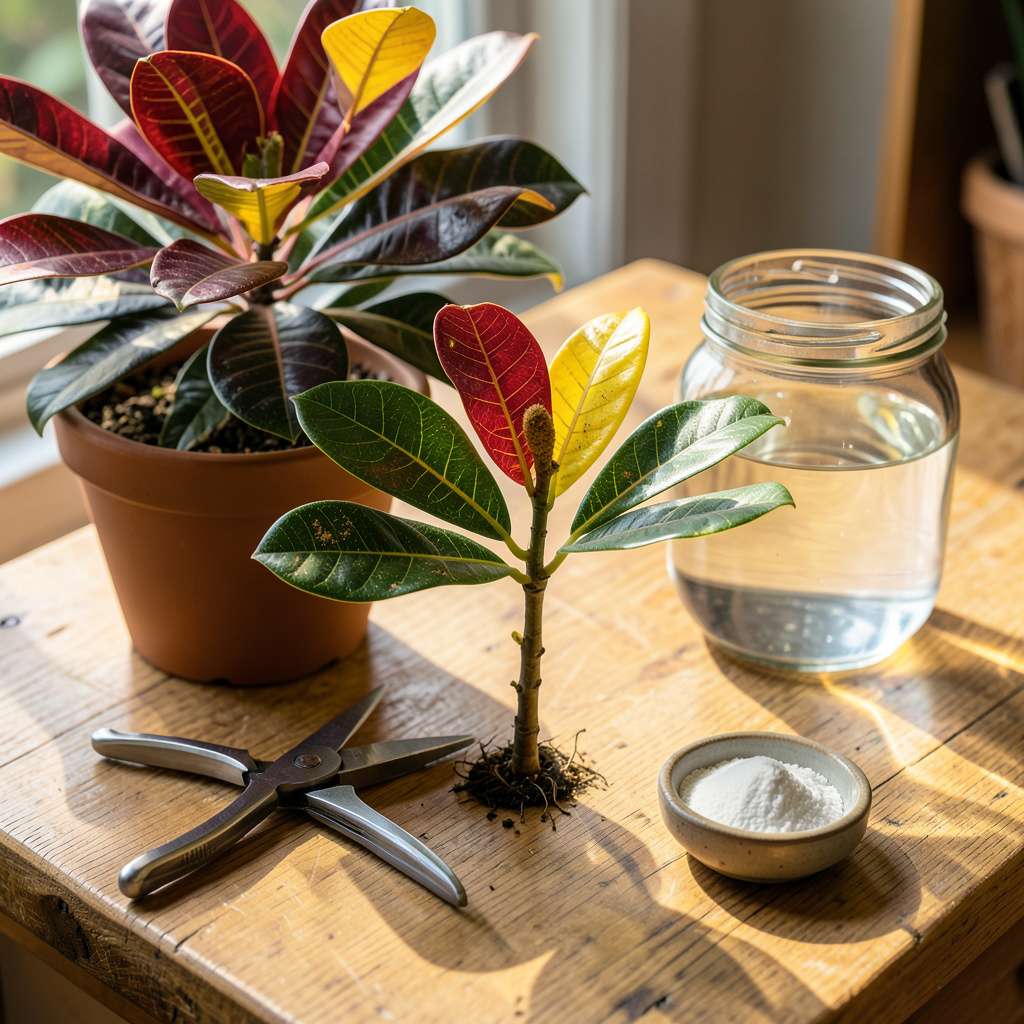
That first successful croton cutting changed everything for me. One plant became three, then five—all from a single stem I almost tossed in the compost. Propagating crotons isn’t just about saving money; it’s about watching those bold, colorful leaves emerge from nothing but water and patience. The secret lies in choosing the right stem and giving it exactly what it needs to root.
I’ve killed my share of cuttings by overcomplicating the process. Turns out, crotons root reliably with just a few simple steps: a healthy mother plant, a clean cut, and the right balance of moisture and air. No fancy equipment needed—just a jar of water or a small pot of soil. Within 3-4 weeks, you’ll see new roots forming, and that’s when the real magic starts.
What you end up with are vibrant new plants that carry all the drama of the original—those same fiery reds, deep purples, and sunburst yellows that make crotons showstoppers. The best part? Each successful cutting builds confidence for the next. Once you nail the timing (hint: spring and early summer work best), you’ll be propagating like a pro.
Works equally well for bushy outdoor specimens or indoor container plants. The technique adapts to your space, your climate, and even your schedule. Here’s how to make every cutting count.
📚 In This Guide
Propagating crotons is simpler than you think—just follow these clear steps for success.
Choose a healthy stem from your croton plant that’s about 4-6 inches long with at least 3-5 leaves. I always look for new growth that’s firm but not woody—these root fastest. Use clean, sharp scissors to make a clean cut just below a leaf node (that’s where the roots will form).
Remove the bottom 2-3 leaves to expose the nodes where roots will grow. This might feel counterintuitive, but leaving too many leaves will cause the cutting to lose moisture before roots develop. If the stem oozes white sap, rinse it off with cool water—this sap can actually inhibit rooting.
Dip the cut end of your stem into rooting hormone powder, tapping off any excess. This step isn’t absolutely mandatory, but I’ve found it doubles my success rate with crotons. The hormone helps stimulate root growth and protects against rot. If you don’t have rooting hormone, you can skip this, but expect slightly slower rooting.
For best results, use the powder form rather than gel—it coats the stem more evenly. Gently twist the stem as you remove it from the powder to ensure complete coverage. Don’t let the hormone clump at the base, as this can actually prevent root formation in that spot.
Fill a small pot (about 4 inches wide) with a well-draining potting mix—crotons hate soggy roots. I use a blend of 60% potting soil and 40% perlite for ideal drainage. Make a hole in the center with your finger about 1-2 inches deep, then insert the cutting so the bottom node sits just below the soil surface.
Firm the soil gently around the stem to hold it upright. Water lightly until moisture just begins to drain from the bottom—you want the soil damp but not waterlogged. Place the pot in bright, indirect light (an east-facing window works perfectly) where temperatures stay between 70-80°F.
Cover the pot with a clear plastic bag or place it in a propagator to maintain high humidity. This prevents the cutting from drying out while roots form. I use a simple ziplock bag supported by chopsticks to keep it from touching the leaves. Mist the cutting lightly every 2-3 days if the air inside feels dry.
Check for roots after 3-4 weeks by giving the stem a very gentle tug. Resistance means roots are forming! You’ll also see new leaf growth when the cutting has successfully rooted. Don’t rush this process—crotons can take up to 8 weeks to establish strong roots, especially in cooler conditions.
Once roots are established (you’ll see new growth and feel resistance when tugging), gradually acclimate your new croton to normal conditions. Start by removing the humidity dome for 1-2 hours daily, increasing this time over 7-10 days. This prevents shock from sudden humidity changes.
After the transition period, treat your new croton like a mature plant. Keep it in bright, indirect light and water when the top 1-2 inches of soil feel dry. Your propagated croton should start showing vibrant new growth within 4-6 weeks of successful rooting.
After propagating hundreds of crotons, I’ve learned these key details make all the difference between success and disappointment.
Cutting Selection: In Step 1, choosing the right stem is everything. Look for new growth that’s firm but still flexible—not woody stems that take forever to root. The 4-6 inch length is ideal because shorter cuttings dry out too quickly while longer ones waste energy. Always make your cut just below a leaf node; that’s where root cells are most active.
Sap Management: When you see that milky white sap in Step 1, don’t ignore it. This sap contains compounds that can actually prevent root formation if left on the cutting. I always rinse it off immediately with cool water and pat the stem dry before proceeding. Skipping this step can delay rooting by weeks.
Humidity Control: The plastic bag method in Step 4 works wonders, but here’s what nobody tells you: condensation should form inside the bag within 24 hours. If you don’t see droplets, your cutting is losing moisture. Try misting more frequently or using a second bag for double coverage. Just remember to remove the bag for 5 minutes daily to prevent mold growth.
Patience Test: Those 3-4 weeks mentioned in Step 4 can feel like forever, but resist the urge to check roots daily. Every time you disturb the cutting, you set back progress. Instead, watch for new leaf growth—this is the most reliable sign that roots have established. I’ve found that crotons often take the full 8 weeks in cooler homes, so don’t panic if yours is slow.
You can start croton propagation in water (great for root visibility! ), but transition it to soil once roots reach 2–3 inches. Soil propagation is more reliable long-term since crotons thrive better in well-draining mixes. Water roots are delicate, so handle gently when transplanting!
Wilting or browning usually means shock or improper conditions. Check for overwatering, low humidity, or direct sunlight (crotons prefer bright, indirect light). Trim damaged leaves, mist daily, and keep temps above 70°F (21°C). Patience—some cuttings take 4–8 weeks to root!
Spring or early summer ( growing season) is ideal! Warm temps and high humidity speed up rooting. Avoid winter—cold stress slows growth. If propagating indoors year-round, use a heat mat (70–80°F) and humidity dome for better success.
Nope! Unlike succulents, crotons need a stem node (where leaves meet the stem) to grow roots. A leaf alone will wilt. Snip a 4–6 inch stem with 2–3 nodes for best results. Pro tip: Dip the cut end in rooting hormone to boost success!
Typically 4–12 weeks, depending on conditions. Water-rooted cuttings may sprout roots in 3–4 weeks, while soil propagation can take longer. Speed it up with bottom heat (like a seedling mat) and consistent moisture. Don’t tug—wait until roots are 1–2 inches long before transplanting!
Propagating a croton is easier than you think! With the right cutting technique, a little patience, and proper care, you’ll soon have bold, colorful new plants to brighten up your space. 🌱 Whether you choose water or soil propagation, consistency is key—keep the environment warm and humid for the best results.
Now that you’re equipped with the know-how, why not grab your pruners and give it a try? Start with a healthy parent plant, follow the steps, and enjoy the rewarding process of watching your crotons thrive. Happy propagating! 🌿
