
Beautiful Plants For Your Interior
Beautiful Plants For Your Interior
That first successful orchid bloom you pollinated yourself? Nothing compares. I remember holding my breath as the tiny seed pod began to swell—proof that even the most delicate flowers can thrive with a little human help. Hand-pollinating orchids isn’t just for experts; it’s how we turn finicky plants into reliable showstoppers year after year. The […]
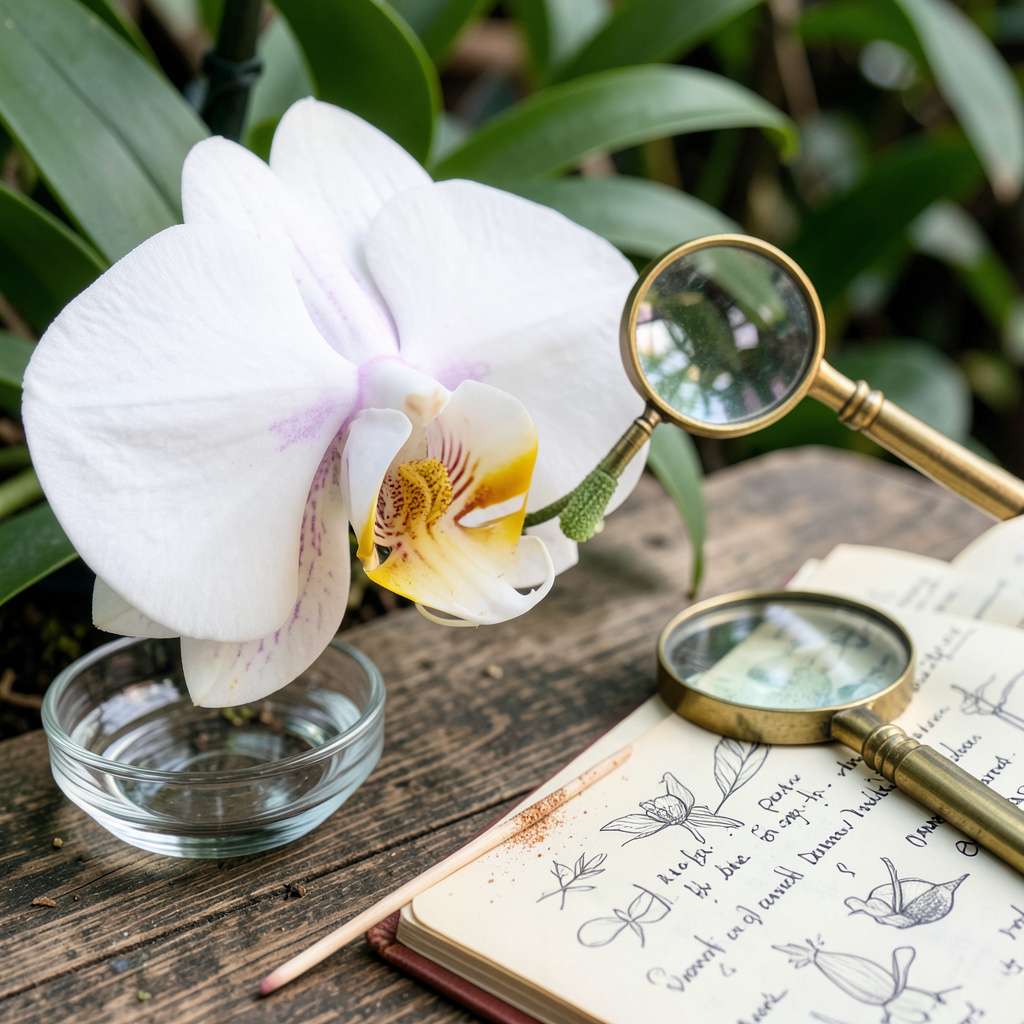
That first successful orchid bloom you pollinated yourself? Nothing compares. I remember holding my breath as the tiny seed pod began to swell—proof that even the most delicate flowers can thrive with a little human help. Hand-pollinating orchids isn’t just for experts; it’s how we turn finicky plants into reliable showstoppers year after year.
The secret lies in timing and technique. You don’t need fancy tools—just a steady hand, the right flower stage, and about 10 minutes of focused attention per plant. I’ve found that late morning works best, when the pollen is most viable but before the day’s heat stresses the flowers. The process feels intimidating until you realize it’s simpler than tying your shoes.
What you’ll end up with are stronger, more vibrant blooms that last weeks longer than unpollinated flowers. The seed pods that form become your ticket to growing even more orchids—each one carrying the exact traits you love. My collection doubled in two seasons once I mastered this, and the satisfaction of seeing those first tiny green pods never fades.
Works for Phalaenopsis, Cattleya, and even those stubborn Vandas that refuse to cooperate. Here’s exactly how to make it happen without a single failed attempt.
📚 In This Guide
A clean, fine-tipped paintbrush (size 0 or 00) or a sterilized toothpick (for transferring pollen).
Tweezers (fine-tipped) – for delicate pollen removal.
This gentle technique ensures vibrant blooms even when natural pollinators aren’t present. Let’s do it together.
Examine your orchid’s bloom closely to locate the column—the central structure where pollination occurs. At the top, you’ll find the anther cap (yellow pollen sac), and below it, the stigma (sticky receptive surface). Use a magnifying glass if needed; these parts are tiny but distinct.
The petals will naturally guide you: the lip (modified petal) often points downward, while the column stands upright. I always check for dew or moisture on the stigma—this indicates it’s ready to receive pollen. If the anther cap looks dried out or cracked, the pollen may no longer be viable.
Using a sterilized toothpick or wooden skewer, gently lift the anther cap from the column. Apply the slightest upward pressure until it pops free—this reveals the pollinia (pollen masses) underneath. They’ll look like tiny yellow grains attached to a sticky base.
Here’s the thing—don’t touch the pollinia directly with your fingers. The natural oils on your skin can damage them. If the pollinia don’t come away with the cap, leave them; forcing removal will destroy the pollen. A healthy anther cap should release cleanly with minimal pressure.
Position the exposed pollinia directly onto the stigma’s sticky surface. You’ll feel a slight resistance as they adhere—this is normal. Press gently but firmly for 3-5 seconds to ensure good contact. The pollen should transfer completely, leaving no yellow residue on the anther cap.
Watch for the stigma to slightly close around the pollen—this is your visual confirmation of successful transfer. If the pollinia don’t stick, the stigma may be too dry; mist the flower lightly with water and try again after 10 minutes. Successful pollination shows as a slight swelling at the base of the flower within 24 hours.
After pollination, the flower will wilt within 3-5 days—this is completely normal. Focus your attention on the ovary (the green bump at the base of the flower stem). It should begin swelling noticeably within 1-2 weeks if pollination succeeded.
Support the developing seed pod with a small stake if it grows heavy. I use a bendable wire wrapped with soft foam to cradle the pod without damaging it. Keep the plant in stable conditions: 60-70°F temperatures, 50-70% humidity, and indirect light. Avoid moving the plant during this critical 6-8 month development period.
Seed pods typically mature in 6-9 months, turning from green to yellow or brown. Wait until the pod begins to split naturally along its seams before harvesting. This usually happens 8-12 months after pollination, depending on the orchid species.
Collect seeds immediately when the pod splits to prevent loss. Use a clean sheet of paper to catch the microscopic seeds—they’ll look like fine dust. Store them in a dry, sealed container until you’re ready to sow. Real talk: orchid seeds require specific sterile conditions to germinate, so research “flasking” if you plan to grow them.
Mastering orchid pollination takes patience and attention to detail—here’s what we’ve learned through years of practice.
Precision in Step 3: When transferring pollen in Step 3, that 3-5 second press is crucial. Too little pressure and the pollinia won’t adhere; too much and you risk damaging the stigma. I use a sterilized tweezers to apply even pressure across the entire pollen mass. The slight resistance you feel is the pollen’s natural stickiness engaging with the stigma’s surface.
Environmental Control: Maintaining 60-70°F temperatures during pod development (Step 4) prevents premature pod drop. I’ve lost pods by placing plants near drafty windows—even a 5-degree fluctuation can stress the developing seeds. A small space heater with a thermostat works wonders for consistency during colder months.
Patience with Timing: The 24-hour swelling confirmation after pollination (Step 3) is your first success indicator, but don’t panic if it takes 36 hours—some varieties are slower. Similarly, when pods begin splitting after 8-12 months (Step 5), resist the urge to “help” them open. Forced harvesting damages seeds.
Tool Sterilization: Between each pollination attempt, sterilize your toothpick or skewer with rubbing alcohol. I keep a small container of alcohol and clean swabs nearby. Even invisible contaminants can introduce bacteria that prevent fertilization or cause pod rot during the 6-8 month development period.
Here are the most common questions about orchid pollination—answered simply!
Yes! A clean toothpick or cotton swab works perfectly for transferring pollen. Gently dab the pollinia (pollen sacs) from the anther and place them on the stigma. Sterilize tools with rubbing alcohol between uses to prevent contamination.
Pollinate in the morning when flowers are fully open and humidity is higher. Avoid extreme heat or direct sunlight, which can stress the plant. Most orchids are receptive 1–3 days after blooming—look for sticky, glossy stigmas!
Do I need to hand-pollinate, or can bees do it?
Most ornamental orchids (like Phalaenopsis) rarely self-pollinate in homes—they lack nectar to attract bees. Hand-pollination is often necessary for seed pods. For wild or outdoor orchids, natural pollinators might help, but it’s unreliable.
Common issues: pollinia weren’t placed correctly on the stigma, the flower wasn’t mature enough, or the plant lacks energy. Check for wilting within 24 hours (a good sign!). If the pod turns yellow/brown, the pollination failed—try again with a fresh flower.
Yes, but it’s tricky! Orchid seeds need sterile in vitro growing conditions (agar medium) and can take years to mature. Most hobbyists pollinate for fun or pod display, not propagation. For faster results, try keiki (baby plant) propagation instead.
Pollinating orchids by hand may seem tricky at first, but with patience and the right technique, you can boost bloom production and even create stunning hybrids! 🌸 Remember: timing, gentle handling, and proper tools are key to success.
Now that you’ve got the basics, why not practice on a single bloom first? Track your progress, adjust as needed, and soon you’ll be a pollination pro—helping your orchids thrive like never before. Happy growing! Ready to try? Grab your tools and get started today!
