
Beautiful Plants For Your Interior
Beautiful Plants For Your Interior
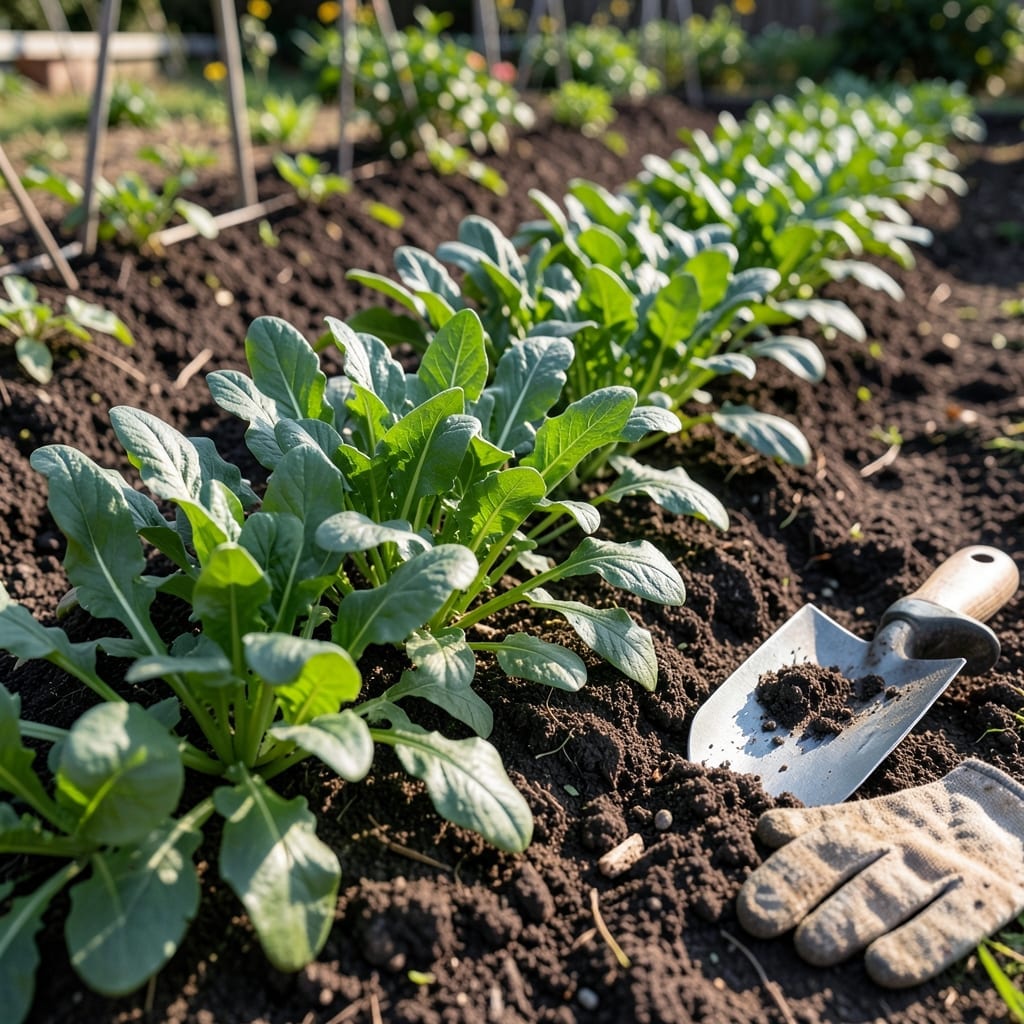
There’s something magical about watching 🥬 Arugula sprout from tiny seeds to harvest-ready leaves in just weeks. This peppery green is one of the easiest and fastest crops you can grow, even in containers.
Whether you have a sprawling garden or just a sunny windowsill, you can enjoy fresh Arugula harvests. The key is knowing the right conditions and timing for your zone.
Discover how to plant Arugula for the best flavor and yield. I’ll walk you through every step, from seed to table, so you can start enjoying homegrown greens in no time.


Planting Arugula from seed is one of the most rewarding gardening experiences for beginners. This cool-season crop thrives in spring and fall, germinating quickly when conditions are right. I’ve found that starting with high-quality seeds and well-prepared soil sets the stage for success.
Before sowing, choose a location with partial sun to full sun exposure. Arugula tolerates some shade but grows best with 4-6 hours of direct sunlight daily. Loosen the soil to a depth of about 6 inches and mix in compost for added nutrients.
After planting, keep the soil consistently moist but not soggy. Arugula seeds typically germinate within 5-7 days when the soil temperature is between 40-55°F. If you’re planting in containers, ensure they have drainage holes to prevent waterlogging.
I recommend using a fine mist sprayer for watering during the first week. This prevents the seeds from being washed away or buried too deep. Once seedlings emerge, you can switch to regular watering every 3-5 days, depending on rainfall and soil conditions.
Thinning is a critical step that many gardeners overlook. When seedlings are about 2 inches tall, thin them to 4-6 inches apart. This gives each plant enough space to develop strong roots and healthy leaves. Crowded plants compete for nutrients and may bolt prematurely.
Arugula grows quickly, often ready for harvest in just 30-40 days. To extend your harvest, consider succession planting—sowing new seeds every 2-3 weeks. This ensures a continuous supply of fresh, tender leaves throughout the growing season.
For container gardening, choose a pot that’s at least 6-8 inches deep. Fill it with a well-draining potting mix and place it in a sunny spot. Containers dry out faster than garden beds, so check soil moisture daily and water as needed.
If you notice yellowing leaves or stunted growth, it might be a sign of nutrient deficiency. A light application of compost tea or a balanced organic fertilizer can help revive your plants. Avoid over-fertilizing, as this can lead to bitter-tasting leaves. ☀️
Finally, keep an eye out for pests like flea beetles or aphids. These can be managed with row covers or a gentle spray of soapy water. Healthy, well-cared-for plants are less likely to attract pests, so maintain consistent watering and good soil health.
With these steps, you’ll be well on your way to enjoying homegrown Arugula in your salads and meals. The key is patience and attention to detail, but the payoff is fresh, flavorful greens in just a few weeks. 🌱
To grow vibrant Arugula, you need to replicate its ideal natural environment. This cool-season crop thrives in moderate temperatures and prefers well-draining soil rich in organic matter. I’ve found that paying attention to a few key factors makes all the difference in yield and flavor.
The right conditions prevent common issues like bolting or bitter leaves. Arugula grows best when daytime temperatures are between 60-70°F, though it can tolerate light frosts. Proper care ensures tender, peppery greens rather than tough, pungent ones.
| Requirement | Specification |
|---|---|
| Sunlight | 4-6 hours daily |
| Soil pH | 6.0-7.0 |
| Watering | 1 inch per week |
| Temperature | 40-75°F |
| Spacing | 4-6 inches apart |
Arugula prefers loamy soil with a pH of 6.0-7.0. If your soil is too acidic, add lime to raise the pH. For alkaline soil, mix in sulfur or organic compost to lower it. A simple soil test can help you determine the right amendments.
Consistent moisture is crucial, but avoid waterlogging. I water my Arugula every 3-5 days, adjusting based on rainfall and soil dryness. Morning watering helps prevent fungal diseases, as it allows leaves to dry before evening.
If temperatures rise above 75°F, Arugula tends to bolt, producing flowers and turning bitter. To delay this, provide afternoon shade or plant in a cooler spot. In hot climates, grow Arugula in early spring or late summer for the best results.
For container gardening, ensure your pots have drainage holes and use a lightweight potting mix. Arugula in containers may need more frequent watering, as soil dries out faster. Keep the soil evenly moist but not soggy to encourage healthy root development.
With these conditions dialed in, your Arugula will grow quickly and flavorfully. The effort is minimal, but the rewards are fresh, homegrown greens in just a few weeks. 🌿