
Beautiful Plants For Your Interior
Beautiful Plants For Your Interior
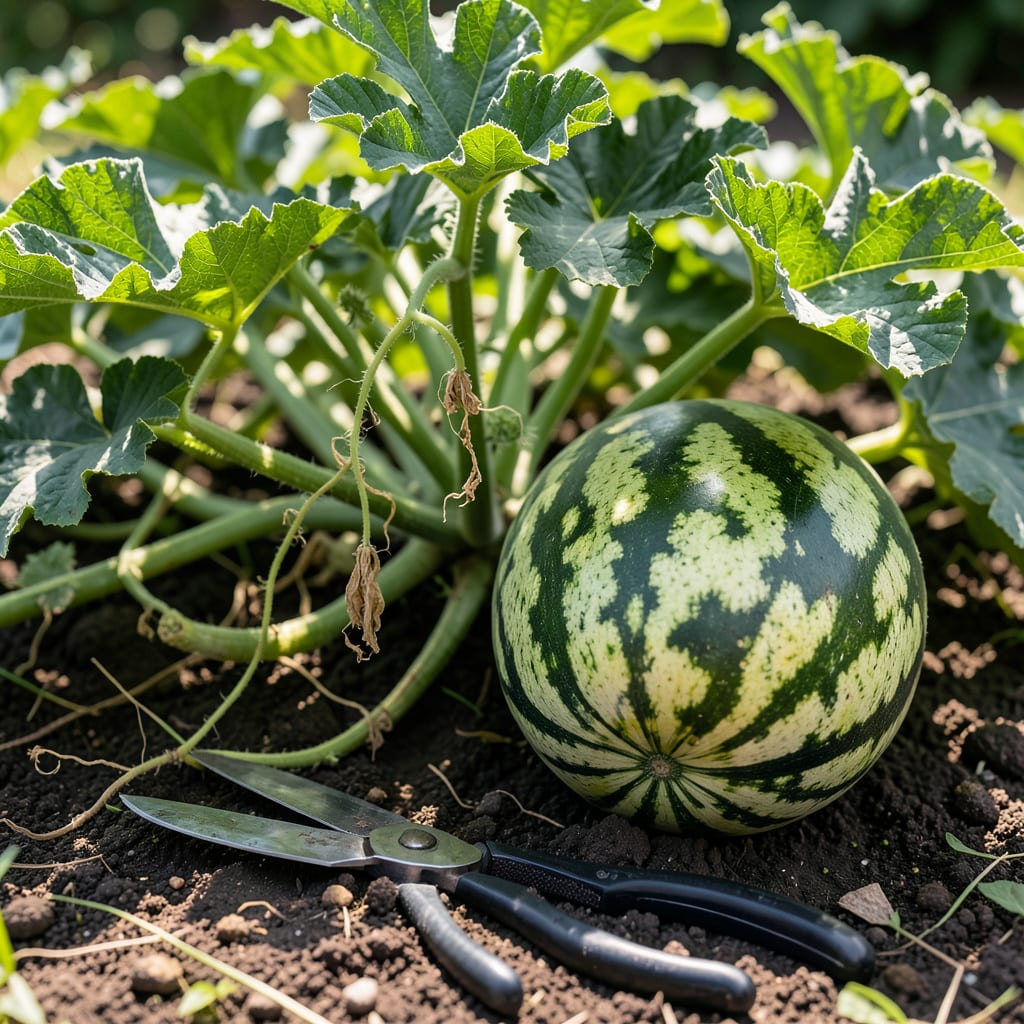
Nothing beats biting into a perfectly ripe 🍉 Watermelon you’ve grown yourself. But timing that harvest wrong can turn sweet success into a watery letdown.
I’ll show you the most reliable signs to check—from the ground spot to the thump test—so you never guess wrong again. Let’s make every pick your best one yet.


I always start by checking the ground spot first—this is the area where the watermelon rests on the soil. When it turns from white to creamy yellow, you’re off to a great start. This color change signals the fruit is no longer receiving chlorophyll.
The rind’s appearance is another dead giveaway. A ripe melon loses its glossy shine and takes on a dull, matte finish. This happens as the fruit matures and sugars develop inside. It’s nature’s way of saying the flavors are concentrating.
| Sign | What to Look For | Why It Matters |
|---|---|---|
| Ground Spot | Creamy yellow color | Indicates chlorophyll breakdown |
| Tendril | Brown and dry near stem | Shows fruit maturity |
| Rind | Dull finish | Signals sugar development |
| Stem | Dry and brittle | Confirms full ripeness |
The stem check is equally important. A ripe watermelon will have a dry, brittle stem where it attaches to the vine. If it’s still green and flexible, give it more time. This is one of the most accurate indicators I rely on.
Another visual cue is the overall color of the melon. While this varies by variety, most watermelons develop a deeper, more uniform color as they ripen. The stripes on striped varieties become more defined and vivid.
I also pay attention to the size and weight. A ripe watermelon will feel heavy for its size because it’s full of juice. Compare it to similar fruits you’ve harvested before to gauge if it’s reached its full potential.
The shape can offer clues too. A perfectly ripe watermelon often has a slightly flattened end opposite the stem. This is where it rested on the ground and developed that telltale ground spot we discussed earlier.
Remember, these signs work together. I never rely on just one indicator—it’s the combination that gives me confidence. When most of these visual and physical cues align, I know it’s time to harvest that perfect watermelon from my garden. ☀️
Timing matters too. I check my melons in the early morning when temperatures are cooler. This is when the fruits are at their firmest and the signs are easiest to read accurately. 🌱
The thump test is my go-to method. Tap the melon with your knuckles and listen for a deep, hollow sound. A high-pitched or metallic sound means it needs more time. This works because the air space inside increases as the fruit ripens.
For the scratch test, I use my fingernail to gently scratch the rind’s surface. If the outer layer comes off easily and reveals a greenish-white underneath, it’s ripe. If it’s hard to scratch or shows green, wait a few more days.
The stem inspection is foolproof. I check the tendril closest to the stem—when it turns brown and dry, the melon is ready. This is more reliable than the stem itself, which might dry out from other causes.
I also use the weight test. A ripe watermelon will feel heavier than it looks because it’s full of juice. Lift a few similar-sized melons to compare. The heaviest one is usually the ripest.
For varieties with striped patterns, I look for duller stripes and a waxy surface. The contrast between stripes becomes less sharp as the fruit matures. This visual change is subtle but very telling.
Remember, these tests work best in cool morning hours. The fruits are firmer and the signs are easier to read. I always do my checks before the heat of the day sets in for the most accurate results. 🌿
I see many gardeners make the same mistakes when harvesting. Relying only on size is a big one—bigger doesn’t always mean ripe. Some varieties stay small but pack incredible flavor.
Another common error is harvesting after heavy rain. The extra water can temporarily plump up the fruit, making it seem ready when it’s not. I always wait 2-3 days after rain to check. 🌧️
⚠️ Avoid These Harvesting Pitfalls
Ignoring the tendril near the stem often leads to early picks. Always check this first—it’s nature’s most reliable ripeness indicator.
Some gardeners also overlook the ground spot. A white or pale spot means it’s not ready. I make it a habit to flip each melon gently to check this crucial sign.
Timing your checks matters too. Testing in the heat of the day can give false readings. The rind softens in warmth, making the melon seem riper than it is. I do my checks in cool morning hours for accuracy.
Finally, don’t harvest based on days since planting alone. While 70-100 days is typical, weather and growing conditions can speed up or slow down maturity. Always combine time with physical signs. 🌱
Yes, but it takes practice. A ripe melon produces a deep, hollow sound when tapped. Seedless varieties may sound slightly different, so combine this with other signs like a creamy yellow ground spot for best results.
Harvest within 1-2 days of the tendril turning brown and dry. This is nature’s clearest signal that sugars have fully developed. Waiting too long risks overripening and split fruits.
A white bottom means it’s not ripe yet. The ground spot should turn creamy yellow when ready. Keep it on the vine and check other signs like a dull rind or dry stem.
Morning is ideal, but evening works if needed. Avoid midday heat when rinds soften, which can give false ripeness signals. Always store harvested melons in a cool, shaded spot immediately.
