
Beautiful Plants For Your Interior
Beautiful Plants For Your Interior
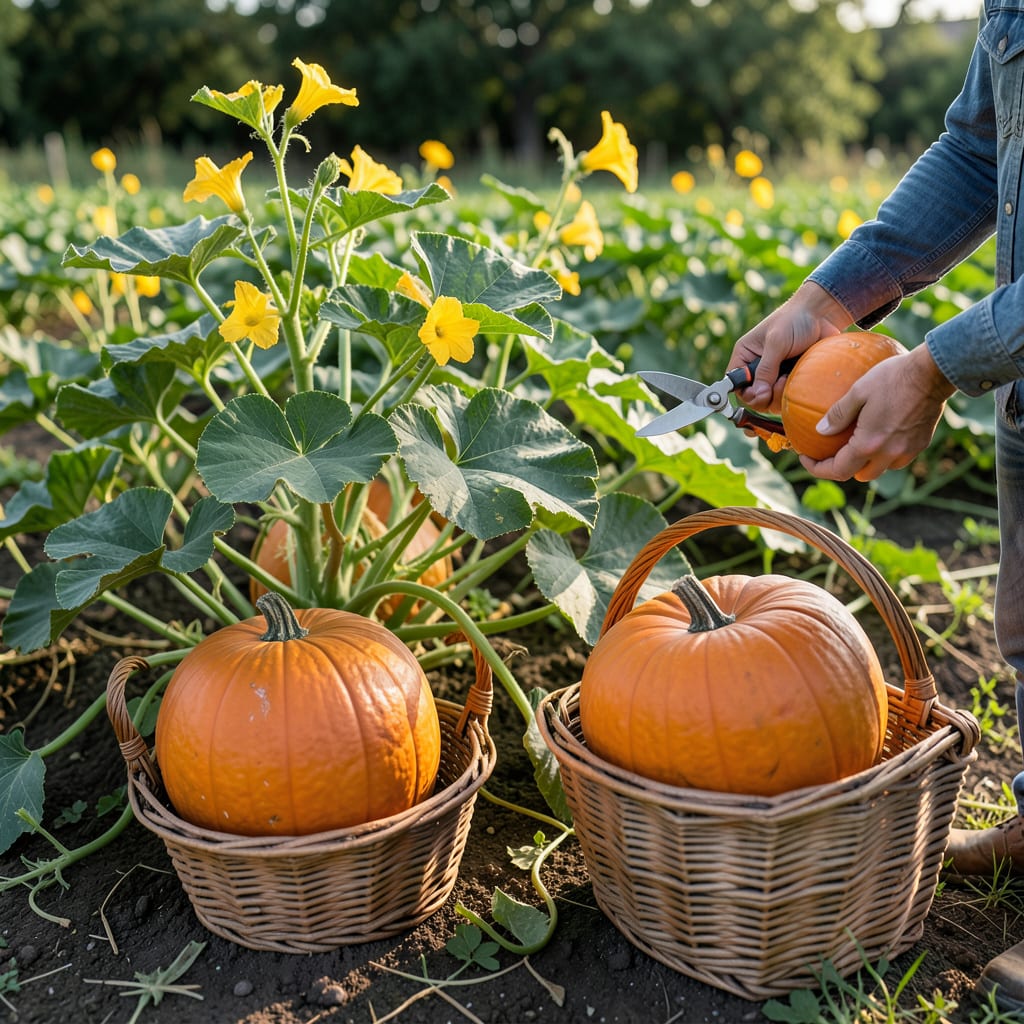
Picking Pumpkins at the perfect moment ensures the best flavor and storage life. Timing is everything, and missing the signs can leave you with underripe or overripe gourds.
I’ll show you 3 sure signs of ripeness, from color to stem hardness, so you can harvest your 🎃 with confidence this season. Let’s dive in.


Knowing when to harvest pumpkins starts with observing their external changes. The most reliable indicator is a deep, solid color that matches the variety you planted.
For most orange pumpkins, this means a rich, uniform hue without green streaks. White or green varieties will also darken as they mature, so check your seed packet for specifics.
Deep, uniform color for the variety (orange, white, or green)
Hard rind that resists puncture from a fingernail
Woody, dry stem that’s hardened and cracked near the base
The rind hardness test is my go-to method. Press your fingernail firmly into the pumpkin’s skin—if it doesn’t puncture or leaves no mark, it’s ready.
An unripe pumpkin will dent or scratch easily. This test works best on the side of the pumpkin, away from the stem, where the rind is thickest.
The stem tells a story too. A mature pumpkin has a hard, woody stem that’s dry to the touch. If the stem is still green and flexible, the pumpkin needs more time.
I always check the stem’s connection to the vine. A cracked stem near the base is a great sign. But never carry a pumpkin by its stem—it can break off and reduce storage life.
For giant pumpkin varieties, color may develop slower. These often need 120 days to mature fully. Check the seed packet for your variety’s specific timeline.
Weather can affect ripening too. A light frost won’t hurt mature pumpkins but can damage unripe ones. If frost is forecast, cover young pumpkins with a frost blanket.
Finally, watch the vines and leaves. As pumpkins ripen, the vines often die back, and leaves may turn brown. This isn’t always foolproof, but it’s a good secondary sign.
Combine this with the color and rind tests for the most accurate assessment. 🎃
Even experienced gardeners can make costly errors when harvesting pumpkins. One of the most common is picking too early, which results in poor flavor and short storage life.
Another frequent mistake is ignoring the stem. A pumpkin with a damaged or missing stem won’t store well, as it creates an entry point for pests and diseases.
Harvesting too early leads to poor flavor and texture
Using dull tools can damage the rind and stem
Carrying by the stem may cause it to break off prematurely
Using the wrong tools is another pitfall. Always use sharp pruners or a knife to cut the stem, leaving 2-3 inches attached to the pumpkin. Dull tools can crush the stem.
I’ve learned the hard way that timing matters. Harvest on a dry, sunny day when the pumpkin’s surface is free of dew. This helps prevent mold during storage.
Also, avoid stacking pumpkins during storage, as this can cause bruising. Instead, place them in a single layer with good airflow between each one.
Remember that size isn’t everything. A smaller, fully ripe pumpkin will taste better and last longer than an oversized, underripe one. Focus on the ripeness signs we discussed earlier. 🎃
Beyond visual cues, I rely on tactile and auditory tests to confirm pumpkin ripeness. These methods remove the guesswork and ensure you pick at the perfect moment every time.
Fingernail test: Press into rind—if it resists, it’s ready
Thumping technique: Tap the pumpkin—mature ones sound hollow
Vine inspection: Check for dying back and brown, dry leaves
The fingernail test is my favorite for its simplicity. Apply firm pressure with your thumbnail to the pumpkin’s side. If it doesn’t leave a mark, the rind is hard enough.
For the thumping method, use your knuckles to tap the pumpkin lightly. A deep, hollow sound indicates maturity, while a dull thud suggests it needs more time.
I also examine the vines and leaves. As pumpkins near ripeness, the vines may yellow and leaves often turn crisp. This is nature’s way of signaling the end of the growing cycle.
Combine these tests with the visual signs we discussed earlier for the most reliable results. 🎃
Wait a few more days. A green stem means it’s not fully mature, even if color looks good. The stem should harden and turn woody before harvesting.
Mature pumpkins handle light frost well, but unripe ones may suffer damage. Cover young pumpkins with a frost blanket if cold weather is expected.
Overripe pumpkins often develop soft spots or the rind may feel spongy. The thumping test will sound dull rather than hollow.
Yes, always leave 2-3 inches of stem attached. This helps prevent rot and extends storage life. Use sharp pruners for a clean cut.
