
Beautiful Plants For Your Interior
Beautiful Plants For Your Interior
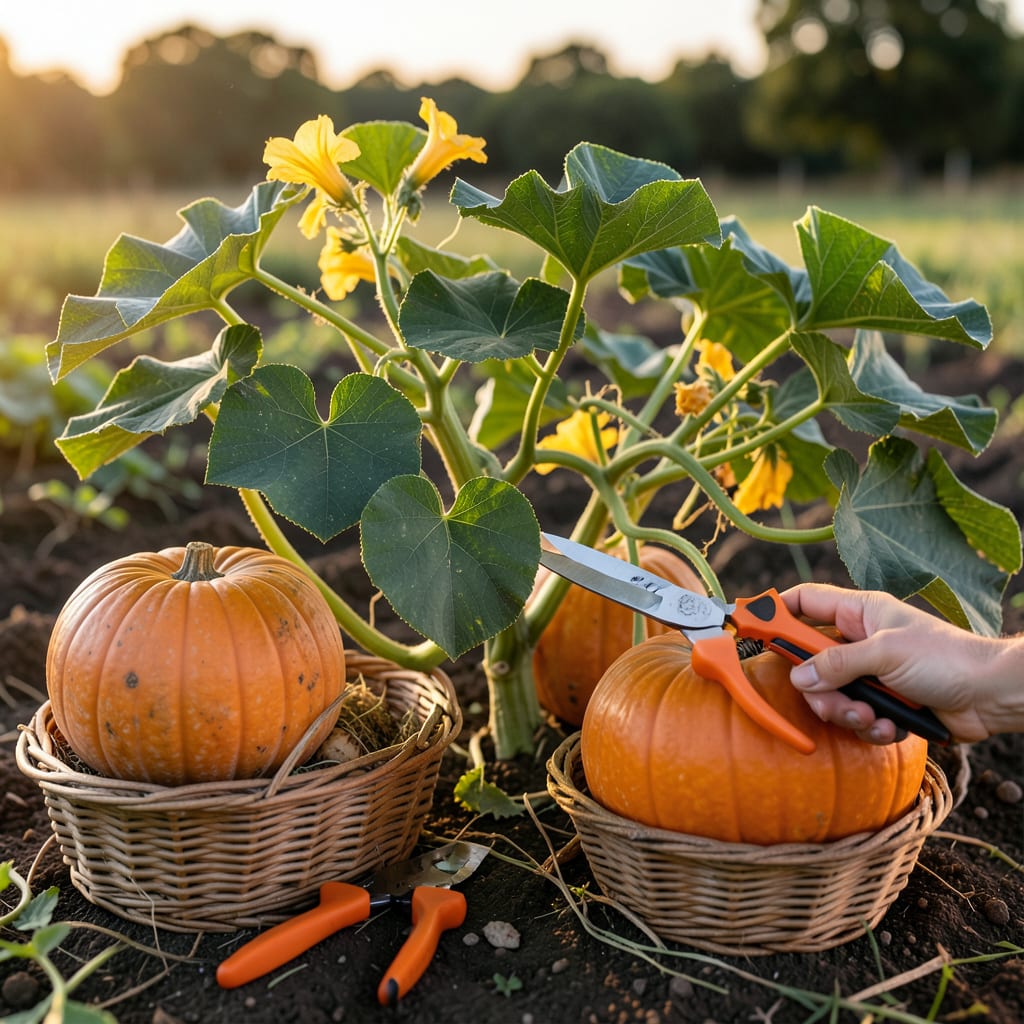
Nothing beats the disappointment of cutting into a pumpkin only to find it underripe. With 🎃 pumpkins, timing is everything for flavor and storage.
Discover the 3 foolproof signs to check before harvesting. I’ll show you exactly what to look for so you never pick too soon again.


Timing your pumpkin harvest perfectly ensures sweet flavor and long storage. I always check for uniform color first—most varieties turn a deep orange when ripe, but some stay white or green. 🌱
Next, I examine the rind hardness. A ripe pumpkin should resist puncture when I press my fingernail into it. This indicates the skin has toughened enough for storage. ☀️
| Sign | What to Look For | Why It Matters |
| Color | Deep, solid hue | Indicates full ripeness |
| Rind | Hard, resists puncture | Prevents bruising, extends storage |
| Stem | Dry, woody texture | Shows vine has stopped feeding |
| Sound | Hollow when knocked | Confirms internal ripeness |
| Vines | Dying back, brown | Natural maturation signal |
The stem condition tells me a lot too. When it turns dry and woody, the pumpkin is no longer receiving nutrients from the vine. I never pick with a green stem as it indicates immaturity. 🌿
I also listen for a hollow sound when I knock on the pumpkin. A dull thud means it needs more time. This test works best with larger varieties like Jack-O’-Lanterns.
The vines themselves offer clues. When they start dying back and turning brown, it’s nature’s way of saying the pumpkins are ready. This is especially true for Sugar Pie and Cinderella types.
For miniature pumpkins, I look for a glossy finish in addition to color. Their smaller size means they mature faster, often in 75-85 days rather than the standard 90-120.
I always check the ground spot where the pumpkin rests. A ripe one will have a cream-colored patch, not white or green. This is a subtle but reliable indicator.
Remember, frost is the enemy. I harvest all pumpkins before the first frost, even if some signs aren’t perfect. A light frost can damage the rind, reducing storage life significantly.
Finally, I use the thumbnail test as a last check. If my thumbnail can’t pierce the skin, it’s ready. This simple test has saved me from harvesting underripe pumpkins many times. ✂️
Harvesting pumpkins too early is a common mistake I see. Picking before the rind hardens means the pumpkin won’t store well. It may also lack the sweet flavor we expect. ☀️
Another error is cutting the stem too short. I always leave 3-4 inches of stem attached. A short stem increases the risk of rot and disease during storage. 🌱
Avoid Harvesting in Wet Conditions
Pumpkins should be completely dry when harvested. Wet conditions can introduce mold and bacteria through the stem. Always wait for a sunny day to pick.
I’ve learned not to ignore the weather forecast. A light frost can damage pumpkins, but a hard frost will ruin them completely. I harvest all pumpkins before the first frost arrives. 🌿
Some gardeners make the mistake of lifting pumpkins by the stem. This can cause the stem to break off, leaving an entry point for pests. I always lift from the bottom with both hands.
Another issue is harvesting too late. Overripe pumpkins can become mushy inside or split open. I check daily once the vines start dying back to catch the perfect moment.
Finally, I avoid stacking pumpkins for storage. This can cause pressure bruising. I keep them in a single layer with space between each one for proper air circulation. ✂️
Testing pumpkin ripeness doesn’t require fancy tools—just your senses and a few simple techniques. I’ve found these hands-on methods to be the most reliable for home gardeners. 🌱
The thumbnail test is my go-to first check. I press my thumbnail into the pumpkin rind. If it resists puncture, the pumpkin is ready to harvest. This works for all varieties.
For the knocking test, I use my knuckles to tap the pumpkin. A hollow sound indicates ripeness, while a dull thud means it needs more time on the vine. ☀️
The stem inspection is crucial. I check that it’s completely dry and has a woody texture. A green stem means the pumpkin isn’t ready yet, no matter how orange it looks.
I also examine the vines themselves. When they start dying back and turning brown, it’s a clear sign the pumpkins have reached maturity. This is nature’s way of telling you it’s time. 🌿
For miniature varieties, I look for a glossy finish in addition to color. Their smaller size means they mature faster, often in just 75-85 days rather than the standard 90-120.
Most varieties turn a deep, solid orange when ready, but some stay white or green. Look for uniform color without pale spots. The ground spot should be cream-colored, not white or green.
Yes! A dry, woody stem means the pumpkin has stopped receiving nutrients. If it’s still green or flexible, leave it on the vine a bit longer.
Picked too soon, the rind stays soft and won’t store well. The flavor may also be bland. Always check rind hardness with your fingernail first.
No! Even a light frost can damage the rind. Harvest all pumpkins before the first frost arrives, even if some signs aren’t perfect yet.
