
Beautiful Plants For Your Interior
Beautiful Plants For Your Interior
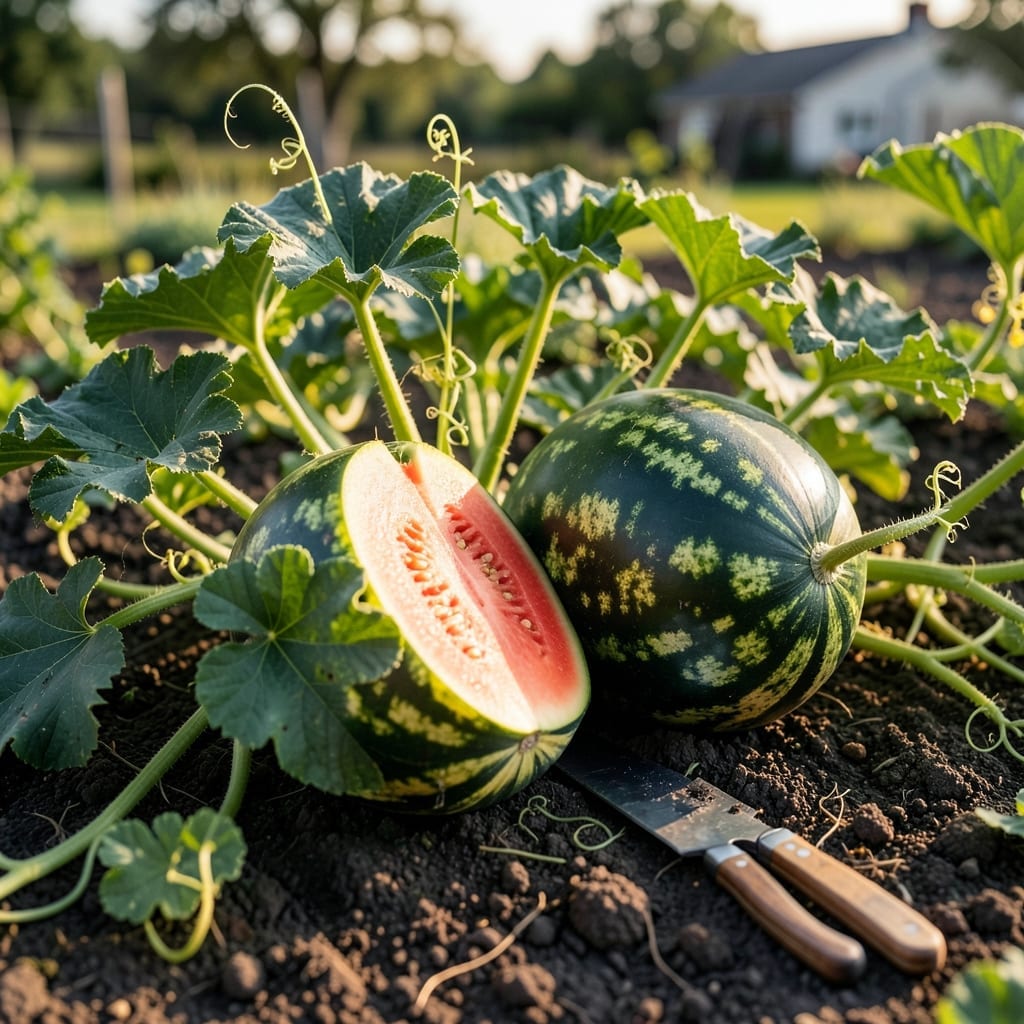
Nothing beats the disappointment of cutting into a watermelon that isn’t quite ready. I’ve been there, staring at pale, underripe flesh when I expected juicy sweetness.
With the 🍉 Watermelon harvest running from July to September, timing is everything. You’ll want to watch for specific visual and tactile cues that signal peak ripeness.
Discover the simple tricks to ensure every melon you pick is perfectly sweet and ready to enjoy.

I always start by examining the ground spot, the area where the melon rests on the soil. A creamy yellow color here means it’s ripe, while white or pale green indicates it needs more time.
Next, I check the rind color. A ripe watermelon typically has a dull finish rather than a shiny one. This change happens as the fruit matures and the chlorophyll breaks down.
| Sign | Ripe Indicator |
|---|---|
| Ground Spot | Creamy yellow |
| Rind Color | Dull, not shiny |
| Tendril | Brown and dry |
| Texture | Slightly rough |
The tendril opposite the stem is another key indicator. When it turns brown and dry, your watermelon is likely ready. If it’s still green and flexible, give it more time on the vine.
I also look at the surface texture. A ripe watermelon often develops a slightly rough or bumpy feel. This isn’t always visible to the naked eye, but running your fingers over the rind can reveal it.
Don’t overlook the size and shape. Most varieties reach their full size when ripe. Compare your melon to the expected dimensions for its variety.
The stem connection can offer clues too. If the stem is still firmly attached, the melon might not be ready. A slight loosening often indicates ripeness.
For seedless varieties, I pay extra attention to the ground spot and rind color, as these are more reliable indicators than tendrils.
Remember that weather conditions can affect ripening. Hot, dry periods may speed up the process, while cool, wet weather can slow it down.
I’ve found that checking these signs in combination gives the most accurate results. Relying on just one indicator might lead to premature picking.
With practice, you’ll develop an eye for spotting these visual cues quickly. Soon, you’ll be harvesting perfectly ripe watermelons every time 🌱
Beyond visual cues, I rely on the tap test to confirm ripeness. A ripe watermelon produces a deep, hollow sound when tapped, while an unripe one sounds more metallic or flat.
I also compare the weight to size. A ripe watermelon feels heavy for its size, indicating high water content. Lift a few similar-sized melons to get a sense of what “heavy” feels like.
The stem test is another reliable method. When the stem where the melon connects to the vine starts to loosen slightly, it’s often ready. Be careful not to pull too hard, as this can damage the vine.
I avoid common mistakes like tapping too lightly or relying solely on one test. Combining multiple methods gives the most accurate results. Also, don’t thump the melon too hard, as this can bruise the fruit.
For the weight comparison, I find it helpful to pick up several melons of similar size. The heaviest one is usually the ripest. This works especially well in commercial patches where many melons are available.
Remember that external factors like soil moisture and temperature can affect these tests. In very dry conditions, even ripe melons might not feel as heavy as usual.
With these auditory and tactile checks, you’ll develop confidence in selecting perfectly ripe watermelons every time 🌱