
Beautiful Plants For Your Interior
Beautiful Plants For Your Interior
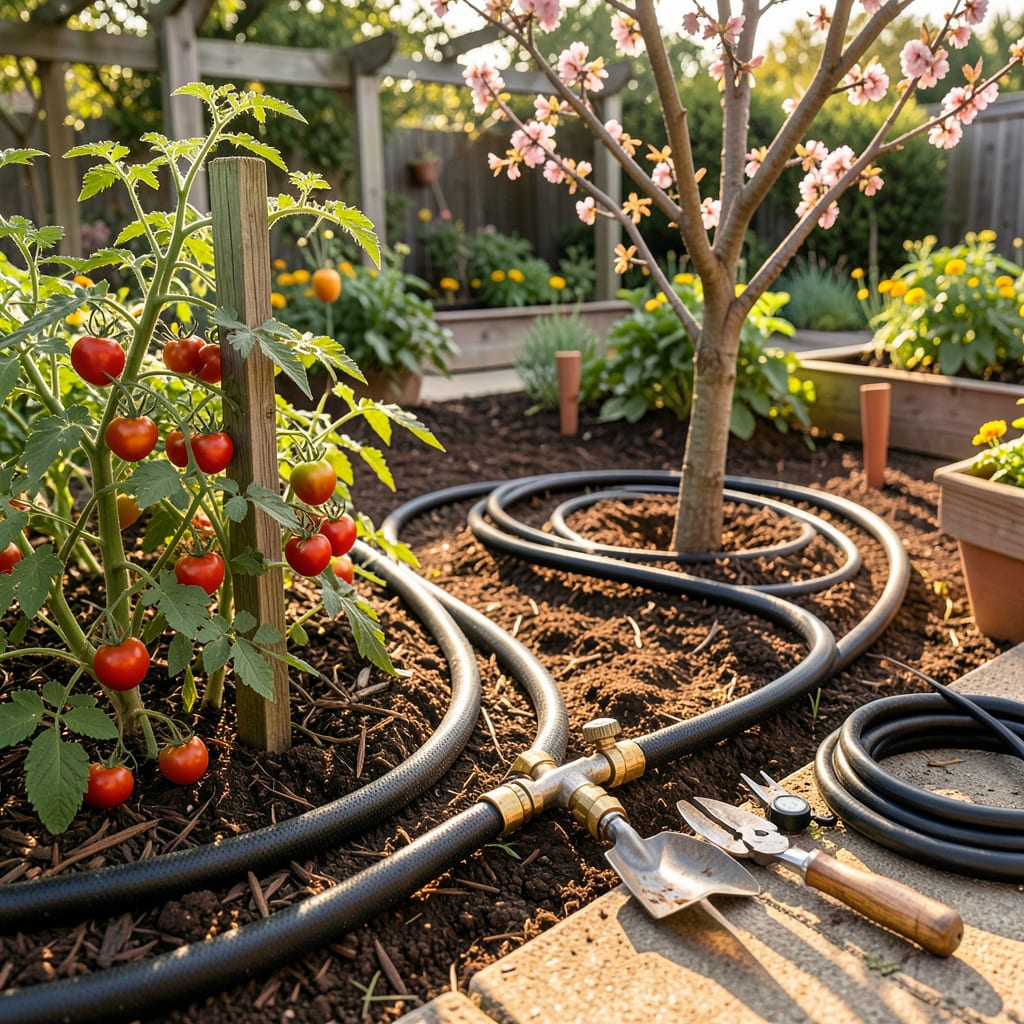
I wasted years dragging hoses around my garden until I discovered soaker hoses. Game changer. Honestly, they cut my watering time in half while keeping plants happier than any sprinkler ever could. The water goes straight to the roots where it’s needed, not evaporating into thin air or soaking leaves—which means fewer diseases and less wasted water.
Setting one up takes about 30 minutes and a handful of basic supplies. You’ll end up with a system that waters deeply and evenly, so your plants grow stronger with less effort from you. No more standing there with a hose, no more uneven watering—just turn it on and let it do the work while you enjoy your garden instead of maintaining it.
📚 In This Guide
You’ll be surprised how simple this process is—no special skills required, just a little planning.
Start by sketching your garden layout on paper, marking where you want the hose to run. I always place soaker hoses along plant rows or in concentric circles around trees, keeping them 6-12 inches from plant stems to prevent root rot. Measure the total length needed and add 10% extra for turns and connections.
Locate your water source—this could be a spigot, rain barrel, or irrigation line. Make sure it’s within easy reach of your hose layout. If you’re connecting to a faucet, check that you have the right adapter (most soaker hoses use standard 3/4-inch garden hose threads).
Clear the area where you’ll lay the hose of any sharp rocks, sticks, or debris that could puncture the hose. I like to create a shallow trench—about 1-2 inches deep—using a hoe or my hands. This helps keep the hose in place and ensures water soaks down to the roots rather than spreading sideways.
If your soil is particularly hard or compacted, consider laying down a thin layer of mulch first. This creates a softer bed for the hose and helps maintain consistent moisture levels. Avoid placing the hose where people will walk frequently—it’s designed to stay put, not handle foot traffic.
Unroll the hose along your planned path, starting at the water source. Keep it as straight as possible, but don’t worry about perfect lines—soaker hoses are flexible and will conform to gentle curves. When you need to turn, create a gradual U-shape bend rather than a sharp angle to prevent kinking.
Secure the hose with garden stakes or U-shaped wire pins every 3-4 feet. I’ve found that placing stakes at turns and ends prevents the hose from shifting when water pressure builds. If you need to connect multiple hoses, use the provided couplers and wrap the connection with Teflon tape for a watertight seal.
Attach the hose to your water source using the appropriate adapter. I always hand-tighten first, then give it an extra quarter turn with pliers to ensure a snug fit. Turn on the water slowly—start with half pressure to let the hose fill gradually and avoid bursting weak spots.
Walk the entire length of the hose, checking for leaks at connections and along the hose body. You should see water gently weeping from the pores—if you spot any geysers or dry sections, that indicates a manufacturing defect. Adjust the water pressure until you get a steady, even drip along the entire length.
Once you’ve confirmed everything works, cover the hose with 1-2 inches of mulch. This hides the hose, protects it from UV damage, and helps maintain soil moisture. I use organic mulch like straw or wood chips, which breaks down over time and enriches the soil.
Check your system weekly for the first month. Look for areas where water pools on the surface—this means you need to adjust the hose position or reduce water pressure. During peak summer, I run my soaker hoses for 30-45 minutes every other day, but adjust based on your soil type and rainfall.
Installing a soaker hose is straightforward, but these practical insights will help you avoid common pitfalls and get the most from your system.
Planning for Success: When sketching your layout in Step 1, remember that the 6-12 inch distance from plant stems isn’t just about preventing root rot—it also ensures water reaches the root zone where plants need it most. I’ve found that placing hoses in a zigzag pattern between rows works better than straight lines for even coverage, especially in vegetable gardens. That 10% extra length you’re adding isn’t just for turns—it gives you flexibility to adjust positioning after your initial test run.
Trench Depth Matters: The 1-2 inch trench mentioned in Step 2 might seem insignificant, but it makes a surprising difference. A deeper trench (closer to 2 inches) works better in sandy soil that drains quickly, while 1 inch is sufficient for clay or loamy soil. Here’s what nobody tells you—if you’re installing on a slope, dig the uphill side of the trench slightly deeper to compensate for water wanting to run downward. This simple adjustment prevents uneven watering that can leave some plants thirsty.
Pressure Control Technique: Step 4’s advice to start with half pressure is crucial, but there’s more to it. I’ve learned that different hose materials respond differently to pressure changes. Vinyl hoses often need slightly less pressure than rubber ones to achieve that perfect “weeping” action. After your initial test, walk the line again after 10 minutes of operation—sometimes hoses need this break-in period to reach their optimal flow rate. The goal is a steady drip, not a spray, along the entire length.
Maintenance Pro Tip: The 30-45 minute runtime suggested in Step 5 is a good starting point, but here’s how to fine-tune it. After watering, dig down 4-6 inches near the hose to check moisture depth. If the soil is damp at 6 inches, you’re watering deeply enough. If not, increase your runtime in 5-minute increments. During the first month of weekly checks, pay special attention to connection points—these are where most leaks develop as the system settles into place.
Most gardens need 30–60 minutes of soaker hose watering, 2–3 times per week. Sandy soil drains faster (shorter runs), while clay soil retains moisture longer (extend time). Check soil moisture 2–3 inches deep—if dry, increase duration. Early morning is the best time to minimize evaporation!
Yes! Use a hose connector or Y-adapter to link hoses, but keep total length under 100 feet for even water pressure. Longer setups may reduce flow to the end. Test connections for leaks before burying or covering with mulch.
Soaker hoses are cheaper and easier for small gardens or rows, while drip systems offer precision for individual plants. Soakers cover wider areas but may waste water if not buried. Drip irrigation excels in arid climates or for potted plants. Choose based on your garden’s needs!
Leaks usually mean loose fittings or high water pressure. Tighten connectors with pliers (don’t over-tighten!) or add a pressure regulator (aim for 10–20 PSI). If the hose itself is cracked, patch it with waterproof tape or replace the damaged section.
In mild climates, yes—but drain and store hoses before freezing temps to prevent cracks. UV exposure can degrade rubber over time, so cover hoses with mulch or bury them lightly. Replace hoses every 3–5 years for best performance.
