
Beautiful Plants For Your Interior
Beautiful Plants For Your Interior
That moment when your carefully transplanted seedling suddenly wilts is heartbreaking. I’ve lost count of how many plants I’ve watched struggle after moving them—leaves yellowing, stems drooping, growth stalling overnight. The good news? Transplant shock isn’t a death sentence, and I’ve found exactly what pulls plants through that critical first week. Most gardeners don’t realize […]
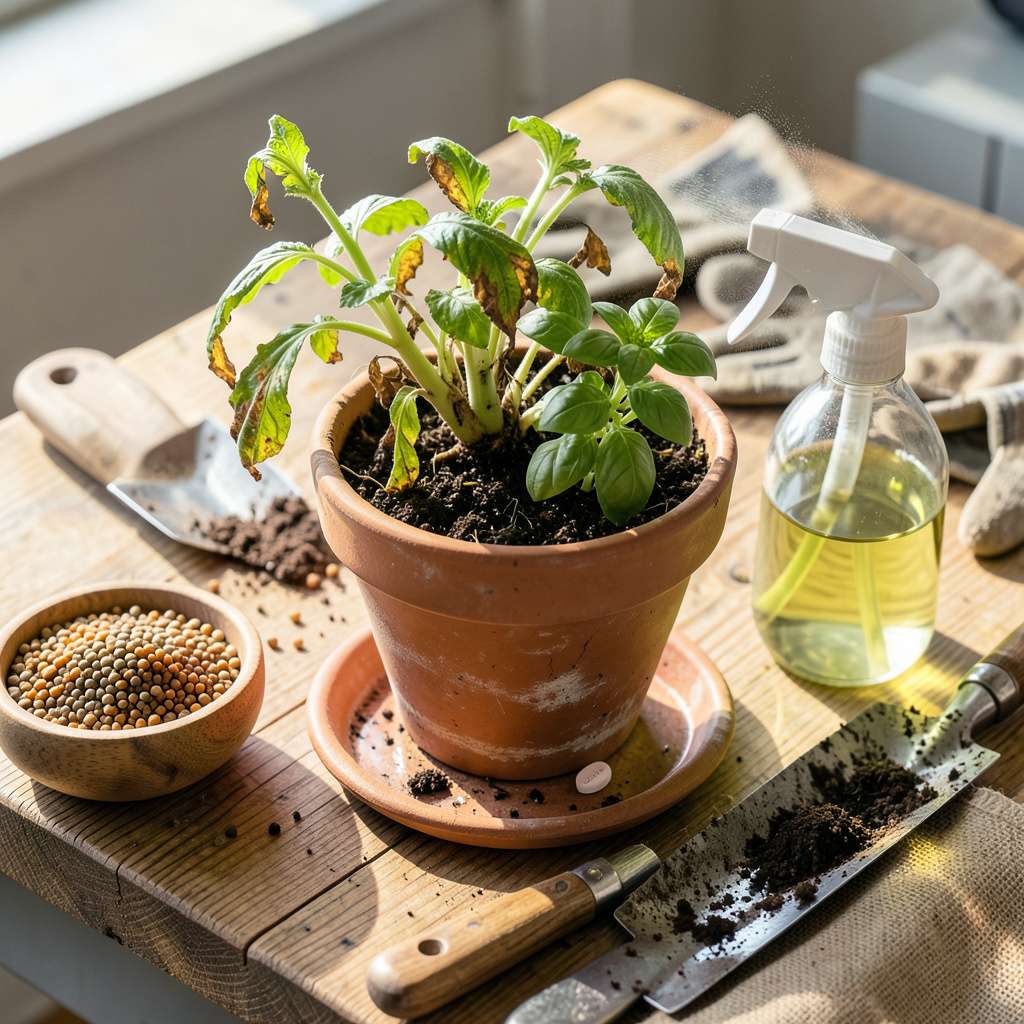
That moment when your carefully transplanted seedling suddenly wilts is heartbreaking. I’ve lost count of how many plants I’ve watched struggle after moving them—leaves yellowing, stems drooping, growth stalling overnight. The good news? Transplant shock isn’t a death sentence, and I’ve found exactly what pulls plants through that critical first week.
Most gardeners don’t realize the real damage happens before you even lift the plant from its pot. Roots get torn, stems get bruised, and suddenly your plant is fighting for survival in unfamiliar soil. The difference between recovery and loss comes down to three things: how you handle the roots, when you water, and where you place it those first 48 hours.
You’ll see improvement within 3-5 days if you follow the right steps—firm soil contact, strategic shade, and a watering schedule that matches the plant’s shocked state. I’ve brought back tomatoes that looked dead, peppers that wilted completely, and even finicky herbs that normally don’t survive transplanting.
Works for everything from vegetable seedlings to established shrubs. The technique adapts whether you’re moving plants between containers or setting them into garden beds. Here’s how to give them the best fighting chance.
📚 In This Guide
These are the exact techniques I use to revive stressed plants—most bounce back within a week when treated properly.
First, examine your plant for specific distress signals. Wilting leaves that don’t recover overnight indicate mild shock, while blackened stems or crispy brown foliage suggest severe stress. I always check the roots by gently sliding the plant from its pot—healthy roots appear white and firm, while damaged ones feel mushy or look dark.
Note whether the shock occurred after repotting, outdoor transplanting, or environmental changes. Repotting shock typically shows within 24-48 hours, while outdoor transplants may decline over 3-5 days as they adjust to new conditions. This diagnosis determines your recovery approach.
Using clean, sharp pruners, remove all dead or dying leaves by cutting back to healthy growth. I make cuts at a 45-degree angle just above a leaf node or branch junction—this prevents water pooling on the wound while encouraging new shoots. For severely shocked plants, I’ll remove up to one-third of the foliage to reduce water demand on stressed roots.
Avoid heavy pruning if the plant is already sparse—focus only on clearly damaged material. You’ll know you’ve cut enough when the remaining leaves look uniformly green and firm. Never remove more than 40% of the total foliage in one session, as this can shock the plant further.
Move potted plants to a location with bright, indirect light (east-facing windows work well) and stable temperatures between 65-75°F. For outdoor transplants, erect a temporary shade cloth or use row covers to filter 30-50% of sunlight for the first week. I’ve found that reducing light intensity by half prevents further stress while allowing photosynthesis.
Eliminate drafts from air conditioners, heaters, or wind—even gentle breezes can desiccate vulnerable leaves. A humidity tray (pebbles in water beneath the pot) adds 20-30% relative humidity around the plant, which dramatically reduces moisture loss through leaves. Check that the protective setup allows for some air circulation to prevent fungal issues.
Water deeply but less frequently—saturate the root ball until water runs from the drainage holes, then wait until the top 1-2 inches of soil feel dry before watering again. I use the finger test: insert your finger into the soil up to the second knuckle. If it feels barely moist, it’s time to water. For outdoor transplants, water at dawn so foliage dries quickly.
Add 1 teaspoon of vitamin B1 solution per gallon of water for the first three waterings—this stimulates root growth and reduces stress hormones. Avoid fertilizers completely during recovery, as salts in fertilizers burn tender new roots. You’ll see improvement when new leaves emerge lighter green than older foliage, typically within 7-10 days.
After 5-7 days of protected care, begin acclimating the plant to its permanent location. Start with 1 hour of direct morning sun on day one, increasing by 30 minutes daily. For outdoor plants, remove shade covers incrementally over a week. I watch for leaf firmness each evening—if leaves feel pliable rather than crisp, the plant is adjusting well.
Resist the urge to fertilize until you see new growth of at least 2 inches. At that point, apply a half-strength balanced fertilizer (10-10-10) to support recovery without overwhelming the plant. Full recovery is complete when the plant produces normal-sized new leaves and maintains turgor (firmness) overnight.
After years of reviving shocked plants, I’ve learned these subtle details make all the difference between slow recovery and rapid rebound.
Pruning Precision: When removing damaged foliage in Step 2, always sterilize your pruners with rubbing alcohol between cuts—especially when working with multiple plants. This prevents potential disease transmission that could compound the shock. The 45-degree angle cut isn’t just for aesthetics; it creates a larger surface area for callusing while directing water away from the wound site. I’ve found that making these cuts just 1/8 inch above the node (not flush) gives new shoots more room to emerge without constriction.
Microclimate Mastery: The 65-75°F temperature range in Step 3 isn’t arbitrary—it represents the optimal balance between metabolic activity and stress reduction. I maintain this by placing potted plants on a tray with pebbles and water (creating that 20-30% humidity boost) while keeping them at least 12 inches from windows to avoid temperature fluctuations. For outdoor transplants, I’ve had excellent results using floating row covers that provide both shade and a 5-10°F temperature buffer during unexpected cold snaps.
Watering Wisdom: The “top 1-2 inches dry” guideline in Step 4 requires nuance. For clay soils, this means waiting until the soil feels slightly cool to the touch at that depth. In sandy soils, you’ll want to water when the top inch feels dry but the second inch still has slight moisture. I always water until I see it emerge from the drainage holes, then count to five before stopping—this ensures complete root ball saturation without waterlogging. The vitamin B1 solution works best when applied in the early morning, as plants absorb nutrients most efficiently during their natural growth cycles.
Acclimation Strategy: During the 5-7 day protected period before Step 5, I monitor plants at three specific times: dawn (to check overnight turgor pressure), midday (for wilting signs), and dusk (for recovery status). This tells me whether to maintain, increase, or decrease protection. When reintroducing sunlight, I’ve found that morning sun between 8-10 AM causes the least stress, as it’s less intense than midday rays but still provides quality photosynthetically active radiation.
Here are the most common questions about helping plants recover from transplant shock—answered simply!
Most plants bounce back in 1–3 weeks, but severe cases (like large trees or sensitive species) may take months. Speed recovery by keeping soil moist, providing shade, and avoiding fertilizers until new growth appears.
Yes, but it’s preventable! Extreme stress (root damage, drought, or poor timing) can kill plants. Act fast: prune dead foliage, water deeply, and use anti-stress solutions like seaweed extract to boost survival odds.
No! Fertilizer burns stressed roots. Wait until you see new leaves or stems (usually 2–4 weeks). Instead, use compost tea or mycorrhizal fungi to gently support root growth.
Yes—temporary shade (like a cloth cover or dappled sunlight) reduces stress for 5–7 days. Exceptions: Succulents and sun-loving herbs (e.g., rosemary) may wilt more in shade; monitor soil moisture closely.
For delicate plants, try root pruning (trimming roots in-pot 1–2 months before moving) or container growing. If moving is unavoidable, transplant on a cloudy day or in early spring/fall for less shock.
Helping your plants bounce back from transplant shock is all about patience, proper care, and a little TLC. 🌱 By following the right steps—like hydrating roots, shielding from stress, and providing gentle nutrients—you’ll give your plants the best chance to thrive in their new home.
Don’t get discouraged if progress feels slow! Most plants recover within 2-4 weeks with consistent care. Ready to take action? Start by checking your plant’s soil moisture today—it’s the simplest way to track recovery and adjust your routine. Happy gardening! 🌿
