
Beautiful Plants For Your Interior
Beautiful Plants For Your Interior
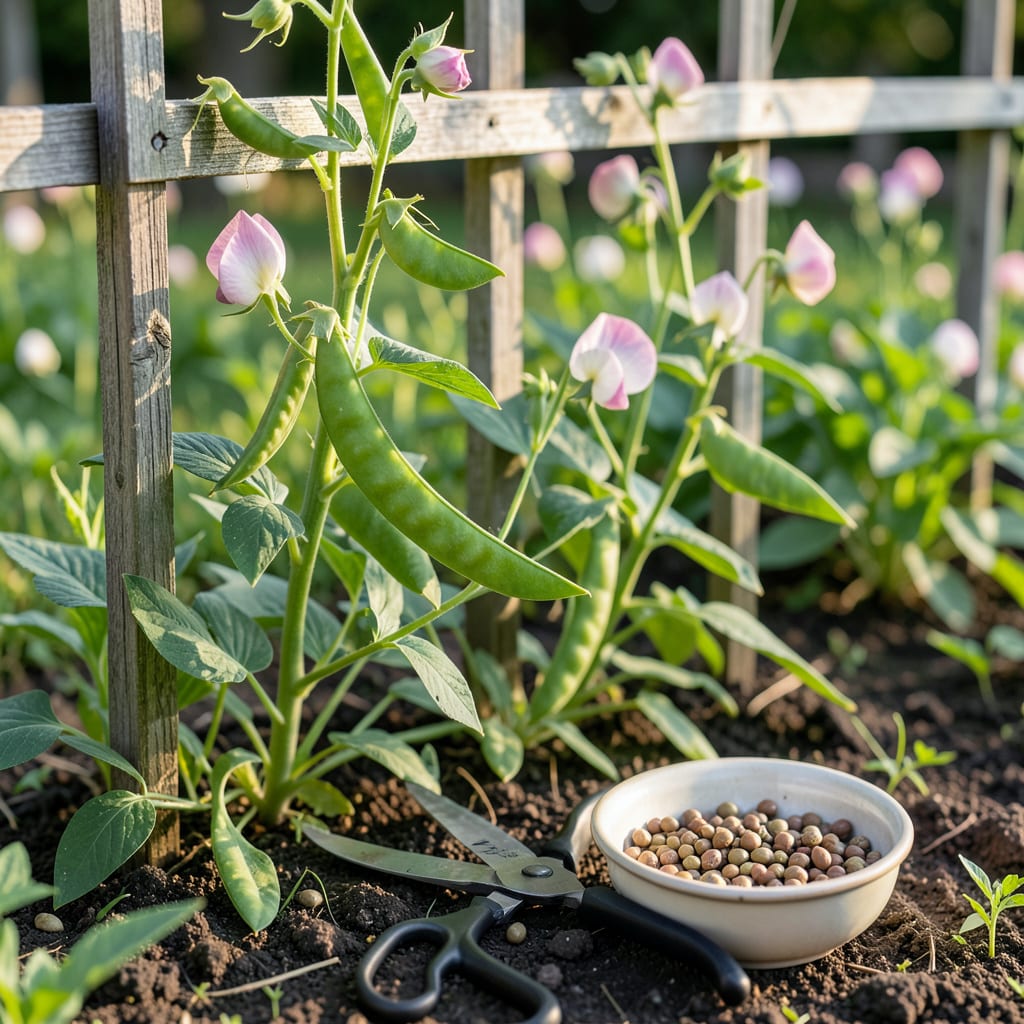
Want to grow your favorite 🌸 Sweet Peas again next year? Collecting seeds is easier than you think, and I’ll show you the most effective way to do it.
With just a little patience and the right approach, you can save high-quality seeds that will bring vibrant blooms back to your garden. Let me guide you through the simple process.


Harvesting sweet pea seeds starts with knowing when the pods are ready. I wait until the seed pods turn from green to brown and feel dry to the touch. This usually happens in late summer after the blooms fade.
The best sign of readiness is hearing the seeds rattle inside when you gently shake the pod. If the pods are still soft or green, the seeds aren’t mature enough for collection yet.
I always use clean, sharp scissors to avoid damaging the plant or the pods. Cutting at the base of the pod ensures you don’t accidentally pull off unripe ones nearby.
After harvesting, I place the pods in a paper bag or on a drying rack. Avoid plastic, as it can trap moisture and cause mold growth on your seeds.
Let the pods dry for 1-2 weeks in a well-ventilated area. Once they’re completely dry, you can shell the seeds by hand or gently crush the pods.
The seeds should be dark brown or black and hard when ready. If they’re still light-colored or soft, they need more drying time before storage.
I like to test a few seeds by soaking them overnight. If they sink, they’re viable and ready for storage. If they float, they may not be fully mature.
Once dry, store your seeds in airtight containers like glass jars or envelopes. Keep them in a cool, dark place to maintain viability for next season.
With this method, I’ve successfully saved seeds that germinate at 80-90% the following spring. It’s a rewarding way to preserve your favorite sweet pea varieties year after year. 🌸
Once you’ve harvested your sweet pea pods, the drying process is crucial for long-term viability. I spread them out in a single layer on a paper towel or drying rack in a warm, dry location.
Avoid direct sunlight or high humidity, as both can damage the seeds. A well-ventilated area like a sunroom or garage works perfectly for me. 🌿
💡 Pro Tip: Use a fan on low to improve airflow and speed up drying. Just ensure it’s not blowing directly on the pods to prevent over-drying.
It typically takes 1-2 weeks for the pods to dry completely. I check them daily, gently pressing a pod to test for brittleness. Once fully dry, the seeds will be hard and dark.
For storage, I prefer glass jars or paper envelopes. Both keep seeds safe from moisture and pests. Label each container with the variety and date to track viability.
Store your seeds in a cool, dark place like a basement or closet. Temperature fluctuations can reduce germination rates, so consistency is key for me. 🌱
If stored properly, sweet pea seeds can remain viable for 3-5 years. I always do a germination test before planting older seeds to ensure they’re still good.
Saving sweet pea seeds seems simple, but I’ve learned that small mistakes can ruin your harvest. One of the most common errors is harvesting too early when pods are still green. 🌿
Another pitfall is skipping the drying step. Even slightly moist seeds can develop mold or rot in storage, which wastes all your hard work.
I always ensure my seeds are fully dry before storing them. Even a little residual moisture can cause germination failure or mold growth.
Using non-airtight containers is another mistake. Seeds need protection from pests and humidity, so glass jars or sealed envelopes work best.
Finally, I never skip the germination test for older seeds. It’s a quick way to confirm viability before planting. With these tips, you’ll avoid the most common issues. 🌱
Late summer is ideal, typically July to August, when pods turn brown and dry. This ensures seeds inside are fully mature and ready for storage.
Pods should be brown, dry, and the seeds should rattle when shaken. If they’re still green or soft, wait a few more days for full maturity.
Avoid plastic—it traps moisture and can cause mold. Use glass jars or paper envelopes instead, and keep them in a cool, dark place.
Properly dried and stored seeds can last 3-5 years. Always do a germination test before planting older seeds to check viability.
