
Beautiful Plants For Your Interior
Beautiful Plants For Your Interior
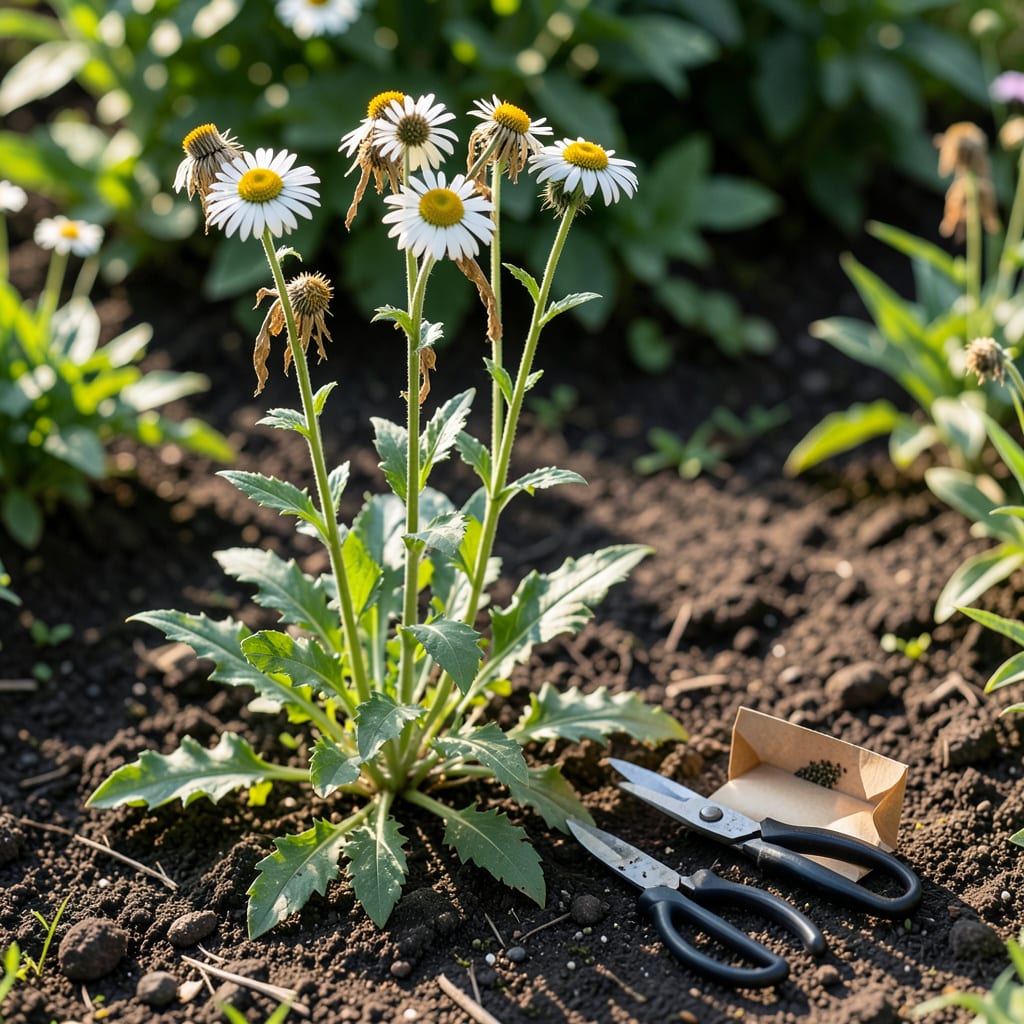
Want to grow more 🌼 Shasta Daisies next year without buying new seeds? Harvesting your own is easier than you think and saves money too.
I’ll show you the simple steps to collect seeds at the perfect time and store them properly. With these tips, you’ll have healthy blooms ready for spring planting.


Harvesting Shasta daisy seeds at the right time is crucial for ensuring viable seeds. I always wait until the flower heads are fully mature and dry before collecting.
The best time is late summer to early fall, when the petals have dried and fallen off, and the center turns dark brown. This signals the seeds are ready.
I use sharp pruners to snip the seed heads cleanly. This prevents damage to the seeds and keeps the stems intact for easier handling.
A paper bag is ideal for drying because it allows airflow while containing loose seeds. Avoid plastic, as it can trap moisture and cause mold.
Once dry, I gently rub the center of the flower head to loosen the seeds. They should come away easily if they’re ready. If not, I let them dry for a few more days.
For cleaning, I use a fine mesh sieve to separate seeds from chaff. This step ensures only clean seeds are stored for future planting.
I store my seeds in envelopes or small glass jars. Labeling each with the date and plant type helps me stay organized for next season.
A cool, dark location like a pantry or basement works best for storage. This keeps the seeds dormant and prevents premature germination.
With these steps, I’ve successfully harvested high-quality Shasta daisy seeds year after year. The process is simple but requires patience and attention to detail.
✂️Proper storage is key to keeping your Shasta daisy seeds viable for next season. I always start by ensuring seeds are completely dry before storing them away.
The drying process takes 1-2 weeks in a well-ventilated area. I spread the seed heads on a paper towel or place them in paper bags to finish drying.
🌱 Pro Tip: Store seeds in airtight containers with a silica gel packet to absorb any lingering moisture and extend shelf life.
For containers, I prefer glass jars or paper envelopes. Both keep seeds safe from pests and humidity. Label each with the harvest date and plant variety.
The ideal storage location is cool and dark, like a basement or closet. Avoid areas with temperature fluctuations, such as attics or garages.
I maintain a consistent temperature of 40-50°F for best results. This mimics natural dormancy conditions and preserves germination rates for years.
Before planting, I check seeds for mold or damage. If they look healthy, I’m ready to sow. With proper care, your seeds will reward you with beautiful blooms season after season. ☀️
Harvesting Shasta daisy seeds can go wrong if you rush the process. I’ve learned the hard way that picking too early leads to immature seeds that won’t germinate.
Another mistake is skipping the drying step. Damp seeds mold quickly in storage, ruining your entire harvest. Always ensure they’re bone dry first.
🌱 Key Takeaway: Avoid harvesting wet seeds or storing them in plastic bags. Use paper bags for drying and glass jars for storage.
I once stored seeds in a plastic container without drying them first. The result? A moldy mess that had to be tossed. Lesson learned: airflow matters.
Don’t forget to label your seeds. Mixing up varieties or forgetting the harvest date can lead to confusion later. A simple sticky note works wonders.
Finally, avoid overcrowding seeds during drying. Give them space to breathe on a paper towel or in a single layer in a bag. This prevents moisture buildup and ensures even drying. ✂️
Late summer to early fall is ideal, when flower heads turn dry and brown. Look for dark centers and petals that have fallen off.
Seeds should be dark and firm. If the center is still yellow or soft, wait a few more days. A gentle rub should release them easily.
No, plastic traps moisture and can cause mold. Use paper bags for drying and glass jars or envelopes for storage.
With proper drying and storage in a cool, dark place, they typically last 2-3 years. Label them with the date for tracking.
