
Beautiful Plants For Your Interior
Beautiful Plants For Your Interior
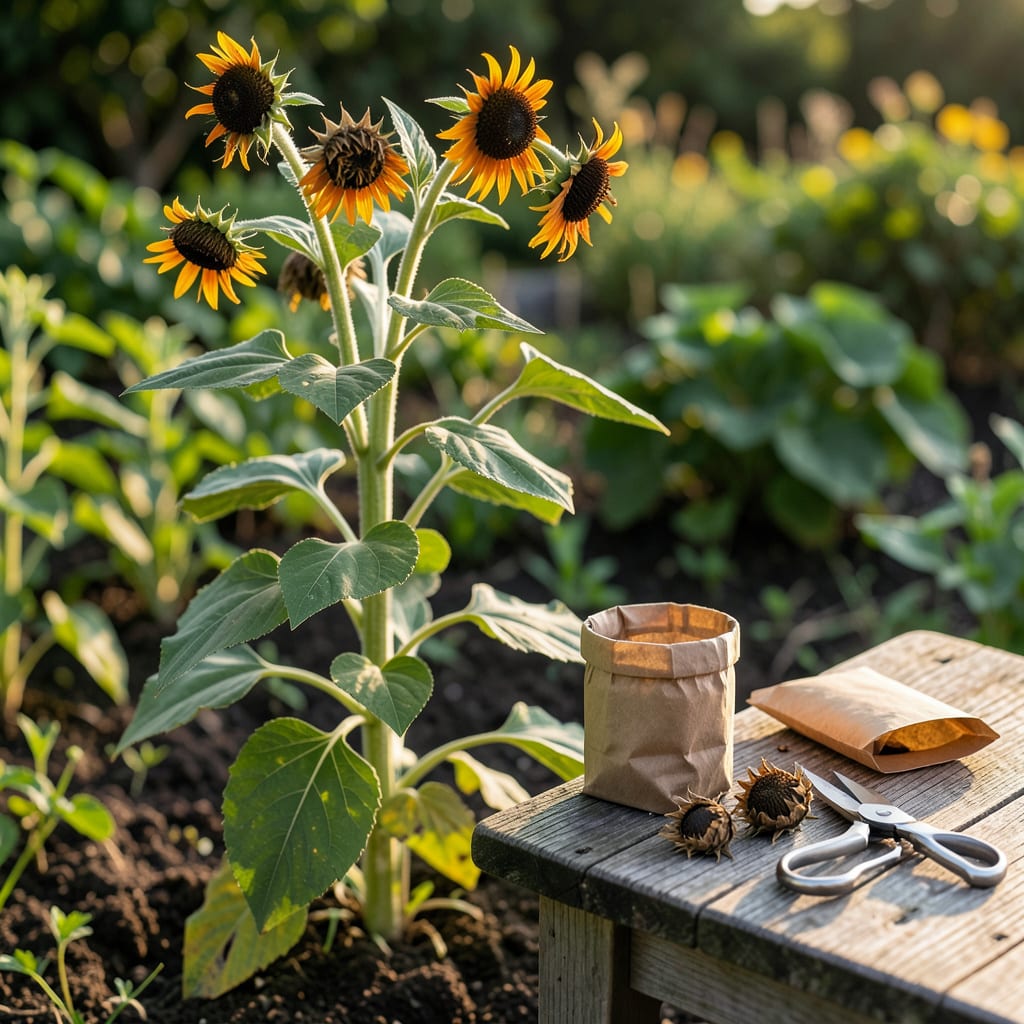
There’s nothing quite like watching your Mexican Sunflower 🌻 thrive, but the real reward comes when you learn how to harvest its seeds properly. These vibrant blooms don’t just brighten your garden—they produce seeds that promise next year’s display.
I’ll show you the easiest way to collect and store them for maximum viability. With the right timing and technique, you’ll have plenty to plant or share with fellow gardeners.


Timing is everything when harvesting Mexican sunflower seeds. I always watch for brown, dried flower heads as the first sign they’re ready. The center disk should be completely dry and the seeds dark before collection.
These vibrant orange blooms typically mature 75-90 days after planting. In most gardens, this means late summer to early fall harvesting. The petals will have fallen off completely when seeds are ripe. 🌻
| Maturity Sign | Appearance | Timing |
| Flower head color | Brown and dry | 75-90 days after planting |
| Seed color | Dark brown or black | When fully mature |
| Sound test | Rattles when shaken | Ready for harvest |
| Petals | Fallen off completely | Final ripening stage |
I’ve found that morning harvesting works best when the dew has dried but before the heat of day sets in. This helps prevent the seeds from scattering accidentally during collection.
The stem should be dry and brittle at the base of the flower head. If it’s still green and flexible, the seeds aren’t ready yet. Patience is key – premature harvesting results in non-viable seeds. 🌿
In cooler climates, you might need to extend the growing season with row covers. Mexican sunflowers are sensitive to frost, so harvest before the first cold snap.
For container-grown plants, the timeline might be slightly shorter. Watch for the same visual cues regardless of where they’re planted. The seed development process is consistent.
I always check multiple flower heads before starting my harvest. If 70% show readiness, it’s time to begin collecting. This ensures I don’t miss the optimal window. ✂️
Remember that bird activity often increases as seeds mature. If you notice feathered friends showing extra interest, it might be their way of telling you the seeds are ready!
Finally, weather conditions matter. A dry, sunny spell is ideal for harvesting. Avoid collecting seeds during or immediately after rain, as moisture can affect viability.
Once your Mexican sunflowers show the right maturity signs, it’s time to collect those precious seeds. I prefer using sharp garden scissors or pruners to snip off the dried flower heads cleanly at the stem.
Place the harvested heads in a paper bag or on a drying screen in a warm, well-ventilated area. This allows any remaining moisture to evaporate completely before storage. 🌿
For larger harvests, I spread the flower heads on a clean surface and gently roll them to release the seeds naturally. This method prevents damage to the delicate seeds inside.
After drying, I test a few seeds by pressing them – if they don’t bend, they’re ready for storage. Any soft or pliable seeds need more drying time to ensure viability.
I always label my storage containers with the harvest date and variety. Mexican sunflower seeds typically remain viable for 2-3 years when stored properly in cool, dark conditions. ✂️
For extra protection against pests or moisture, I sometimes add a silica gel packet to my seed containers. This simple step can make a big difference in maintaining seed quality over time.
Saving Mexican sunflower seeds offers gardeners multiple advantages beyond just next year’s flowers. I find it’s a cost-effective way to maintain my garden’s beauty without repurchasing seeds annually.
These seeds also support sustainable gardening by reducing reliance on commercial seed suppliers. Plus, sharing with neighbors spreads the joy of these pollinator-friendly plants. 🌻
I’ve discovered that home-saved seeds often adapt better to my local growing conditions over time. This creates stronger, more resilient plants that thrive in my specific garden environment.
The seeds also make excellent bird feed, especially during winter when natural food sources are scarce. I simply leave some flower heads unharvested for my feathered friends to enjoy. 🌿
For me, the process of saving seeds has become a rewarding garden ritual. It connects me more deeply with the growing cycle and gives me a sense of accomplishment as I watch new plants sprout from my saved seeds.
Look for brown, dried flower heads with dark seeds inside. When shaken, ripe seeds will rattle inside. The petals should have fallen off completely.
Gently rub the dried head between your fingers over a clean surface. For larger harvests, roll the heads to release seeds naturally without damaging them.
Properly stored seeds remain viable for 2-3 years. Keep them in airtight containers in a cool, dark place to maintain quality.
Avoid collecting seeds during or after rain. Moisture can reduce viability. Wait for dry, sunny conditions for best results.
