
Beautiful Plants For Your Interior
Beautiful Plants For Your Interior
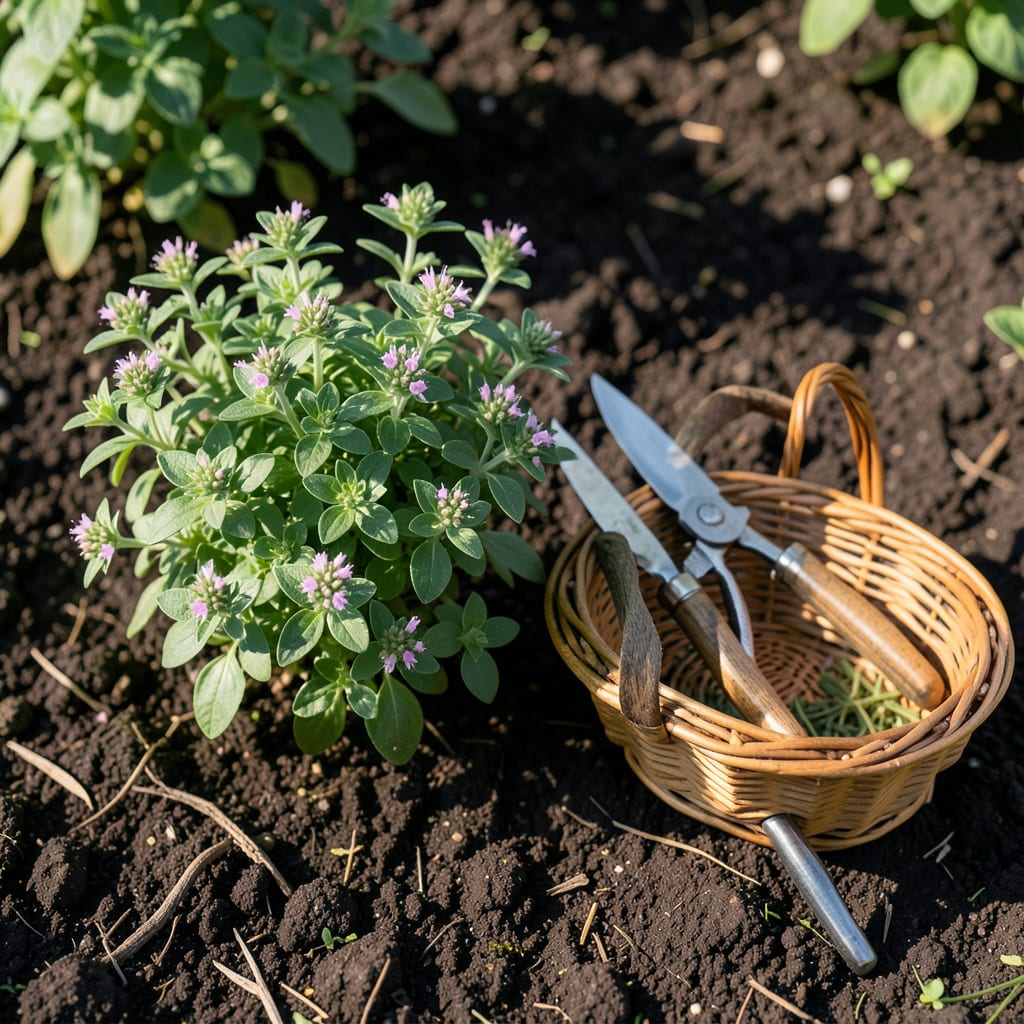
I remember the first time I harvested 🌿 Marjoram – the aroma was incredible, but I soon learned timing is everything. This delicate herb rewards patience with its most potent flavors.
Whether you’re a seasoned gardener or just starting out, I’ll show you exactly when and how to pick your Marjoram for maximum taste and plant health. Let’s get started.


Timing your marjoram harvest perfectly makes all the difference in flavor and plant health. I’ve found that early morning is ideal, right after the dew dries but before the midday heat sets in.
The best stage is when the plant reaches 6-8 inches tall and flower buds are just beginning to form. At this point, the essential oils are at their peak concentration.
| Stage | Signs | Best Time |
|---|---|---|
| Early Growth | 6-8 inches tall | Morning |
| Peak Flavor | Bud formation | June-October |
| Avoid | Open flowers | Afternoon heat |
I always check for firm stems and vibrant green leaves before harvesting. If the stems bend easily, the plant isn’t ready yet. The aroma test works well too – crush a leaf and smell.
For the strongest flavor, harvest before flowering. Once flowers open, the leaves become bitter. I aim for early summer as my first major harvest, then lighter picks every 2-3 weeks after that.
In warmer climates, you might get multiple harvests per season. Just
The time of day matters more than you think. Morning harvested marjoram retains more essential oils than afternoon picks. I’ve noticed a visible difference in leaf vitality when harvested early.
Watch for seasonal changes too. In cooler zones, start harvesting later in the season. The plant tells you when it’s ready – look for that full, bushy appearance with abundant foliage.
If you’re growing in containers, the same rules apply. Just be extra gentle as container plants can be more sensitive to over-harvesting. I find potted marjoram often needs more frequent, lighter harvests.
Finally, always use clean, sharp tools to prevent damaging the plant. This simple step makes a big difference in both the plant’s recovery and the quality of your harvest.
With these timing tips, you’ll get the most fragrant, flavorful marjoram every time 🌿
Harvesting marjoram properly keeps your plant healthy and productive. I always start by inspecting the plant for mature stems and full foliage before making my first cut.
For the cleanest harvest, I recommend using sharp pruning shears or clean scissors. This prevents tearing the stems, which can invite disease and slow regrowth.
I prefer the cut-and-come-again method for marjoram. By cutting stems just above a leaf pair, you stimulate new growth from that point, creating a fuller plant over time.
For young plants, I use my fingers to pinch off stem tips. This gentle method works well for light harvests and encourages branching without stressing the plant.
Always leave at least 2-3 sets of leaves on each stem to support continued growth. I’ve learned that over-harvesting can weaken the plant and reduce future yields.
After harvesting, I give my marjoram a light watering to help it recover. This is especially important during hot, dry periods when the plant is most stressed.
With these careful techniques, your marjoram will keep producing fragrant foliage all season long ✂️🌿
Even experienced gardeners can make harvesting errors with marjoram that reduce both flavor quality and plant health. I’ve seen many well-intentioned gardeners accidentally harm their plants through improper techniques.
The most common mistake is harvesting too late. Once marjoram flowers open, the leaf flavor becomes bitter and less aromatic. This is why I always watch for bud formation as my cue to harvest.
Another frequent error is harvesting at the wrong time of day. As I mentioned earlier, morning harvesting preserves the most essential oils. Afternoon picks often result in wilted leaves with diminished flavor.
I’ve also learned to avoid harvesting during extreme heat. The stress can shock the plant. If temperatures are above 90°F, I wait for cooler weather or harvest very early in the day.
Finally, never harvest from stressed plants. If your marjoram looks wilted or yellowed, address the underlying issue before taking any cuttings. Healthy plants recover faster and produce better quality foliage ✂️
Early morning is ideal, right after dew dries but before midday heat. This preserves the most essential oils and flavor in the leaves.
Never remove more than 1/3 of the plant at a time. This prevents stress and allows for healthy regrowth. Always leave 2-3 sets of leaves on each stem.
Avoid harvesting once flowers open. The leaves become bitter and lose their aromatic quality. Harvest just as buds begin to form for peak flavor.
Use sharp pruning shears or clean scissors for mature plants. For young plants, your fingers work well for gentle pinching. Always sterilize tools between uses.
