
Beautiful Plants For Your Interior
Beautiful Plants For Your Interior
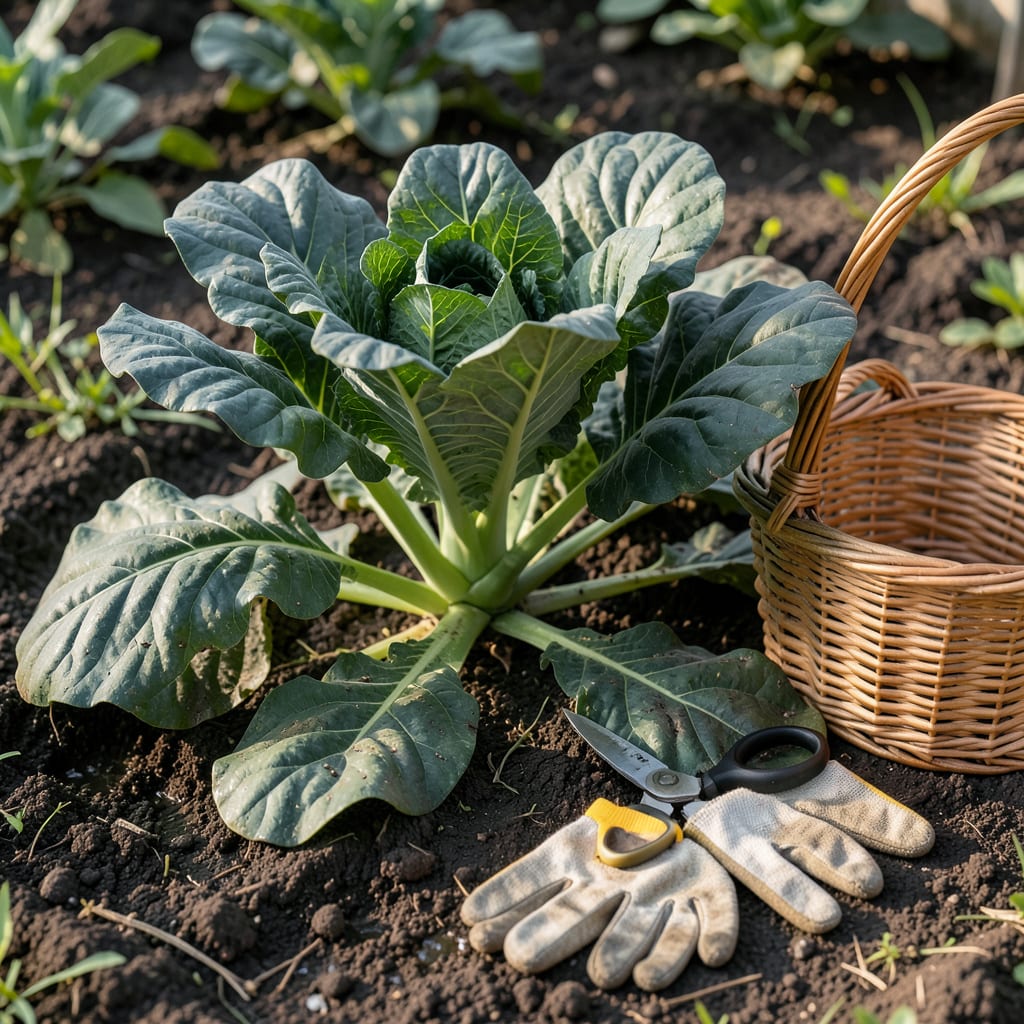
Harvesting Collards the right way can keep your plants producing fresh, tender leaves for months. Unlike one-time harvest crops, Collards offer continuous growth when picked properly.
I’ll show you the leaf-by-leaf method that maintains plant health while giving you the best yield. This approach ensures you’ll enjoy multiple harvests from the same plants.


Harvesting collards properly ensures your plants keep producing fresh, tender leaves for months. The leaf-by-leaf method is key to maintaining healthy growth and maximizing yield.
I always start by inspecting the plant for mature outer leaves that are at least 10-12 inches long. These are the best candidates for your first harvest, as they allow the center to continue growing.
Using the right tools makes a big difference. I recommend sharp garden scissors or pruners to ensure clean cuts that won’t harm the plant. Dull tools can crush stems, making the plant more susceptible to disease.
Timing matters too. I find that harvesting in the early morning when leaves are crisp and hydrated gives the best results. Avoid harvesting during the hottest part of the day, as leaves can wilt quickly.
The leaf-by-leaf method allows you to harvest multiple times from the same plant. By only taking a few leaves at a time, you give the plant a chance to recover and produce more.
After cutting, check for any signs of pests or disease. Healthy leaves should be dark green and firm. If you notice yellowing or holes, address the issue before it spreads to the rest of the plant.
Proper post-harvest care is essential. Water your collard plants deeply after harvesting to help them recover. This encourages new growth and keeps the soil consistently moist.
With this approach, you can enjoy fresh collards for weeks. I’ve found that well-maintained plants can produce tender leaves well into the fall season. ✂️
Remember, the key is consistency. Regular harvesting not only provides you with a steady supply but also keeps the plant productive and healthy. 🌱
Timing your collard harvest can make a big difference in flavor and plant health. I always aim for the early morning when leaves are most hydrated and crisp, ensuring the best texture and taste.
Seasonally, collards thrive in cooler weather. I find the leaves are most tender in spring and fall, especially after a light frost, which can enhance their sweetness.
The time of day affects leaf quality. Morning harvests yield firmer leaves with better flavor. In contrast, leaves picked in the afternoon heat can become limp and bitter.
Seasonal changes also impact collard growth. In summer, leaves may toughen, so I harvest younger, more tender leaves. In winter, growth slows, but the leaves can still be picked if protected from hard freezes.
Watch for signs of readiness: dark green, firm leaves that are at least 10-12 inches long. These indicate the plant is mature enough for harvest while still encouraging new growth.
Post-harvest, I always water deeply to help the plant recover. This keeps the soil moist and supports the next round of leaf production, ensuring a continuous supply of fresh collards. ✂️
Harvesting collards incorrectly can harm your plants and reduce future yields. I’ve learned that over-harvesting or cutting improperly can stunt growth or even kill the plant.
One common mistake is taking too many leaves at once. I always leave at least 1/3 of the leaves on the plant to ensure it can continue photosynthesizing and growing.
Over-harvesting: Never remove more than 1/3 of leaves at a time.
Improper cutting: Use sharp tools to avoid crushing stems.
Ignoring pests: Check leaves for holes or spots before harvesting.
Neglecting care: Always water deeply after harvesting.
Another error is using dull tools that crush stems instead of making clean cuts. I always use sharp scissors or pruners to prevent damage and disease entry points.
Timing mistakes also matter. Harvesting during midday heat can cause wilting, while harvesting wet leaves can spread disease. I stick to morning harvests for best results.
Finally, I’ve found that ignoring post-harvest care reduces future yields. Always water your collard plants deeply after cutting to support recovery and new growth. ✂️
You can harvest every 7-10 days during active growth periods. Always leave the center leaves to keep the plant productive for 2-3 months.
Focus on mature outer leaves that are 10-12 inches long and dark green. Young inner leaves should stay to support continued growth and future harvests.
Use sharp garden scissors or pruners for clean cuts that won’t damage stems. Dull tools can crush plants and invite disease.
Stop when the plant shows signs of stress like yellowing leaves or stunted growth. Also discontinue before the first hard frost in colder climates.
