
Beautiful Plants For Your Interior
Beautiful Plants For Your Interior
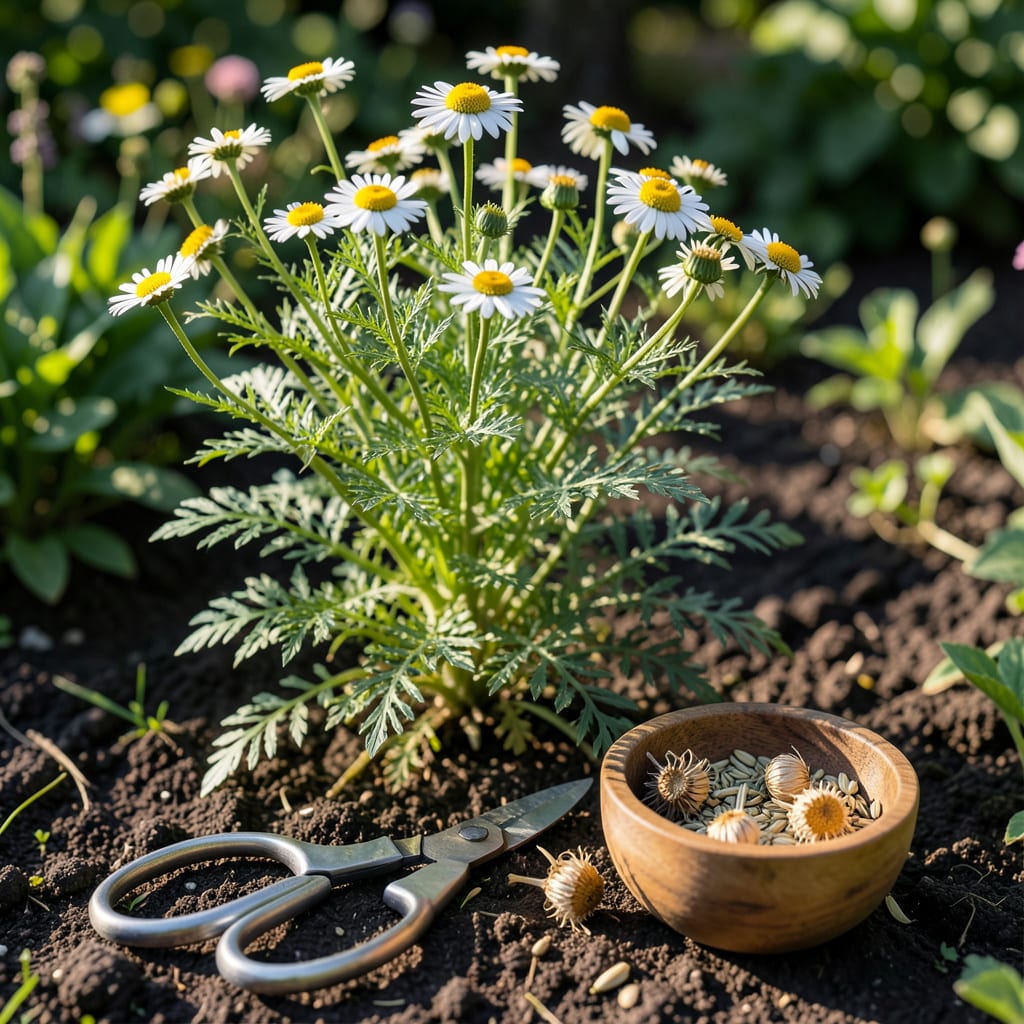
I love watching my 🌼 Chamomile bloom in spring, but the real magic happens when you harvest those tiny seeds for next year’s garden.
With just a little know-how, you can collect and store them properly to ensure a fresh, thriving crop. Let me walk you through the simple process.


I always get excited when my German chamomile starts flowering because I know the seed harvest is just around the corner. The key is perfect timing – too early and the seeds won’t be viable.
You’ll want to wait until the flower petals have completely dried and fallen back, exposing the seed head. This usually happens about 2-3 weeks after the flower first blooms. ☀️
I like to use sharp pruners to snip the stems just below the flower head. Be gentle – those chamomile seeds are tiny and can easily fall to the ground if you’re not careful.
The drying process is crucial for seed viability. I hang my bundles in a dark closet with good air circulation. Direct sunlight can damage the seeds, so keep them shaded. 🌿
After about 2 weeks, the seeds should be completely dry. You’ll know they’re ready when they rattle inside the flower head when you shake it gently. This is nature’s way of telling you they’re ready for collection.
To separate the seeds, I rub the dried heads between my fingers over a clean bowl. The seeds are very small, so work over a white surface to make them easier to see and collect.
I’ve found that fine mesh screens work wonderfully for sifting out any remaining plant debris. Just pour your collected material through the screen and the clean seeds will fall through.
Remember that chamomile seeds need to be completely dry before storage. Any moisture can cause them to mold. I spread mine out on a paper towel for an extra 24 hours to be sure. 🌱
For storage, I use small glass jars with tight-fitting lids. Label them with the date – chamomile seeds remain viable for about 2-3 years when stored properly in a cool, dark place.
Once you’ve collected your chamomile seeds, proper storage is key to maintaining their viability. I’ve learned that moisture and heat are the biggest enemies of seed longevity. 🌱
First, ensure your seeds are completely dry before storing. I spread mine on a paper towel in a well-ventilated area for an extra 24-48 hours after initial drying.
💡 Pro Tip: Seed Storage
Use airtight containers like glass jars or seed envelopes. Store in a cool, dark place to preserve viability for 2-3 years.
I prefer using small glass jars with tight-fitting lids. Always label your containers with the date of collection. This helps track seed age and viability.
For extra protection, I add a silica gel packet to absorb any residual moisture. This is especially important if you live in a humid climate where moisture can be a problem. ☀️
When you’re ready to plant, I recommend doing a germination test. Simply place a few seeds on a damp paper towel in a sealed bag. If most sprout within 7-10 days, your seeds are good to go.
Remember that chamomile seeds don’t need any special treatment before planting. Just sow them directly in well-draining soil after your last frost date. They’ll germinate best in 60-70°F soil temperatures. 🌿
I’ve made my share of chamomile seed harvesting mistakes, and I want to help you avoid them. One of the biggest errors is harvesting too early when the seeds aren’t mature yet.
Another common pitfall is skipping the drying step. Seeds collected while still damp can mold in storage, ruining your entire batch. Always ensure they’re bone-dry before sealing. 🌿
⚠️ Warning: Seed Harvesting Pitfalls
Avoid direct sunlight during drying, poor storage in humid areas, and crushing seeds when handling delicate flower heads.
I’ve also seen gardeners store seeds in plastic bags without proper sealing. Always use airtight containers to keep moisture and pests out. Glass jars work best for me.
Another mistake is overlooking seed cleaning. Leaving plant debris mixed in can lead to mold or uneven germination. Take the time to sift and separate your seeds properly. ☀️
Finally, don’t forget to label your seeds with the harvest date. Without this, you might accidentally plant old seeds with low viability. I use masking tape and a marker for quick, clear labels.
Look for flower heads with brown centers and petals that have dried and drooped backward. The seeds are ready about 2-3 weeks after blooming.
No, harvesting too early is a common mistake. Seeds from fresh flowers won’t be viable. Always wait until the flower heads are completely dry and brown.
Hang flower heads upside down in a cool, dark place with good air circulation for 1-2 weeks. Avoid direct sunlight.
Use airtight containers like glass jars. Keep them in a cool, dark place and they’ll stay viable for 2-3 years.
