
Beautiful Plants For Your Interior
Beautiful Plants For Your Interior
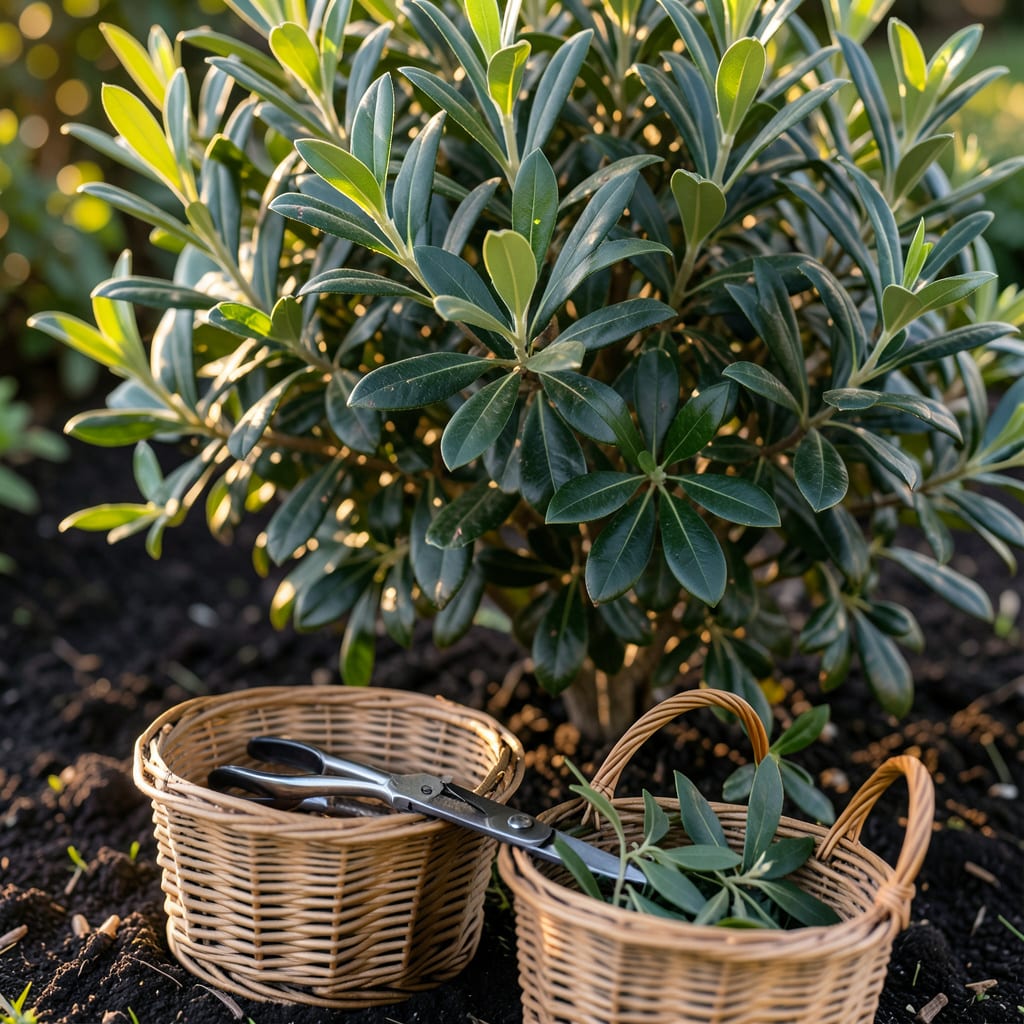
There’s nothing quite like the aroma of fresh Bay Laurel 🌿 leaves to elevate your cooking. I remember the first time I harvested my own – the difference in flavor was incredible.
Getting the timing and method right ensures your plant stays healthy while delivering the most potent leaves. Let me walk you through the easiest way to do it without harming your plant.


I always tell fellow gardeners that timing is everything when it comes to harvesting Bay Laurel leaves. The best flavor comes from mature leaves, and your plant’s age matters too.
Your Bay Laurel should be at least 2 years old before harvesting. Younger plants need time to establish their root systems and foliage. 🌿
| Harvest Factor | Ideal Condition |
|---|---|
| Plant Age | 2+ years old |
| Leaf Color | Dark green and glossy |
| Leaf Texture | Firm and leathery |
| Aroma Test | Strong scent when crushed |
| Plant Height | 3+ feet tall |
| Harvest Season | Year-round in zones 8-10 |
The leaf color is your first visual cue. Look for dark green leaves that appear glossy and healthy. Light green or yellowish leaves aren’t ready yet.
I always do the crush test before harvesting. Gently crush a leaf between your fingers – if it releases that signature bay aroma, it’s ready to pick.
Another sign is the leaf texture. Ready leaves feel firm and leathery to the touch. They should snap cleanly when bent, not feel soft or pliable.
Your plant’s height matters too. I wait until my Bay Laurel reaches at least 3 feet tall before taking leaves. This ensures the plant is mature enough to handle harvesting.
In USDA zones 8-10, you can harvest year-round. In cooler climates, it’s best to pick leaves in late summer before the first frost.
Remember that new growth should never be harvested. Always leave the tender young leaves at the branch tips to continue growing. The older, mature leaves are your target.
I’ve found that harvesting in the morning after the dew has dried gives the best results. The leaves are at their peak oil content then, ensuring maximum flavor. ✂️
Harvesting Bay Laurel leaves properly keeps your plant thriving while giving you the best quality leaves. I always use gentle methods to avoid stressing my plants.
Whether you’re harvesting from a mature tree or a potted plant, the technique matters. The right approach prevents damage and promotes healthy regrowth. 🌿
I prefer hand-picking for small harvests. Simply pinch the leaf stem between your fingers and pull gently. This works well for young plants or when you only need a few leaves.
For larger harvests, I use clean pruning shears. This gives a clean cut that heals faster. Always sterilize your tools with rubbing alcohol before and after use.
After harvesting, I check my Bay Laurel for any signs of stress. If you see wilting or yellowing leaves, you may have taken too many. Give your plant extra care and reduce harvest next time. ✂️
Properly drying and storing your Bay Laurel leaves ensures they retain their rich aroma and bold flavor for months. I’ve found that the right technique makes all the difference in preserving quality.
Freshly harvested leaves need to be dried thoroughly to prevent mold. The process is simple, but patience is key for the best results. 🌿
🌱 Pro Tip:
For the best flavor preservation, air-dry leaves in a cool, dark place with good airflow. Avoid direct sunlight, which can degrade their essential oils.
Air-drying is my preferred method. I spread leaves in a single layer on a clean, dry surface like a baking sheet or drying rack. This takes about 1-2 weeks depending on humidity.
For faster results, I use an oven-drying method. Set your oven to its lowest temperature (around 170°F) and spread leaves on a tray. Check frequently to avoid over-drying.
Once completely dry, store leaves in an airtight container away from light and heat. I keep mine in a glass jar in my pantry. Properly stored, they’ll retain flavor for up to a year. ✂️
Wait until your plant is at least 2 years old and 3 feet tall. Younger plants need time to establish strong root systems and foliage before harvesting.
Never harvest from tender new growth at branch tips. Always pick from mature outer branches to avoid stunting your plant’s development.
Harvest in the morning after dew evaporates. This is when leaves have the highest essential oil content, ensuring peak flavor.
Never remove more than 30% of leaves in a single harvest. Taking too many can shock the plant and slow its recovery.
