
Beautiful Plants For Your Interior
Beautiful Plants For Your Interior
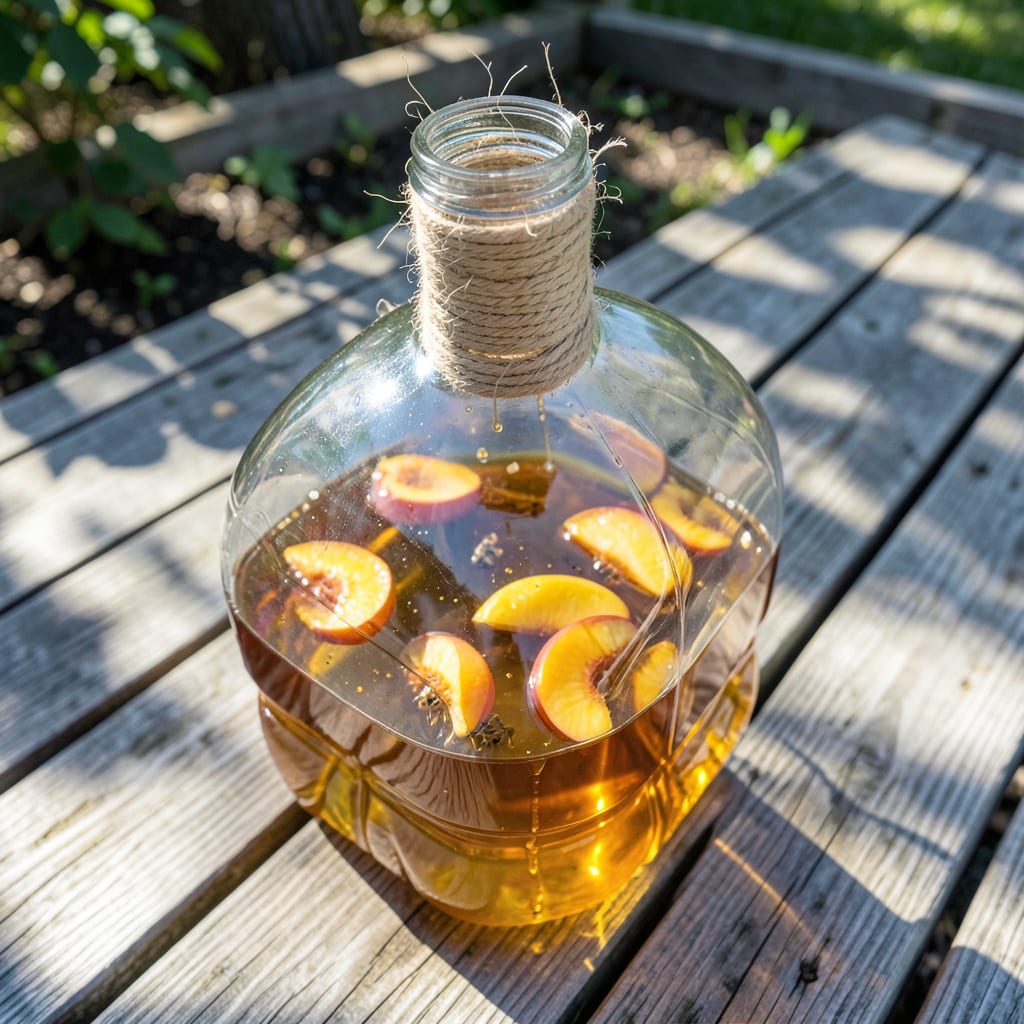
Yellow jackets turned my garden into a no-go zone last summer. Here’s the simple DIY trap that finally gave me my backyard back without harsh chemicals.
You’ll need 3 household items and 10 minutes. The design lures them in but prevents escape, and placement near problem areas makes all the difference.
📚 In This Guide
Here’s a straightforward method I’ve refined over years of dealing with these persistent insects.
Choose a 2-liter plastic bottle or similar container with a wide mouth—this gives the insects enough space to enter but makes escape difficult. I prefer clear bottles because they let me monitor activity without disturbing the setup. Remove the label and clean the container thoroughly to eliminate any residues that might deter the insects.
Cut the bottle about 4 inches from the top using sharp scissors or a utility knife. This creates two pieces: the base for holding liquid and the top for the funnel. The cut should be clean and even to ensure a proper fit later. Sand any sharp edges with fine-grit sandpaper to prevent injury during handling.
Take the top portion of the bottle (the part with the neck) and invert it so the neck points downward into the base. This forms a funnel that guides the insects in but confuses their exit. Secure the inverted top to the base with duct tape or staples, ensuring no gaps exist where the insects could escape.
I’ve found that taping the edges tightly creates a seamless transition. The funnel’s opening should be wide enough to allow entry but narrow enough to prevent easy departure. Test the fit by gently shaking the assembly—if the top shifts, reinforce the connection with additional tape.
Prepare a bait solution that attracts these insects specifically. I use a mixture of 1 cup sugar, 1 cup water, and 1 cup vinegar with a small amount of meat (like chicken or fish) as protein. The sugar draws them in, while the protein keeps them interested long enough to drown.
Pour the mixture into the base of the bottle, filling it to about 1-2 inches from the bottom. This depth ensures the insects can reach the liquid but still have space to fly around before becoming trapped. Avoid overfilling, as this reduces the trap’s effectiveness.
Place the completed trap in areas where you’ve noticed high activity, typically near food sources or garbage bins. Hang it from a tree branch, fence post, or hook at a height of 3-5 feet—this keeps it out of reach of pets and children while remaining accessible to flying insects.
I position traps at least 20 feet away from seating or dining areas to avoid luring more insects toward where people gather. Monitor the trap daily and replace the bait every 3-5 days or when it becomes cloudy or filled with debris.
Check the trap every 24-48 hours during peak activity periods. You’ll notice a significant number of insects inside within the first day if placed correctly. When the liquid becomes saturated with insects or loses its potency, empty and refill it with fresh bait.
Dispose of the contents in a sealed plastic bag to prevent the insects from escaping. Rinse the bottle with soapy water between refills to remove any lingering scents that might reduce effectiveness. This simple maintenance ensures consistent performance throughout the season.
After years of perfecting this method, I’ve learned the small details that make all the difference.
Precision Matters: When cutting the bottle in Step 1, ensure that 4-inch measurement is exact. A cut too high leaves insufficient space for the bait solution, while too low reduces the funnel’s effectiveness. Use a ruler for accuracy, and sand those edges thoroughly to prevent injury during handling.
Seal the Deal: In Step 2, don’t underestimate the importance of a tight seal between the funnel and base. I’ve seen traps fail because of tiny gaps that yellow jackets exploit to escape. Use duct tape liberally, pressing firmly along the entire seam, and test by shaking the assembly before hanging.
Bait Depth Strategy: For Step 3, filling the base to 1-2 inches from the bottom is critical. Too much liquid and the insects can’t reach the surface to drown; too little and they won’t be drawn in effectively. The sugar, water, and vinegar mixture should be fresh—replace it every 3-5 days as instructed to maintain potency.
Placement Wisdom: Step 4’s positioning guidelines exist for a reason. Hanging the trap at 3-5 feet ensures it’s accessible to flying insects while staying out of reach of children and pets. And that 20-foot buffer from seating areas? It prevents the trap from inadvertently attracting more yellow jackets to where you’re trying to relax.
Empty and refresh the trap every 3-5 days, especially in warm weather. Yellow jackets are attracted to decaying protein, so old bait loses effectiveness and can create a foul odor.
Use protein-based baits like raw meat, pet food, or tuna. In late summer, switch to sweet liquids (e.g., soda or juice) as their diet shifts. Avoid using honey or jam, as it attracts bees too.
Hang or set traps 4-5 feet off the ground, away from human activity (10-15 feet from patios or doors). Place near gardens, trash areas, or known yellow jacket hotspots.
Check the bait—it may be too old or the wrong type. Ensure the trap is placed in a high-traffic area and that entry holes are the right size (about ½ inch). Avoid using soaps or detergents, as they can repel wasps.
