
Beautiful Plants For Your Interior
Beautiful Plants For Your Interior
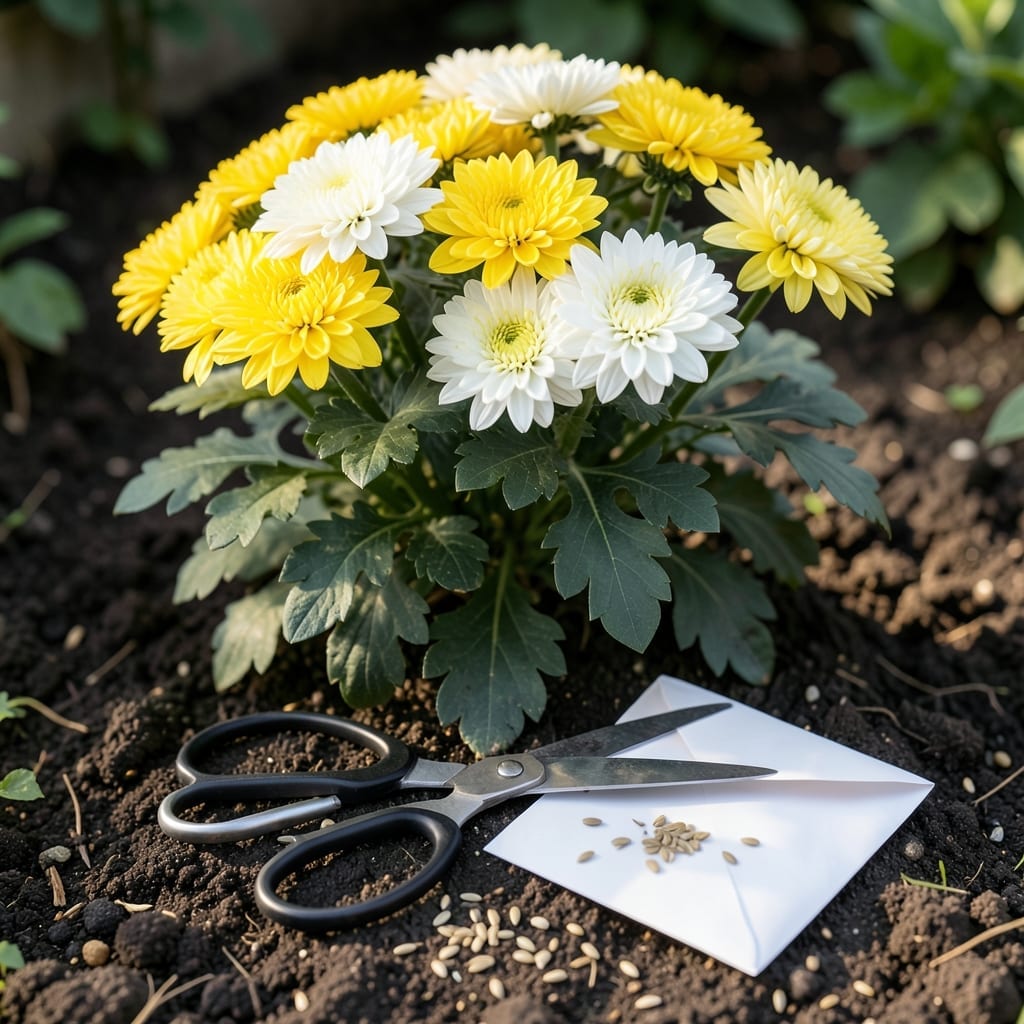
Want to fill your garden with vibrant Chrysanthemums every year without spending a fortune? Harvesting seeds from your favorite 🌼 mums is the answer. It’s simpler than you think, and the rewards are well worth the effort.
By learning to collect and store mum seeds properly, you’ll save money and grow the same beautiful blooms season after season. No more guessing which varieties will thrive in your garden.
I’ll walk you through the best timing and techniques to ensure your seeds stay viable. Whether you’re a beginner or seasoned gardener, these tips will set you up for success.
Discover how to turn this year’s stunning Chrysanthemums into next year’s garden stars. Let’s get started on preserving those perfect blooms.

Timing is everything when harvesting mum seeds. I always wait until the flower heads are completely dry and brown, which typically happens in late fall after the blooms have faded. This stage ensures the seeds are mature and ready for collection. 🌼
You’ll know they’re ready when the petals are crisp and the center of the flower looks dark and hard. If the flower heads are still colorful or the stems are green, the seeds aren’t ripe yet. Patience here means better germination rates next season. 🌿
| Stage | Appearance |
|---|---|
| Flower Head | Fully brown and dry |
| Petals | Crisp and papery |
| Seeds | Visible and dark in center |
| Stems | Dry and brittle |
I’ve found that late September to October is the sweet spot for most chrysanthemum varieties in USDA zones 5-9. The cooler temperatures help the seed heads dry naturally. If you live in a warmer climate, you might need to wait a bit longer for the flowers to mature fully. ✂️
Another tip: Check the seeds daily once the flowers start to brown. Birds and wind can scatter them quickly, so I like to cover the flower heads with a light mesh bag to protect them. This also keeps the seeds clean and dry for storage. 🌱
If you’re unsure, try the “snap test”. Gently bend a dry stem—if it snaps easily, the seeds are likely ready. If it bends without breaking, give it a few more days. This simple trick has saved me from harvesting too early more times than I can count.
Remember, hybrid mums may not produce true-to-type seeds, so if you want consistent bloom colors and shapes, stick with heirloom varieties. I always label my seed collections to avoid mix-ups later. It’s a small step that makes a big difference come planting time.
Once you’ve confirmed the seeds are ready, use sharp scissors or pruners to cut the flower heads from the plant. Leave a few inches of stem to make handling easier. This keeps the process neat and efficient. 🌼
I like to harvest in the morning when the plants are dry to avoid moisture issues. Wet seeds can mold during storage, so timing your collection on a sunny day is ideal. This also gives the seeds a chance to dry further before I store them.
Finally, don’t rush the drying process. Spread the flower heads out in a single layer on a paper towel or screen in a well-ventilated area. It usually takes about 1-2 weeks for them to dry completely. Once dry, I store them in paper envelopes in a cool, dark place until spring. 🌿
I’ve found that harvesting mum seeds at the right time ensures the best viability for next year’s garden. The process starts with identifying fully dried flower heads and crisp petals, which signal the seeds are ready for collection. 🌼
To begin, I always use sharp pruners or scissors to snip off the dried seed heads on a dry, sunny day. This prevents moisture from ruining the seeds before I can store them properly.
After drying, I gently rub the seed heads between my fingers to release the tiny seeds. It’s important to label each envelope with the mum variety and harvest date to keep track of your collection.
For storage, I recommend using paper envelopes rather than plastic to prevent moisture buildup. Place them in a cool, dark location like a basement or closet to maintain seed viability for up to 2-3 years.
A common mistake I see is harvesting seeds too early, when the flower heads are still colorful. This results in immature seeds that won’t germinate. Always wait until the heads are fully brown and brittle to the touch. ✂️
Finally, remember that hybrid mums may not produce seeds true to the parent plant. For the best results, I stick with heirloom varieties like ‘Old Court’ or ‘Sheffield Pink’, which reliably produce viable seeds year after year. 🌱