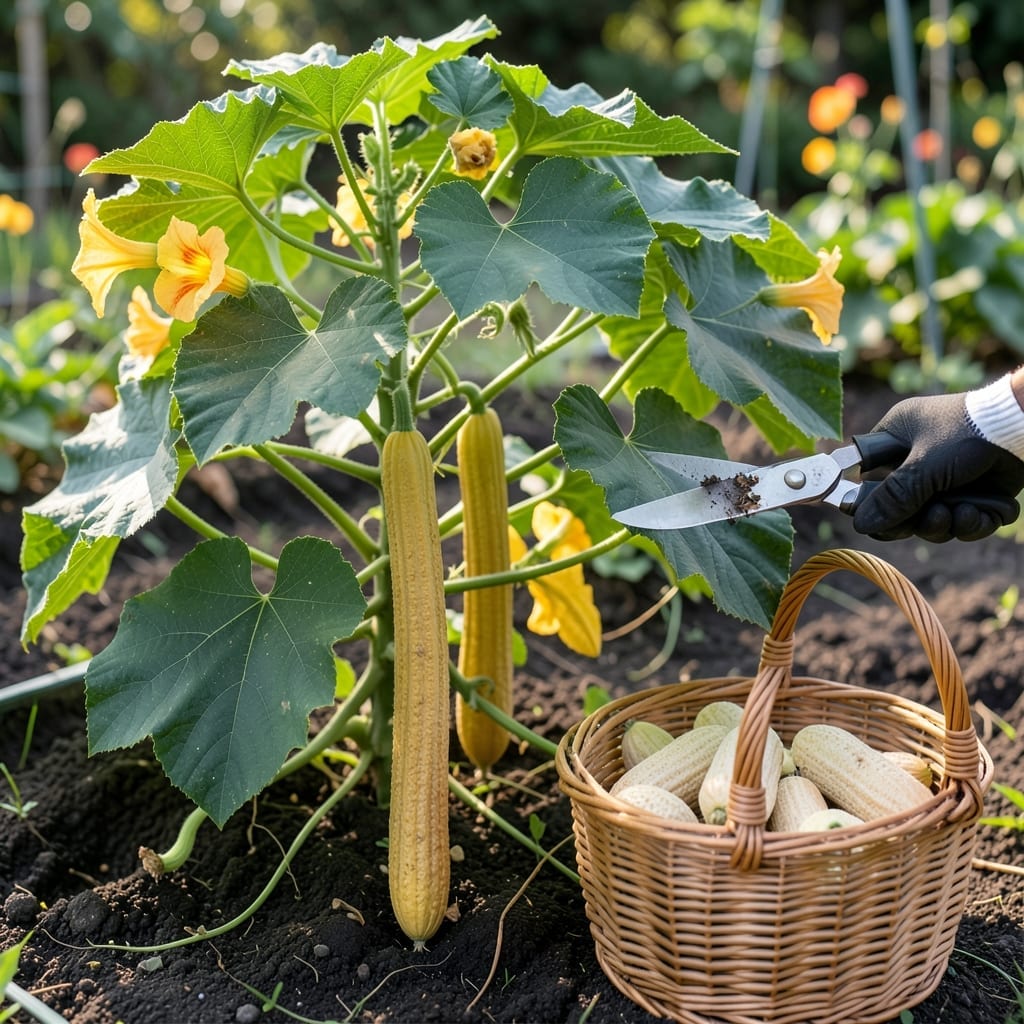
Harvesting Luffa Gourds: When and How to Pick for Sponge Use

Harvesting Luffa Gourds: When and How to Pick for Sponge Use

There’s something magical about turning a garden harvest into a useful household item. With the 🎃 Luffa Gourd, you can do just that, but only if you pick it at the right time.

I’ve learned the hard way that harvesting too early gives you an inedible vegetable, while waiting too long ruins the sponge quality. The difference between success and disappointment comes down to knowing the exact signs.

Discover how to identify when your Luffa Gourds are ready for picking, from color changes to the telltale seed rattle. These simple cues will ensure you get the best possible fibers.

Let me walk you through the key indicators and techniques that will transform your harvest into the perfect natural sponge. It’s easier than you might think.

Style 16: Quick Tips – General
🌅
Morning
Pick early for best flavor & crunch
✂️
Clean Cut
Use scissors, don’t pull or twist
🔄
Check Daily
Ripeness can change overnight!

When to Harvest Luffa Gourds for Perfect Sponge Quality

Timing is everything when it comes to harvesting luffa gourds. I’ve found that the perfect window is when the skin turns yellow or brown, signaling the fibers are developing properly. This stage is crucial for achieving that ideal sponge texture we all want.

Another key indicator is the weight loss. When the gourd feels lightweight for its size, it’s a strong sign the moisture is leaving and the sponge fibers are maturing. This typically happens 120-200 days after planting.

Maturity Sign What to Look For
Color Change Skin turns yellow/brown
Weight Feels lightweight when lifted
Seed Rattle Seeds rattle inside when shaken
Stem Condition Stem begins to dry and wither

The seed rattle test is my favorite method. When you shake the gourd and hear the seeds moving inside, it’s a sure sign the fibers are ready. This usually happens in late summer or early fall, depending on your planting date.

I always check the stem condition too. When it starts to dry and wither, that’s another confirmation that the gourd is ready. This is nature’s way of telling us the plant has finished its work.

The shell hardening is another important sign. A mature luffa will have a hard outer shell that’s difficult to puncture with your fingernail. This protects the developing sponge fibers inside.

Remember, if the skin is still green or the gourd feels heavy and solid, it’s not ready yet. Picking too early will give you a vegetable that’s not suitable for sponge use. Patience is key here.

On the other hand, if you wait until the gourd is completely brown and the seeds are fully mature, you might have waited too long. The fibers can become too coarse and less ideal for sponge use.

In my experience, the ideal harvest window is when the gourd is yellowing but not completely brown. This is when the fibers are at their peak for sponge quality.

With these signs in mind, you’ll be able to confidently harvest your luffa gourds at the perfect time for the best sponge quality. 🌿

Step-by-Step Guide to Harvesting and Processing Luffa for Sponge Use

I always use sharp pruners and gardening gloves when harvesting luffa. The vines can be tough, and a clean cut prevents damage to the plant or the gourd. It’s best to harvest on a dry morning to avoid moisture issues later.

Begin by locating mature gourds showing the right signs: yellow-brown skin, lightweight feel, and that characteristic seed rattle. These are your cues that the fibers inside have fully developed.

🌱 Harvest & Process Your Luffa
Step 1: Cut gourd with 2-inch stem using pruners
Step 2: Peel off outer skin when dry
Step 3: Shake out seeds for saving or planting
Step 4: Wash fiber with soapy water
Step 5: Bleach (optional) for whiter sponge
Step 6: Rinse and dry in sunlight

After cutting, I let my luffas dry completely in a well-ventilated area for about 1-2 weeks. This makes peeling much easier. The skin should come off with minimal effort when it’s ready.

Once peeled, I remove all seeds by shaking or tapping the gourd. These can be saved for next year’s planting. Then, I wash the fibrous interior with mild soap and warm water to remove any sap or debris.

For a whiter sponge, I sometimes use a diluted bleach solution (1 part bleach to 10 parts water) for about 10 minutes. This step is optional but helps achieve that clean, bright look many prefer.

The final step is thorough drying in direct sunlight for 2-3 days. This prevents mold and ensures your luffa sponge is ready for use. I always check that it’s completely dry before storing.

This method guarantees a durable, natural sponge that will last for months. 🌿

★★★★★5.0(2 reviews)