
Beautiful Plants For Your Interior
Beautiful Plants For Your Interior
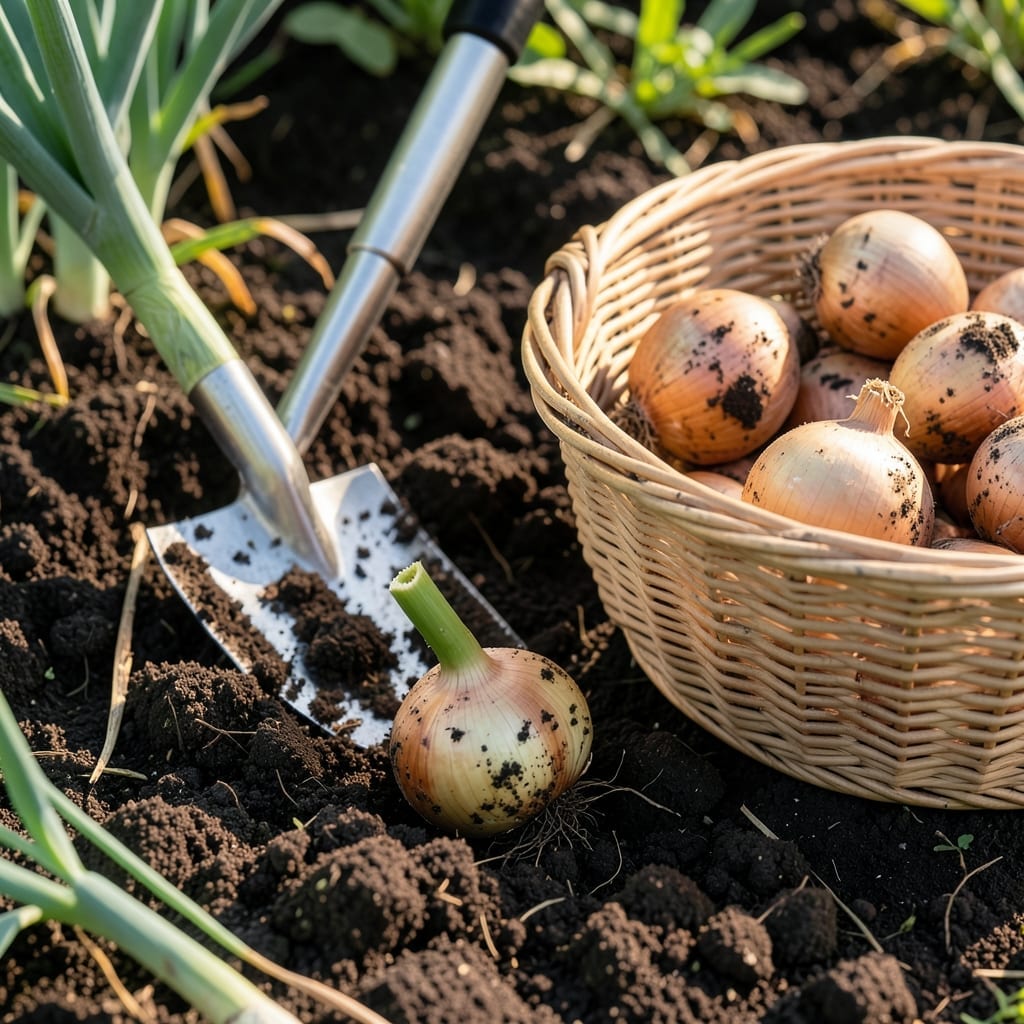
There’s nothing quite like pulling perfectly mature 🧅 Bulb Onions from your garden after months of care. But knowing the exact moment they’re ready makes all the difference between a good harvest and a great one.
Timing is everything with these spring-planted favorites. Miss the window, and you risk shriveled bulbs or poor storage life. I’ve learned the hard way that patience and observation are the key to success.
From spotting the telltale signs of readiness to mastering the gentle lifting technique, every step counts. The good news? It’s simpler than you might think once you know what to look for.
Let me walk you through the field-tested methods that ensure your Bulb Onions come out of the ground at their peak and stay fresh for months to come.

Timing your bulb onion harvest perfectly ensures the best flavor and longest storage. I’ve found that watching for key visual cues is more reliable than counting days.
The most telling sign is when tops turn yellow and begin to fall over naturally. This indicates the plant is shifting energy from leaf growth to bulb maturation.
| Sign | Description |
|---|---|
| Tops Yellowing | Leaves turn yellow or brown |
| Tops Falling | Stalks collapse naturally |
| Neck Softening | Stem just above bulb feels soft not firm |
| Skin Drying | Outer layer becomes dry and papery |
Another critical indicator is the neck softening. When the stem just above the bulb feels soft rather than firm, your onions are nearly ready for harvesting bulb onions.
I always check the outer skin too. When it becomes dry and papery, that’s your final confirmation. This usually happens about 1-2 weeks after the tops fall over.
Weather plays a role as well. If rain is forecasted and your onions are showing readiness signs, I recommend harvesting a few days early. Too much moisture can cause rotting in the field.
For sweet onion varieties, you might notice they mature slightly earlier than storage onions. These typically have a thinner neck and may not store as long, so harvest promptly when ready.
Don’t rush the process though. If the tops are still green and upright, your onions need more time. Harvesting too early results in smaller bulbs that won’t store well.
I’ve learned that morning harvesting works best. The soil is cooler, making it easier to lift the bulbs without damage. Plus, it gives them a head start on the curing process.
Remember, each onion variety has its own timeline. Yellow onions typically take about 100-110 days, while reds might be ready in 90-100 days.
I’ve found that harvesting bulb onions at the right moment is only half the battle. The way you pull them from the soil can make or break their storage potential and flavor quality.
Using the right tools and technique ensures you don’t bruise or cut the bulbs, which can lead to rot. A simple garden fork or trowel works best for gently lifting them from the earth.
I always check the weather before harvesting. A dry, sunny day is ideal because wet onions are more prone to disease during curing. If rain is in the forecast, I’ll wait it out to protect my crop.
Once lifted, I handle the bulbs with care, avoiding any rough treatment. Even minor bruises can lead to spoilage during storage, so I place them in a shaded, well-ventilated area to dry.
For the best results, I leave the tops on during the initial curing phase. This helps the onions dry evenly and reduces the risk of mold or rot setting in too soon.
After a few days of drying, I’ll trim the tops and roots, but only once the outer skin is completely dry and papery. This final step prepares them for long-term storage in a cool, dry place.
✂️