
Beautiful Plants For Your Interior
Beautiful Plants For Your Interior
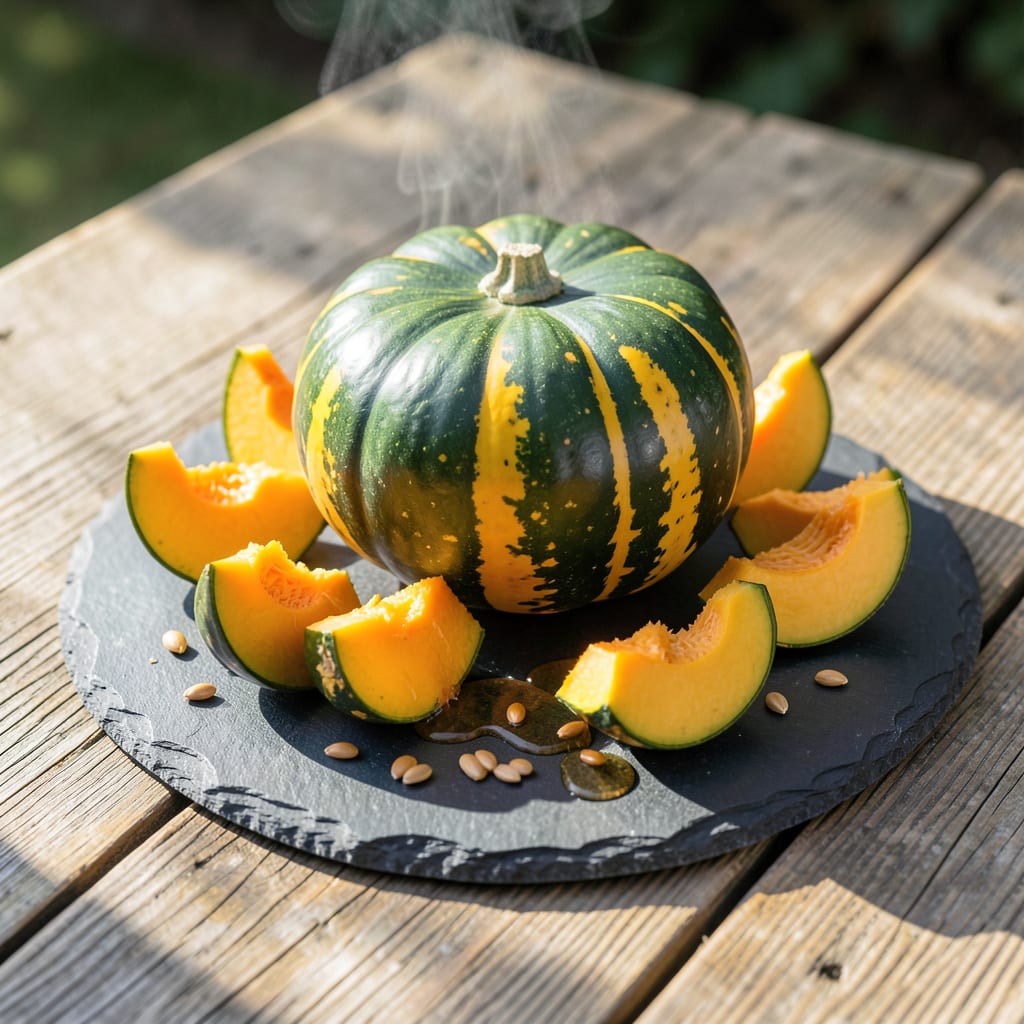
That moment when your pumpkin vines explode with color is pure magic. I’ve learned to watch for the telltale shift from solid green to that first golden streak—it means harvest time is near.
Field-tested signs don’t lie: the rind hardens, the stem dries, and the color deepens to that perfect green-and-yellow pattern. These varieties like Cushaw reward patience with sweet, dense flesh that stores for months.
📚 In This Guide
Here’s the method I rely on to determine the perfect moment for harvesting your pumpkins.
Press your fingernail firmly against the pumpkin’s skin. A ripe specimen will resist penetration—your nail won’t leave a mark. This hardness develops as the pumpkin matures and the outer layer toughens to protect the flesh inside.
If your nail punctures the skin easily, the pumpkin needs more time. I check multiple spots, especially near the stem, because that area matures last. The rind should feel as tough as the shell of a butternut squash you’d buy at the store.
Look at the stem where it connects to the vine. A ripe pumpkin will have a stem that’s begun to dry and harden, turning from green to woody brown. This transformation signals that the plant has stopped sending nutrients to the fruit.
The vine itself often provides another clue. When the vine nearest the pumpkin starts to wither and turn brown, it’s a strong indicator that the fruit has reached maturity. Don’t wait for the entire vine to die back—just the portion closest to the pumpkin matters.
A green and yellow pumpkin reaches peak ripeness when its color achieves maximum vibrancy and contrast. The green portions should appear deep and rich, while the yellow sections should look bright and consistent rather than pale or blotchy.
Watch for the color to stop changing from day to day. Once the hues stabilize and the pumpkin maintains its appearance for several days, it’s likely ready. I’ve found that the color pattern becomes more distinct as the pumpkin ripens, with clear separation between the green and yellow areas.
Gently tap the pumpkin with your knuckles. A ripe one will produce a hollow, resonant sound, similar to tapping a watermelon at the store. This hollow quality indicates that the internal structure has developed properly and the moisture content is ideal.
An unripe pumpkin will sound dull and solid, like tapping a raw potato. This test works best when you have experience comparing ripe and unripe specimens, so I recommend practicing on a few pumpkins of known maturity first.
Most green and yellow pumpkin varieties reach harvest readiness in 85-100 days after planting. Count forward from your planting date to estimate when to start checking for ripeness signs.
However, don’t rely on this alone. Weather conditions, soil quality, and planting time can all affect the actual timeline. I use the days to maturity as a general guide, then confirm with the physical signs we’ve covered. When multiple indicators align, you can be confident it’s time to harvest.
Here’s what I’ve learned from seasons of growing these beautiful pumpkins.
Rind Test Precision: In Step 1, don’t just press once—test multiple areas, especially near the stem, as this spot matures last. A fingernail that leaves no mark means the pumpkin has developed its protective outer layer, just like the tough shell of a store-bought butternut squash.
Stem and Vine Insight: For Step 2, focus on the stem’s transition from green to woody brown. The vine nearest the pumpkin withering is your signal, but remember, you don’t need to wait for the entire vine to die back. This change confirms the plant has stopped feeding the fruit.
Color Consistency: Step 3’s color check is all about stability. The green should deepen while the yellow brightens, and once these hues stop evolving day-to-day, you’re getting close. The contrast between the two colors becomes sharper as ripeness progresses.
Sound Check Tip: The hollow sound in Step 4 can be tricky if you’re new to it. Practice on a few known ripe pumpkins first to train your ear—it should resonate like a watermelon, not thud like a raw potato.
Harvest when the rind is hard and the stem starts to dry. For green varieties, look for a deep, consistent color, while yellow ones should be vibrant. This usually happens 75-100 days after planting, depending on the variety.
Press your fingernail into the rind—if it resists puncturing, it’s ripe. Also, tap the pumpkin; a hollow sound indicates maturity. The stem should be dry and woody.
If your pumpkin isn’t ripe by the first frost, harvest it early and cure it indoors at 80-85°F for 10 days. Alternatively, try fast-maturing varieties like ‘Early Abundance’ or ‘Jack Be Little’ next season.
Early yellowing can signal overwatering, nutrient deficiencies, or disease. Check soil moisture and ensure balanced fertilization. If pests or disease are present, remove affected areas and treat with organic fungicides.
