
Beautiful Plants For Your Interior
Beautiful Plants For Your Interior
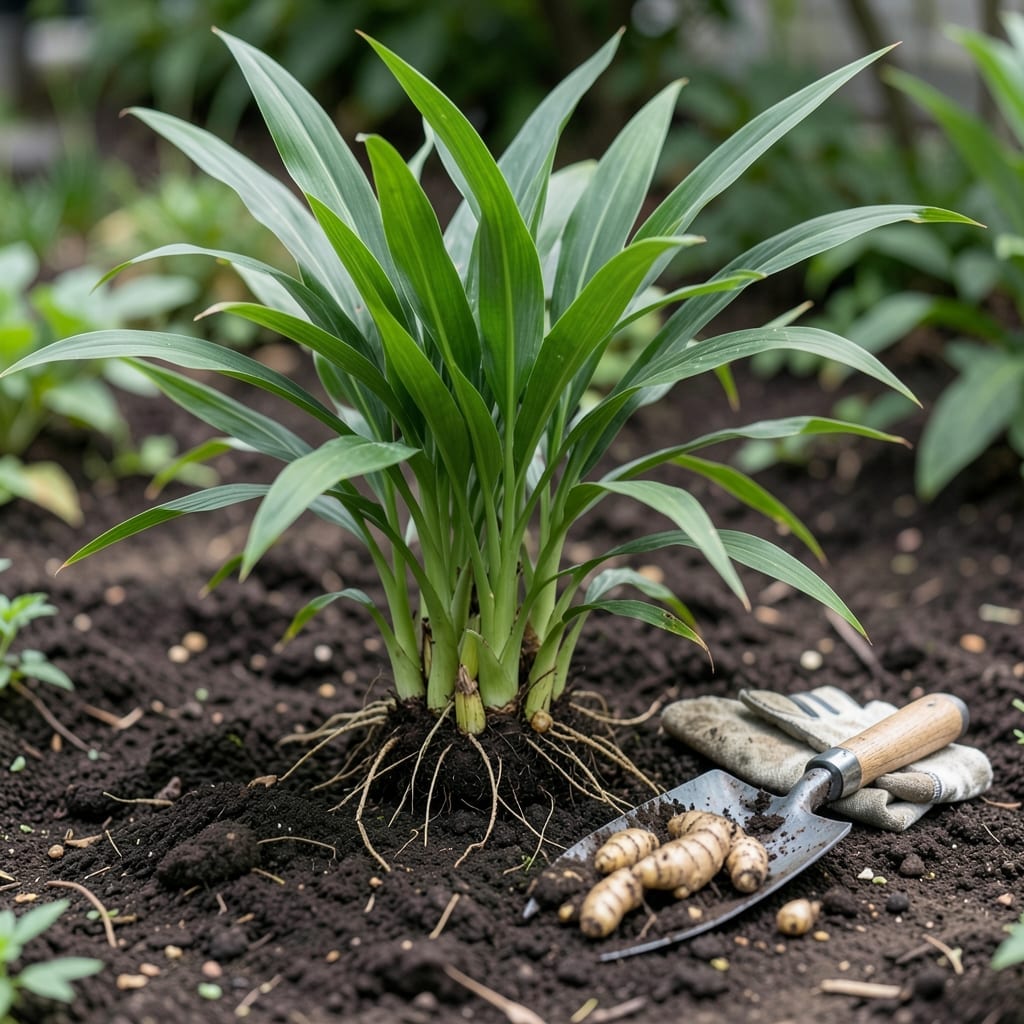
There’s nothing quite like the satisfaction of pulling up fresh ginger from your own garden, especially when it’s at its peak flavor. Getting the timing right means the difference between bland roots and ones bursting with that signature spicy kick we all love.
I learned the hard way that harvesting too early or too late can ruin months of careful tending. The 🌱 Ginger plant gives clear signals when it’s ready, and knowing these signs ensures you get the most aromatic, flavorful rhizomes possible.
With the ideal window falling between September and October in zone 6, you’ll want to watch for those telltale yellowing leaves. This is nature’s way of telling you it’s time to dig.
Discover the exact cues to look for and the simple techniques that will help you harvest Ginger like a pro. Your taste buds will thank you for paying attention to these details.

Timing your ginger harvest perfectly is the secret to getting those bold, aromatic rhizomes we all love. I’ve found that 8-10 months after planting is the sweet spot for most gardeners in zones like 6-10. 🌱
The plant itself gives you clear signals when it’s ready. Watch for yellowing leaves and withering stems—these are nature’s way of saying the underground rhizomes have reached their peak. Ignoring these cues can lead to underdeveloped or overly woody roots.
| Maturity Stage | Signs to Look For |
|---|---|
| Early (120 days) | Leaves green, rhizomes small |
| Peak (180 days) | Leaves yellowing, stems brittle |
| Late (240 days) | Stems dry, rhizomes very firm |
| Best Time | September-October (Zone 6) |
In my experience, the 180-day mark is when ginger hits its flavor peak. At this stage, the rhizomes are plump, the skin is thin and easy to peel, and the aroma is at its strongest. It’s like the plant is practically begging you to dig it up.
If you’re in a warmer climate, you might get away with leaving it in the ground a bit longer. But be careful—wait too long, and the rhizomes can become fibrous and lose that fresh, zesty kick we all grow ginger for.
Another pro tip: morning harvesting works best. The soil is cooler and moister, making it easier to dig without damaging the roots. Plus, the rhizomes seem to retain more of their essential oils when pulled early in the day. ☀️
Don’t forget to consider your local first frost date. In zone 6, that’s typically around October 15th. You’ll want to get your ginger out of the ground before the first hard frost hits, as cold temperatures can damage the rhizomes.
I’ve also noticed that container-grown ginger tends to mature a bit faster than in-ground plants. If you’re growing in pots, start checking for readiness around the 150-day mark instead of waiting the full 180 days.
The size of your rhizomes is another good indicator. When they’re about 3-4 inches long and have developed that characteristic knobby appearance, they’re usually ready. Smaller rhizomes might need more time to develop their full flavor profile.
Remember, ginger is a tropical plant at heart. It thrives in warm, humid conditions, so if you’re in a cooler climate, you might need to adjust your expectations slightly. But with the right care and attention to these timing cues, you’ll be rewarded with a bountiful harvest. 🌿
Once your ginger plant shows those perfect yellowing leaves and withering stems, it’s time to get your hands dirty. I always start by watering the area the day before to soften the soil, making the rhizomes easier to extract without damage.
Use a sharp garden fork or your hands to gently loosen the soil around the plant. Be careful not to pierce the rhizomes, as this can lead to rot during storage. Lift the entire clump and shake off excess dirt, but don’t wash them just yet.
After digging, I let my ginger cure in a shaded, well-ventilated spot for 2-3 days. This helps the skin toughen up, which extends its shelf life. Avoid direct sunlight during curing, as it can cause the rhizomes to shrivel.
For storage, keep your ginger in a cool, dry place like a pantry or root cellar. If you have a lot, you can also freeze it whole or grate it and store it in the freezer. Properly cured and stored ginger can last up to 6 months.
I’ve found that leaving a bit of soil on the rhizomes during curing helps prevent moisture loss. Just brush off the excess before storing. This simple step makes a big difference in preserving flavor and texture.
If you notice any soft or moldy spots during storage, remove those rhizomes immediately to prevent spoilage. With the right care, your homegrown ginger will stay fresh and flavorful long after harvest.
🌱