
Beautiful Plants For Your Interior
Beautiful Plants For Your Interior
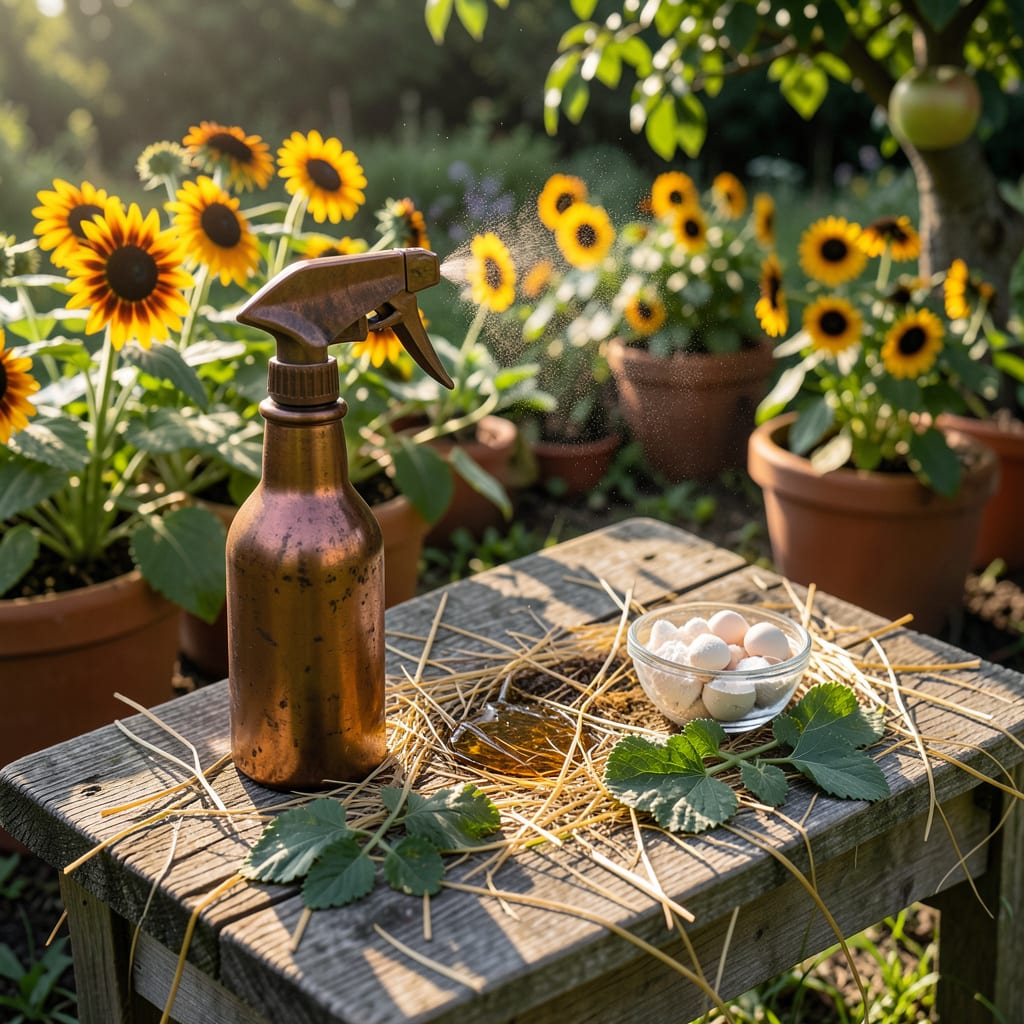
Black eyed Susans shouldn’t look sad and spotted. I’ve battled fungal issues on mine for years, and the organic solutions work just as well as chemical ones—without the guilt.
You’ll spot the difference in 7-10 days with healthier leaves and brighter blooms. Prevention is simpler than treatment, and I’ll show you exactly how to keep them thriving all season long.
📚 In This Guide
Here’s my proven organic approach to keep your plants vibrant and thriving through the season.
Examine your plants closely for symptoms like dark spots on leaves, powdery mildew, or stunted growth. These are classic signs of fungal problems that commonly affect this species. I always start with a careful inspection under the leaves, where many fungal issues begin.
Note the pattern and location of symptoms. Brown lesions with yellow halos often indicate leaf spot, while white powdery coating suggests mildew. This step ensures you’re treating the right problem—applying the wrong solution wastes time and may harm beneficial organisms.
Using clean, sharp pruners, remove all visibly infected leaves, stems, or blooms. Cut at least 1-2 inches below the affected area to ensure complete removal of fungal spores. I sanitize my pruners between cuts with rubbing alcohol to prevent spreading the problem.
Dispose of infected material in sealed bags, not compost. Fungal spores can survive composting and reinfect your garden. This immediate action reduces the fungal load and gives your treatment a better chance of success.
Mix 1 tablespoon baking soda, 1 teaspoon mild liquid soap, and 1 gallon of water for a safe, effective treatment. This combination disrupts fungal cell walls while being gentle on plants. I apply this in the early morning when temperatures are cooler and plants can dry quickly.
Spray all plant surfaces thoroughly, especially undersides of leaves where fungi often hide. Reapply every 7-10 days or after rain, as the solution washes off. Consistency is key—stopping treatments too soon allows fungi to return stronger.
Fungi thrive in damp, crowded environments. Space your plants 18-24 inches apart to improve air circulation. I’ve found that proper spacing alone can reduce fungal issues by 50% by allowing foliage to dry quickly after watering.
Water at the base of plants using a soaker hose or drip irrigation, keeping foliage dry. Morning watering gives plants time to dry before evening. These practices create an environment that’s inhospitable to fungi while promoting plant health.
Monitor your plants weekly throughout the growing season. Early detection makes treatment much easier. I keep a garden journal to track when and where problems appear, which helps me predict and prevent future issues.
Apply a preventive spray of neem oil or copper fungicide every 2-3 weeks during humid periods. Rotate between different organic treatments to prevent fungi from developing resistance. Healthy plants with strong cell walls are naturally more resistant to fungal attacks.
Here’s what I learned through trial and error to keep your blooms thriving.
Identification Accuracy: In Step 1, focus on the pattern of symptoms rather than just their presence. Brown lesions with yellow halos typically signal leaf spot, while a white powdery coating is classic for mildew. Misidentification leads to ineffective treatment, so take your time with this initial assessment.
Sanitation Protocol: During Step 2, sanitizing your pruners between cuts with rubbing alcohol isn’t just good practice—it’s essential. I’ve seen entire gardens reinfected because this step was skipped. Remember to cut 1-2 inches below visible damage to remove hidden spores.
Application Timing: For Step 3, the early morning application timing is crucial. The cooler temperatures and lower humidity allow the solution to adhere better and dry properly before the heat of the day. This timing also gives plants the full day to absorb the treatment.
Prevention Mindset: Step 5’s weekly monitoring might seem excessive, but I’ve found that catching issues early often means the difference between a quick fix and a season-long battle. Keep that garden journal—it becomes invaluable for predicting and preventing future outbreaks.
Neem oil or copper-based fungicides work well for common issues like powdery mildew or leaf spot. For organic options, try baking soda sprays or sulfur-based products. Always follow label instructions for safe application.
Apply at the first sign of disease or as a preventive measure in early spring. Reapply every 7–14 days, especially during wet weather, to protect new growth. Avoid treating in extreme heat or direct sunlight.
Yes! A mix of 1 teaspoon baking soda, 1 quart of water, and a few drops of dish soap can help control mild fungal issues. However, severe infections may require stronger commercial products.
Fungus can persist due to poor air circulation, overwatering, or improper application. Ensure good spacing between plants, water at the base, and remove infected foliage promptly.
