
Beautiful Plants For Your Interior
Beautiful Plants For Your Interior
Tap water straight from the faucet might be fine for us, but it can silently stress your plants. I learned this the hard way after watching my once-thriving ferns develop crispy brown edges—turns out, the chlorine in city water was slowly poisoning them. The fix is simpler than you’d expect, and it makes a noticeable […]
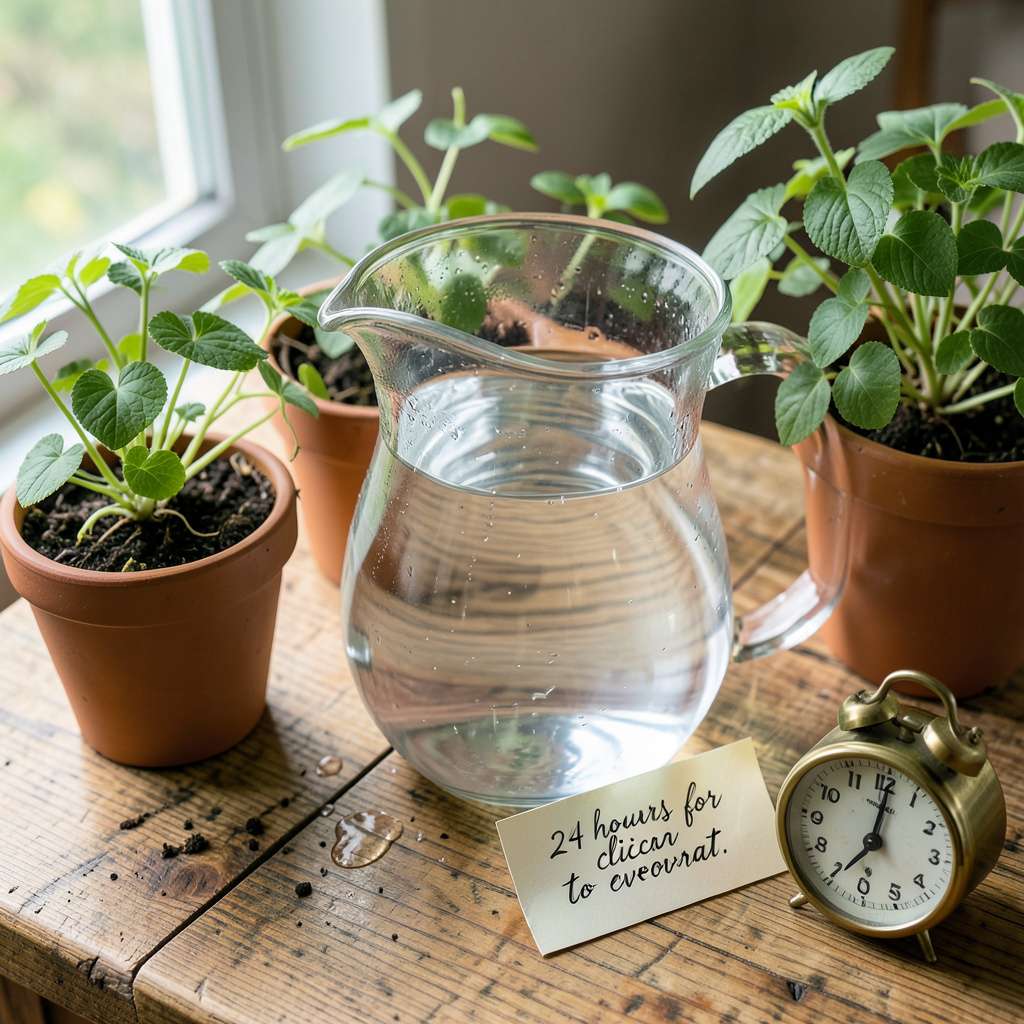
Tap water straight from the faucet might be fine for us, but it can silently stress your plants. I learned this the hard way after watching my once-thriving ferns develop crispy brown edges—turns out, the chlorine in city water was slowly poisoning them. The fix is simpler than you’d expect, and it makes a noticeable difference in plant health within just 2-3 weeks.
Here’s the thing—chlorine serves an important purpose in our water systems, but plants never evolved to handle it. Whether you’re growing delicate orchids, leafy vegetables, or hardy succulents, removing chlorine helps roots absorb water more efficiently. The best part? You don’t need fancy equipment or chemistry degrees. My go-to method uses items you already have at home.
What you’ll notice first is how your plants respond: leaves stay greener longer, new growth comes in stronger, and that sad drooping after watering disappears. Houseplants perk up, seedlings establish faster, and edible crops taste cleaner. It’s one of those small changes that makes you wonder why you didn’t start sooner.
This works for any watering situation—indoor containers, outdoor gardens, or even hydroponic setups. The techniques scale from a single houseplant to a full backyard plot. Once you see the difference in your plants’ vitality, you’ll never go back to using untreated tap water.
📚 In This Guide
Here’s the straightforward method I use to make tap water safe for all my plants—no fancy equipment needed.
Fill a clean container with tap water and leave it uncovered at room temperature for 24 hours. Chlorine naturally evaporates when exposed to air, so this simple waiting period removes most of it. I use wide-mouth containers to maximize surface area, which speeds up the process.
You’ll know it’s working when you notice the water smells less “chemical” after a few hours. For larger quantities, I divide the water between multiple containers so each has enough air exposure. Don’t cover the containers—airflow is essential for chlorine to dissipate.
Place your container of water in direct sunlight for 4-6 hours. UV rays break down chlorine faster than air alone. I set mine on a sunny windowsill or outdoor table. The water should feel slightly warm to the touch when it’s ready.
Watch for tiny bubbles forming along the container edges—that’s the chlorine gas escaping. If your water was heavily chlorinated (common in municipal systems), you might need an extra hour or two. Test by smelling: if it has no pool-like odor, it’s safe.
For stubborn chlorine or when I’m in a hurry, I pour the water back and forth between two containers 5-6 times. This increases oxygen exposure dramatically. You’ll see bubbles form during pouring—that’s oxygen replacing chlorine.
The water should look slightly “sparkly” from the tiny air bubbles. I do this right before watering when I’ve forgotten to prep water ahead of time. It’s not as thorough as 24-hour sitting, but removes about 80% of chlorine in minutes.
Dip a chlorine test strip (available at pool supply stores) into the water. The strip should show 0.5 ppm or less for safe plant use. I test when trying a new water source or if plants show leaf burn after watering.
Without test strips, observe your plants: if new growth looks healthy and green after watering, your method is working. Brown leaf tips or yellowing between veins often signal chlorine remains. When in doubt, let it sit another 12 hours.
Once dechlorinated, store water in clean, covered containers to prevent contamination. I use glass jars or food-grade plastic buckets with tight lids. The water stays chlorine-free for about 1 week if kept in a cool, dark place.
Label containers with the date—old water can develop bacteria. If you notice any cloudiness or odd smells, dump it and start fresh. For houseplants, I keep a dedicated watering can filled with pre-treated water so it’s always ready.
After years of trial and error with houseplants and garden beds, we’ve learned that small details make all the difference when preparing water. Here’s what we wish we’d known sooner.
Surface Area Strategy: In Step 1, using shallow, wide containers dramatically speeds up chlorine evaporation during the 24-hour waiting period. We’ve found that spreading water across multiple wide-mouth jars or baking dishes cuts the chemical smell in half the time compared to deep buckets. The wider the surface, the faster the chlorine escapes into the air.
Sunlight Optimization: For Step 2, place your container where it gets direct midday sun rather than morning or evening light. We’ve noticed water reaches that slightly warm, ready-to-use temperature in exactly 4-6 hours when positioned in full southern exposure. East-facing windows often require the full 6 hours, while south-facing spots may finish closer to 4 hours.
Emergency Aeration: When we forget to prep water ahead (which happens more often than we’d like to admit), Step 3’s pouring technique becomes our lifesaver. The key is vigorous pouring from at least 12 inches high to create maximum bubbles. We count each pour as “one” and find that exactly 5-6 times removes that harsh chemical smell completely, making it safe for even our most sensitive ferns and seedlings.
Storage Wisdom: After dechlorinating, we always transfer water to opaque containers for storage. Clear containers allow light to penetrate, which can encourage algae growth within that 1-week storage window mentioned in Step 5. Dark glass or thick plastic keeps water fresh longest, and we’ve had success storing up to 10 days when kept in a cool basement or pantry.
Chlorine naturally evaporates in 24 hours if left in an open container at room temperature. For faster results, aerate the water by stirring or using an air stone (cuts time to 1–2 hours). Note: Chloramine (a stronger disinfectant) may take days to break down without chemical help!
Yes! Bottled spring or distilled water is chlorine-free, but costly for large gardens. Filtered water (via activated carbon or reverse osmosis) works too—just check the filter’s chlorine-removal specs. Avoid “mineral water” with added salts that may harm plants.
p>
Will dechlorinated water still kill beneficial soil microbes?
No! Chlorine harms microbes, but once removed, water is safe for mycorrhizal fungi, nitrogen-fixing bacteria, and other helpful organisms. Pro tip: Use dechlorinated water for compost tea or probiotic soil drenches to boost microbial life!
Check these common issues:
Dechlorinating water for your plants doesn’t have to be complicated—just a little patience and the right method can make tap water safe and nourishing for your green friends! 🌱 Whether you let it sit overnight, boil it, or use natural additives like vitamin C, your plants will thrive without the stress of chlorine or chloramine.
Ready to give it a try? Start with the easiest method (like the 24-hour sitting technique) and watch your plants respond with healthier leaves and stronger roots. Happy gardening!
