
Beautiful Plants For Your Interior
Beautiful Plants For Your Interior
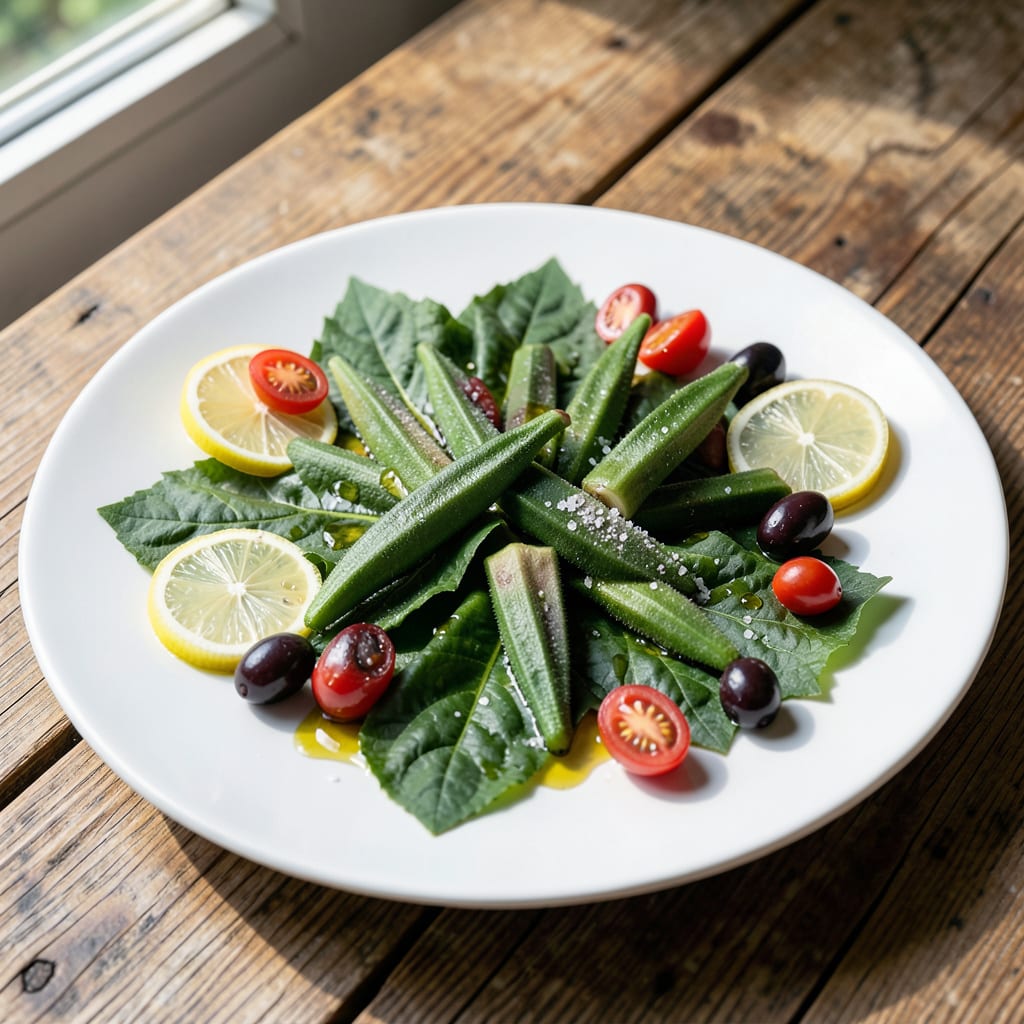
Yellow spots on your Clemson Spineless leaves mean trouble. I’ve seen this before—the pattern usually points to one of three issues, and each has a fix.
Most times it’s water stress or pests hiding under the leaves. Check the soil first, then look closer. Healthy foliage means bigger harvests and less stress for the plants.
📚 In This Guide
Here’s the method I use to harvest and prepare Clemson Spineless okra leaves for the best flavor and texture.
Select young, tender leaves from the top third of the plant, as these are the most flavorful and least tough. Avoid older leaves near the base—they tend to be fibrous and bitter. I look for leaves that are 3-5 inches long with a bright green color and no signs of yellowing or damage.
Harvest in the morning when the leaves are at their freshest and most hydrated. Use clean, sharp scissors or pruners to snip the stem just above a leaf node. This encourages new growth and keeps the plant productive throughout the season.
Rinse the leaves thoroughly under cool running water to remove dirt, dust, or any garden pests. Gently pat them dry with a clean kitchen towel or paper towels—excess moisture can make them slimy when cooked.
Remove the tough central stem by folding the leaf in half and stripping it away with your fingers or a knife. This step is crucial for texture, as the stem can be stringy. Stack the leaves and roll them tightly before slicing thinly for even cooking.
Bring a large pot of salted water to a rolling boil. Add the prepared leaves and blanch for 2-3 minutes until they turn a vibrant green and soften slightly. Overcooking turns them mushy, so keep an eye on the clock.
Drain immediately and plunge the leaves into a bowl of ice water to stop the cooking process. This preserves their color, texture, and nutrients. Drain again and squeeze out excess water before using in your favorite recipes.
Heat a tablespoon of oil in a skillet over medium heat. Add the blanched leaves and sauté for 3-4 minutes until tender. Season with salt, pepper, and a pinch of garlic powder for a classic Southern flavor.
For extra richness, add a splash of chicken broth or a pat of butter at the end. The leaves pair well with onions, tomatoes, or a dash of hot sauce for those who like a little heat. Serve warm as a side dish or mixed into soups and stews.
Small details make a big difference when preparing these tender greens.
The Harvest Timing: Confession: I skipped morning harvesting for years and wondered why my leaves were never as crisp. The morning is when they’re most hydrated and least bitter. Those 3-5 inches long leaves from the top third of the plant are your sweet spot for both flavor and texture.
Preparation Pro Tip: Here’s what nobody tells you—removing that central stem isn’t just about texture. If you leave it in, it can make the whole leaf stringy and tough, no matter how long you cook it. Fold and strip it away completely before rolling and slicing.
Blanching Perfectly: Those 2-3 minutes in boiling water are critical. Start your timer the moment the leaves hit the water and pull them out as soon as they turn vibrant green. Overcooking by even 30 seconds turns them to mush, and the ice bath afterward is non-negotiable for stopping the cooking process.
Yellowing leaves often indicate overwatering, nutrient deficiency, or pests. Check soil moisture—okra prefers well-drained soil. If the issue persists, test soil pH (6.0-7.0) or inspect for aphids.
Yes! Young, tender leaves can be eaten raw in salads, offering a mild, spinach-like flavor. Older leaves may be tough—cook them like greens for best texture.
Harvest leaves when they’re young and tender, typically 4-6 weeks after planting. Avoid taking more than 1/3 of the plant’s foliage at once to ensure continued growth.
If leaves are fibrous, try cooking them longer or substitute with collard greens or Swiss chard in recipes. These alternatives share a similar texture and nutrient profile.
Rinse and dry leaves thoroughly, then store in a sealed container with a paper towel to absorb moisture. Keep in the fridge for up to 5 days for optimal freshness.
