
Beautiful Plants For Your Interior
Beautiful Plants For Your Interior
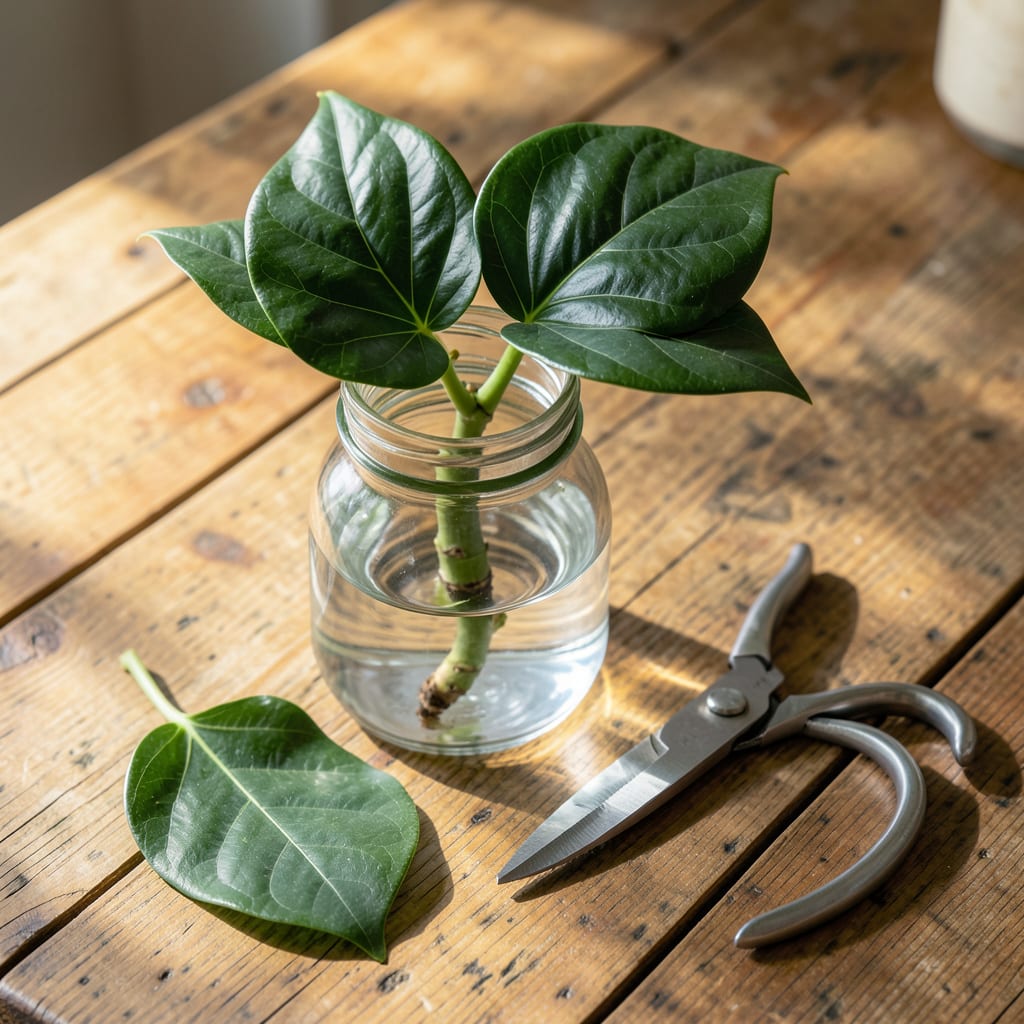
I turned one fiddle leaf fig into ten using this method. It works every time, and you only need a healthy stem, a clean cut, and a little patience.
Water propagation lets you watch roots form in 2-4 weeks, while soil rooting skips the transplant shock. Either way, you’ll have new plants ready for their own pots. Here’s how to nail it without killing your cutting.
📚 In This Guide
Here’s the method I use to turn a single cutting into a thriving new fiddle leaf fig.
Choose a healthy stem with 2-3 leaves and at least one visible node (the bump where leaves emerge). I always use sharp, clean pruners to make a 45-degree cut just below a node—this increases the surface area for root growth. Remove the bottom leaf completely but leave the top one or two intact.
Let the cutting sit for 1-2 hours in a warm, dry spot. This allows the cut end to callous over, which prevents rot when you place it in water. You’ll notice the cut surface looks slightly dry and less shiny when it’s ready.
Fill a clean glass or jar with room temperature water and submerge only the bottom node of your cutting. The leaves should never touch the water, or they’ll rot. I use a clear container so I can watch the roots develop without disturbing the cutting.
Set the jar in a spot with bright, indirect light—direct sun will scorch the cutting. Change the water every 3-4 days or when it looks cloudy. You’ll see tiny white roots emerging from the node in 2-4 weeks.
Once the roots reach 1-2 inches long, it’s time to pot your cutting. Fill a small container with well-draining potting mix and make a hole with your finger. Gently place the cutting in the hole, being careful not to damage the new roots, then firm the soil lightly around the base.
Water until the mix feels evenly moist but not soggy. Place the pot in a warm spot with bright, indirect light and maintain consistent moisture for the first 2-3 weeks. You’ll know it’s successfully rooted when you see new leaf growth.
After 4-6 weeks, begin treating your cutting like a mature fiddle leaf fig. Water when the top 1-2 inches of soil feel dry and rotate the pot occasionally for even growth. I’ve found that new plants are particularly sensitive to drafts, so keep it away from air vents or frequently opened doors.
Expect some leaf drop during the transition—this is normal as the plant adjusts to its new environment. Once you see steady new growth, you can fertilize lightly with a balanced houseplant formula to encourage further development.
Here’s what I’ve learned from propagating dozens of these plants successfully.
Cutting Selection: In Step 1, always choose a stem with at least one visible node—this is where roots will emerge. A 45-degree cut just below the node maximizes surface area for root growth, and removing the bottom leaf prevents rot while keeping the top leaves intact for photosynthesis.
Callousing Time: Don’t rush the 1-2 hour callousing period in Step 1. This step is critical for preventing rot when you place the cutting in water. You’ll know it’s ready when the cut end looks slightly dry and less shiny.
Water and Light: In Step 2, use room temperature water and change it every 3-4 days to prevent bacterial growth. Bright, indirect light encourages root development, but direct sun can scorch the cutting. A clear container lets you monitor root growth without disturbing the cutting.
Patience with Roots: Roots typically emerge in 2-4 weeks, but don’t transfer to soil until they’re 1-2 inches long. This ensures the cutting has enough stability to thrive in its new environment.
Yes! Place a healthy stem cutting in a jar of water, ensuring the nodes are submerged. Change the water every few days and keep it in bright, indirect light. Roots should appear in 4-6 weeks.
Rooting typically takes 4-8 weeks, depending on conditions like temperature, humidity, and light. Warmer environments (70-75°F) and consistent moisture speed up the process.
Check for rot, ensure the cutting has at least one node, and verify it’s getting enough indirect light. If the water is murky or the stem is mushy, trim and restart with fresh water.
No, a node is essential for new root growth. Without one, the cutting won’t develop roots. Always take cuttings below a leaf node for the best chance of success.
Water propagation is easier for beginners, as it lets you monitor root growth. Soil works too but requires consistent moisture. Both methods can succeed with the right care!
