
Beautiful Plants For Your Interior
Beautiful Plants For Your Interior
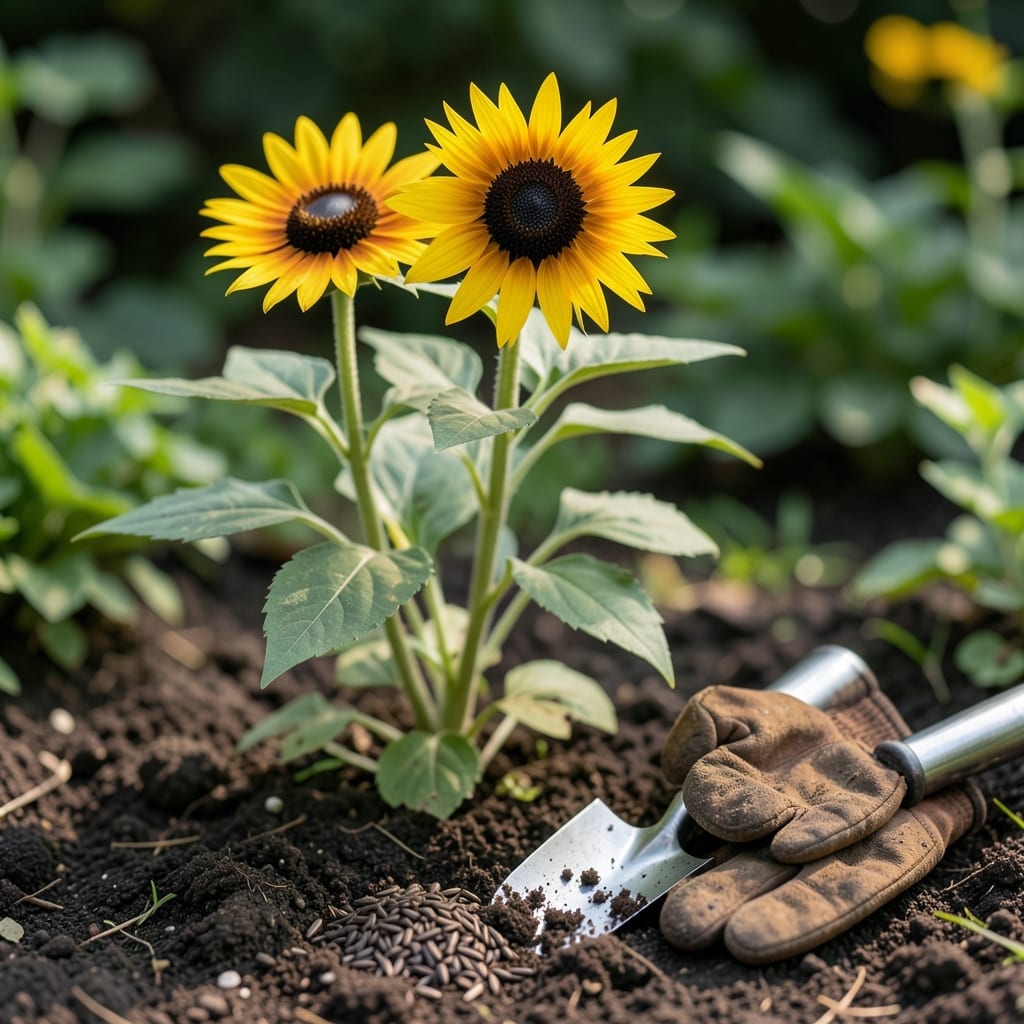
I get it – you want those cheerful 🌻 Black-Eyed Susan blooms to burst forth next spring, and fall planting might just be your secret weapon. The timing can make all the difference between a thriving garden and a disappointing one.
Fall sowing works beautifully for these hardy flowers, but there are key factors to consider. It’s not just about tossing seeds in the ground and hoping for the best.
Discover how to leverage autumn’s natural processes to give your plants a head start. I’ll walk you through the when, where, and how of fall planting success.

you can plant Black-Eyed Susan seeds in the fall, and it’s often the smartest approach for vibrant spring blooms. These hardy perennial flowers thrive when sown in autumn, thanks to their natural adaptation to cold stratification.
Fall planting mimics nature’s timeline, allowing seeds to break dormancy over winter. This process prepares them for stronger germination when temperatures rise. I’ve seen gardens burst with color earlier when seeds are planted this way.
| Requirement | Specification |
|---|---|
| Best Time | 4-6 weeks before first frost |
| USDA Zones | 3-9 |
| Sowing Depth | 1/4 inch deep |
| Sun Needs | Full sun (6+ hours) |
In my experience, the ideal window is September to November, depending on your USDA zone. Planting too early may cause premature sprouting, while too late risks frost damage before seeds settle.
Cold stratification is nature’s way of preparing seeds. When you plant in fall, winter’s chill softens seed coats, signaling it’s time to grow come spring. This often leads to earlier blooms and stronger plants.
Soil preparation is key. I always loosen the top inch of soil and remove debris to ensure good seed-to-soil contact. A light rake after sowing helps, but don’t bury seeds too deep—1/4 inch is perfect.
Watering after planting is crucial, but don’t overdo it. The goal is moist but not soggy soil. In most regions, fall rains handle this, but I check weekly if we’re in a dry spell.
One pro tip: Mark your planting spots. It’s easy to forget where you sowed seeds, and you don’t want to accidentally dig them up during spring garden prep. I use small biodegradable flags or sticks.
Fall planting also gives seeds a competitive edge. By the time spring arrives, your Black-Eyed Susans are already established, often outpacing weeds and requiring less maintenance as they grow.
If you’re in a mild climate, fall planting is almost foolproof. Even in colder zones, with proper timing, these resilient flowers will reward you with bold yellow blooms that last through summer. 🌻
Fall planting of Black-Eyed Susan seeds is straightforward if you follow the right steps. I always start by selecting a sunny spot with well-draining soil, as these flowers thrive in full sun conditions.
Soil preparation is vital for success. I loosen the top 1-2 inches of soil and remove any weeds or debris. This ensures seeds make good contact with the earth and have room to establish roots.
When sowing, I space seeds about 12 inches apart and cover them with just 1/4 inch of soil. Black-Eyed Susans don’t need deep planting, and too much depth can hinder germination.
After planting, I give the area a gentle watering to help settle the soil. It’s important not to overwater, as soggy conditions can cause seeds to rot. In most cases, natural rainfall provides enough moisture.
To protect your seeds over winter, consider adding a thin layer of mulch. This helps retain moisture and insulates the soil. I use straw or shredded leaves, which break down naturally by spring.
One challenge is keeping birds from eating your seeds. I’ve found that lightly covering the area with garden fabric or using bird netting can be effective until seeds are well-established.
By following these steps, you’ll give your Black-Eyed Susans the best start for a vibrant spring display. The fall planting method often results in earlier blooms and healthier plants come summer. 🌻