
Beautiful Plants For Your Interior
Beautiful Plants For Your Interior
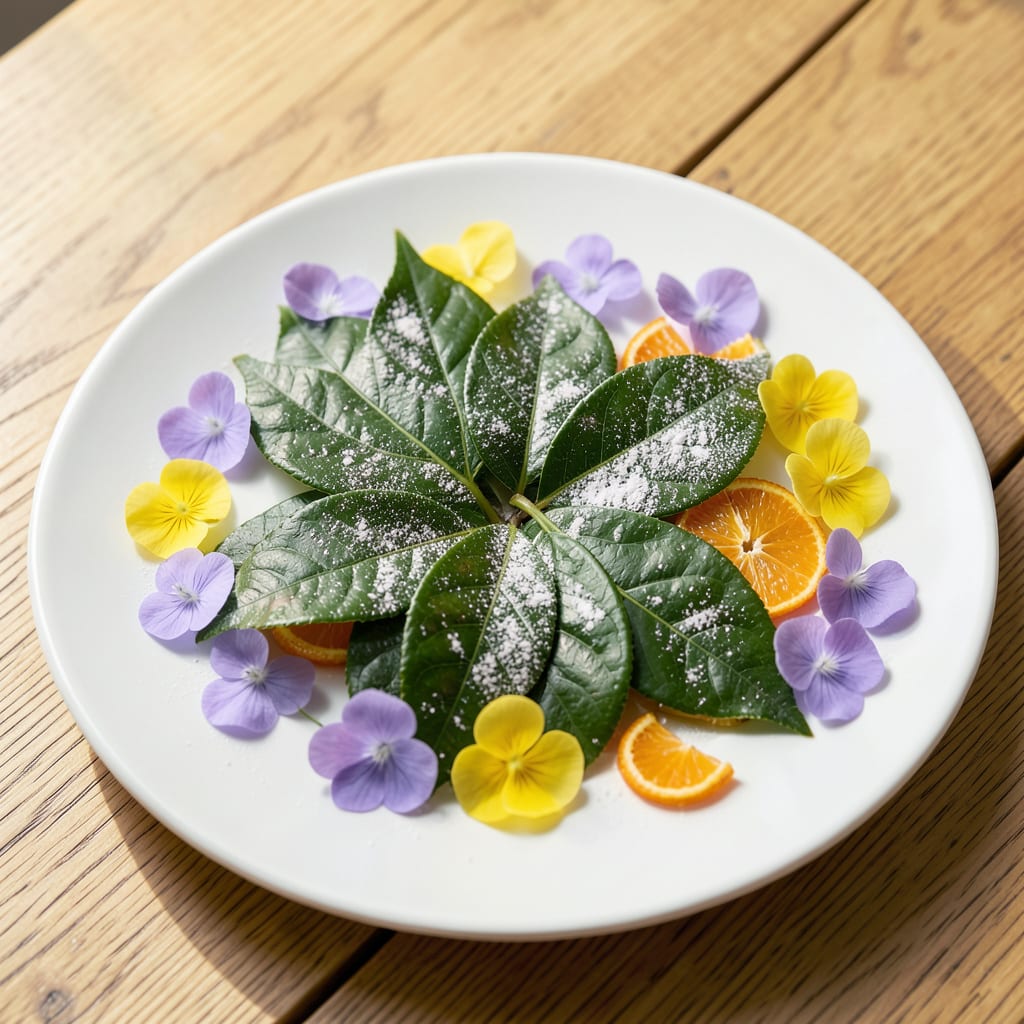
Those brown spots spreading across your camellia leaves aren’t just ugly—they’re stealing your plant’s strength. I lost three bushes before figuring out how to stop this fungal invader in its tracks.
The good news? You don’t need harsh chemicals to win this fight. Simple organic remedies and smart cultural practices can turn the tide. Most gardeners overlook the first, most critical step: removing every infected leaf from your property.
Within 2-3 weeks of consistent treatment, you’ll see fresh, healthy growth replacing the damaged foliage. The key is catching it early before it spreads to every branch.
Works for all camellia varieties, whether you’re growing them in containers or as landscape shrubs. Here’s exactly what to do.
Camellia leaf blight, a common fungal disease, doesn’t appear out of nowhere. It’s triggered by specific environmental and biological factors that create the perfect storm for infection. Understanding these causes is the first step in effective camellia leaf blight treatment and prevention.
Fungal spores thrive in damp, stagnant conditions. Overhead watering, prolonged rain, or high humidity (above 85%) can leave camellia leaves wet for extended periods. Phytophthora and Colletotrichum—common culprits behind leaf blight—germinate rapidly in these conditions. Poor airflow, often caused by dense planting or lack of pruning, traps moisture and accelerates spore spread.
Fungal pathogens overwinter in fallen leaves, dead branches, and even old mulch. If not removed, these materials become a breeding ground for spores. Come spring or the next rainy season, wind or splashing water can carry the spores back to healthy foliage, restarting the infection cycle. Sanitation is non-negotiable—clear debris regularly to cut off the fungus’s food source.
Camellias are most vulnerable during unseasonal warmth followed by sudden cold snaps. These fluctuations weaken the plant’s natural defenses, making it easier for fungi to invade. For example, Ciboria camelliae (a blight-causing fungus) activates in temperatures between 50°F and 75°F (10°C–24°C), especially when combined with moisture. Monitor weather patterns and protect plants during these transitional periods.
Compacted, waterlogged, or nutrient-poor soil stresses camellias, reducing their ability to fend off diseases. Root rot from poorly draining soil can also weaken the plant systemically, making leaves more susceptible to blight. Amend soil with organic matter to improve drainage and boost microbial activity, which helps suppress pathogenic fungi naturally.
Tackling camellia leaf blight starts with identifying the root cause and applying targeted fixes. Here’s a practical breakdown of common issues and their solutions, plus prevention tips to keep your camellias thriving.
If you spot dark, irregular spots on leaves, a fungal infection is likely. Remove affected leaves immediately and dispose of them in the trash (not compost). Apply a copper-based fungicide or a homemade mix of 1 tsp baking soda + 1 quart water + a drop of dish soap. Spray every 7–10 days until the issue clears.
Prevention tip: 💡 Improve air circulation by pruning dense foliage and avoid overhead watering to reduce moisture on leaves.
Yellowing leaves or a soggy base often signal overwatering. Let the top 1–2 inches of soil dry out between waterings. Ensure your camellia is planted in well-draining soil and a pot with drainage holes if growing in containers.
Prevention tip: 🌡️ Use a moisture meter to check soil dampness before watering—camellias prefer slightly moist but not waterlogged conditions.
Weak or discolored leaves may indicate a nutrient deficiency. Use a balanced, acid-loving plant fertilizer (e.g., 10-10-10) in early spring and again in summer. Avoid high-nitrogen feeds, which can promote leafy growth at the expense of flowers.
Prevention tip: ✨ Mulch with pine bark or compost to slowly enrich the soil and maintain its acidic pH (5.5–6.5).
Pests like aphids or scale can stress the plant, making it vulnerable to blight. Blast off pests with a strong jet of water or apply neem oil or insecticidal soap weekly until they’re gone. For severe infestations, introduce beneficial insects like ladybugs.
Prevention tip: 🎯 Regularly inspect the undersides of leaves for early signs of pests and act quickly.
Apply copper fungicide every 7-10 days during active infection. For prevention, monthly sprays during wet seasons work well. Always follow product instructions carefully.
No, never compost blighted leaves. The fungus survives composting and can reinfect plants. Dispose of them in sealed trash bags instead.
Yes! Prune to improve airflow, removing 1/3 of dense growth each year. This reduces humidity around leaves and limits fungal spread.
Water at the base early morning so leaves dry quickly. Avoid evening watering—moist leaves overnight invite fungal growth.
