
Beautiful Plants For Your Interior
Beautiful Plants For Your Interior
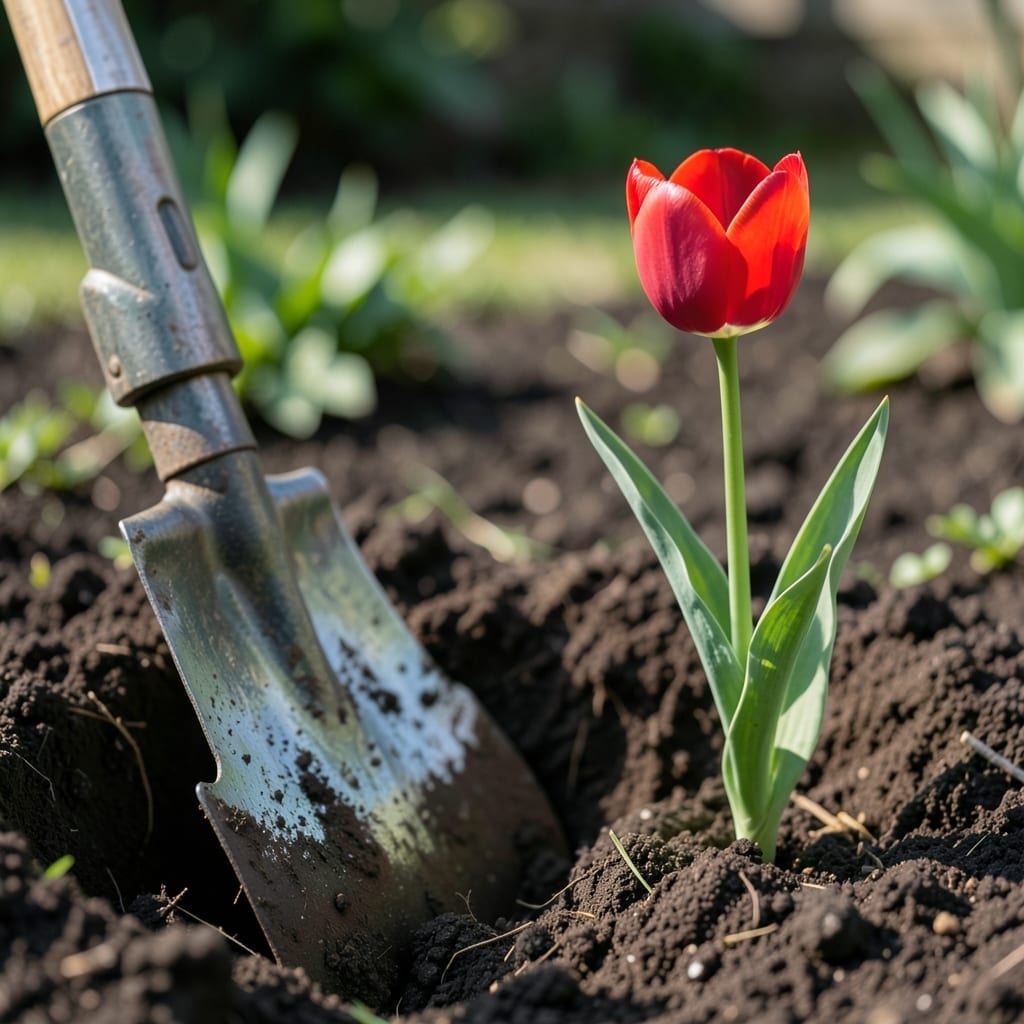
Planting bulbs used to mean sore hands and uneven depths. I discovered this tool after one too many crooked tulip rows, and it changed everything for my spring garden.
This digger creates uniform holes in seconds, so every bulb goes in at the perfect depth—no measuring, no guessing. Daffodils, tulips, even alliums fit perfectly. The ergonomic handle saves your back, and the sharp edges slice through tough soil.
You’ll plant twice as fast with half the effort. The spacing stays consistent, so your blooms emerge in neat rows instead of a chaotic cluster. My neighbor’s jaw dropped when she saw my first perfectly aligned tulip bed.
Works in raised beds, lawns, or border gardens. Here’s how to use it like a pro.
Soil damage during bulb planting often stems from improper tool use or environmental factors. Here’s why it happens:
When soil is heavily compacted, a bulb hole digger must exert more force to penetrate. This can lead to uneven holes or excessive pressure on the tool, causing soil disruption. Compacted soil also reduces aeration, making it harder for roots to establish.
Working in saturated soil can cause the hole to collapse as water weakens its structure. The digger may drag mud upward, creating a messy, unstable planting space. Always check soil moisture before digging—aim for damp, not soggy.
Using the digger at a shallow or steep angle can strip topsoil or create jagged edges. A 90-degree vertical entry ensures clean, precise holes with minimal soil disturbance.
A dull or dirty digger tears soil instead of slicing through it. Regularly sharpen blades and remove debris to maintain efficiency and prevent unnecessary soil damage.
Even the best tools can hit snags. Here’s how to troubleshoot and prevent problems with your bulb hole digger so you can get back to planting with ease.
If the digger struggles to penetrate soil or creates uneven holes, the tines may be dull or bent. Sharpen the edges with a metal file or replace them if they’re damaged. To prevent this, store the tool in a dry place and avoid rocky soil without pre-clearing.
Soil buildup can clog the moving parts, making the digger hard to operate. Clean the mechanism after each use with a brush or damp cloth, and apply a light lubricant to keep it smooth. Prevent jams by removing excess dirt during use.
A wobbly handle can make digging uncomfortable or inefficient. Tighten screws or bolts with a wrench, or replace worn grips for better control. For long-term prevention, check connections regularly and avoid over-torquing.
If holes aren’t deep enough, the digger may not be fully inserted or the soil is too compact. Apply steady pressure and use your foot to push down if needed. Loosen hard soil first with a trowel. Test depth on a small area before planting in bulk.
Pro tip 💡: Always inspect your digger before and after use to catch issues early!
It works best in loose, well-draining soil like loam. Avoid rocky or clay-heavy ground. For tough soil, water the area first to soften it.
Most bulbs need holes 2-3 times their height. For tulips and daffodils, aim for 6-8 inches deep. Always check the specific bulb’s planting guide.
Yes! It’s great for small plants, seedlings, or even setting fence posts. Just adjust the depth to match what you’re planting.
Clean it after each use and dry thoroughly. Store in a dry place or apply a light coat of oil to the metal parts.