
Beautiful Plants For Your Interior
Beautiful Plants For Your Interior
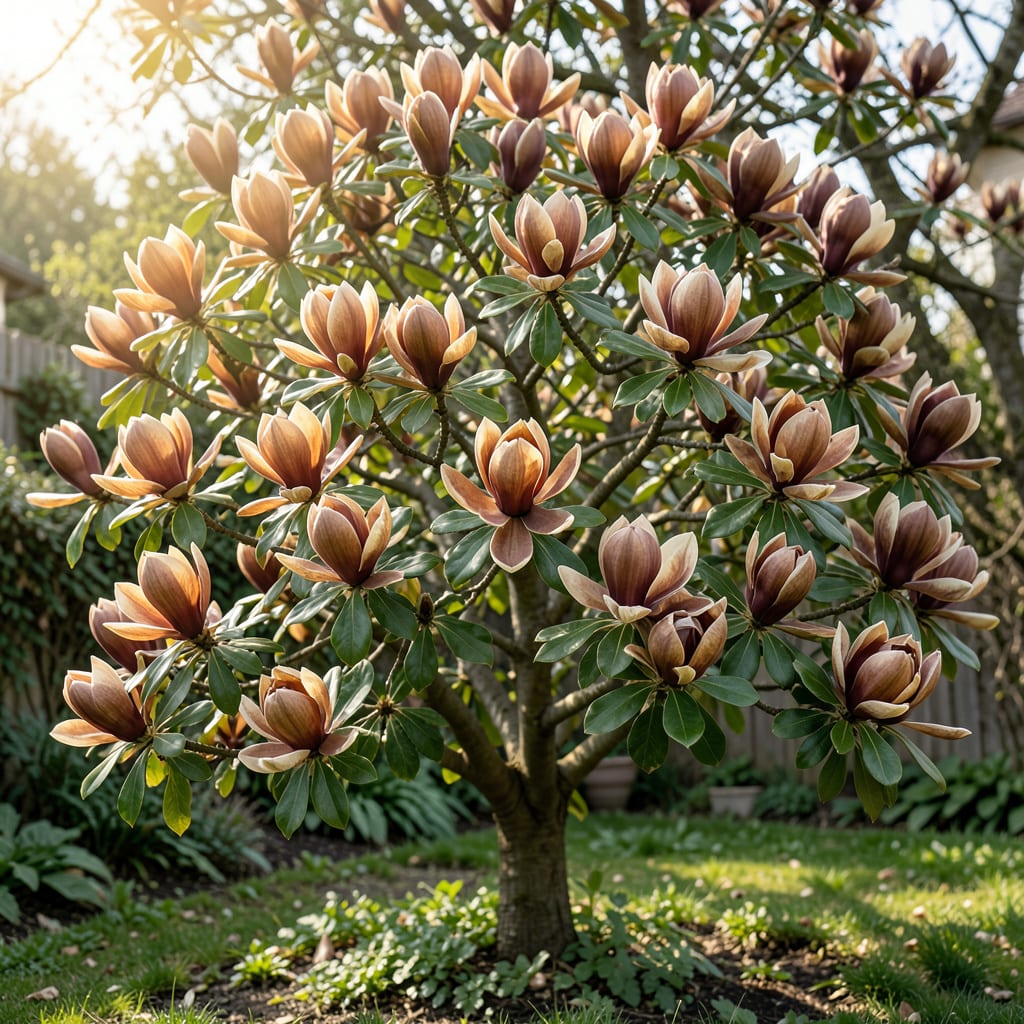
This magnolia stole my heart with its year-round elegance. Brown Beauty delivers glossy evergreen leaves, fragrant spring blooms, and a compact form that fits perfectly in smaller gardens.
I planted mine in partial sun with well-draining soil, and it rewarded me with disease-resistant growth and stunning flowers. The key is consistent moisture and protection from harsh afternoon sun.
📚 In This Guide
Here’s the method I use to establish these stunning trees with minimal stress and maximum impact.
Choose a spot with full sun to partial shade—this cultivar thrives in 6+ hours of direct sunlight but tolerates afternoon shade in hotter climates. Avoid low-lying areas where cold air or water pools, as magnolias despise soggy roots. The soil should be well-draining, slightly acidic to neutral (pH 5.5-7.0), and rich in organic matter.
Test drainage by digging a 12-inch-deep hole and filling it with water. If it drains within 1-2 hours, the site is suitable. I’ve found that amending heavy clay with compost or pine bark fines dramatically improves conditions for these shallow-rooted trees.
Dig a hole twice as wide as the root ball but no deeper—planting too deep suffices the trunk and invites rot. Rough up the sides of the hole with your shovel to help roots penetrate the surrounding soil more easily. This is the moment that matters: proper hole prep prevents future issues like root girdling or poor establishment.
Remove the tree from its container and gently tease apart any circling roots. If the root ball is wrapped in burlap, leave it intact but fold back the top third to prevent it from wicking moisture away from the roots. Position the tree so the root flare (where roots meet trunk) sits 1-2 inches above the soil line—this accounts for settling.
Place the tree in the hole and backfill with native soil, tampling lightly as you go to eliminate air pockets. Don’t add fertilizer at planting—it can burn tender roots. Instead, water thoroughly with 5-10 gallons of water to settle the soil and hydrate the root zone. You’ll see the soil level drop slightly; add more soil if needed to maintain the proper depth.
Create a 3-4 inch high watering berm around the perimeter of the hole to help direct water to the roots during the first year. Mulch with 2-3 inches of organic mulch (like shredded bark), keeping it 6 inches away from the trunk to prevent moisture buildup against the bark.
Water deeply 2-3 times per week for the first 3-4 months, then taper to once weekly unless rainfall is insufficient. Magnolias have shallow roots, so consistent moisture is critical during the first two years. I check soil moisture by sticking my finger 2-3 inches into the soil—if it feels dry, it’s time to water.
Avoid overhead watering to prevent fungal issues. Apply a balanced, slow-release fertilizer (10-10-10) in early spring of the second year, but don’t overdo it—magnolias are light feeders. Prune only to remove dead or damaged branches, as this cultivar has a naturally attractive form.
Small details make the difference between a magnolia that struggles and one that thrives for decades.
Soil Test Hack: That 12-inch-deep hole drainage test in Step 1 is non-negotiable. If water sits longer than 1-2 hours, you’ll need to amend the soil or choose a different spot. I’ve seen gardeners skip this and lose trees within a year to root rot.
Planting Depth Critical: In Step 2, the 1-2 inches above soil line rule for the root flare prevents suffocation. Plant too deep and the trunk stays moist, inviting disease. I learned this the hard way after losing a young magnolia to crown rot.
Watering Wisdom: The 5-10 gallons initial soak in Step 3 isn’t excessive—it eliminates air pockets that could dry out roots. Then that 3-4 inch berm keeps water where it belongs during those critical first months of 2-3 weekly waterings.
Mulch Discipline: Keeping mulch 6 inches from the trunk prevents the dreaded “volcano” look and more importantly, bark decay. Use that 2-3 inches of organic mulch to retain moisture without smothering the root flare.
This tree grows at a moderate rate, typically adding 12-24 inches per year. With proper care, it can reach 20-30 feet tall in about 10-15 years.
Plant in early spring or fall to allow roots to establish before extreme temperatures. Avoid summer planting, as heat stress can hinder growth.
Consider dwarf magnolia varieties like ‘Little Gem’ or ‘Teddy Bear‘ for smaller gardens. Both offer similar beauty in a compact form.
Yellowing leaves often indicate overwatering, nutrient deficiencies, or poor drainage. Check soil moisture and consider a balanced fertilizer.
Yes! Its fragrant, creamy-white flowers in spring attract bees and butterflies, making it a pollinator-friendly choice.
