
Beautiful Plants For Your Interior
Beautiful Plants For Your Interior
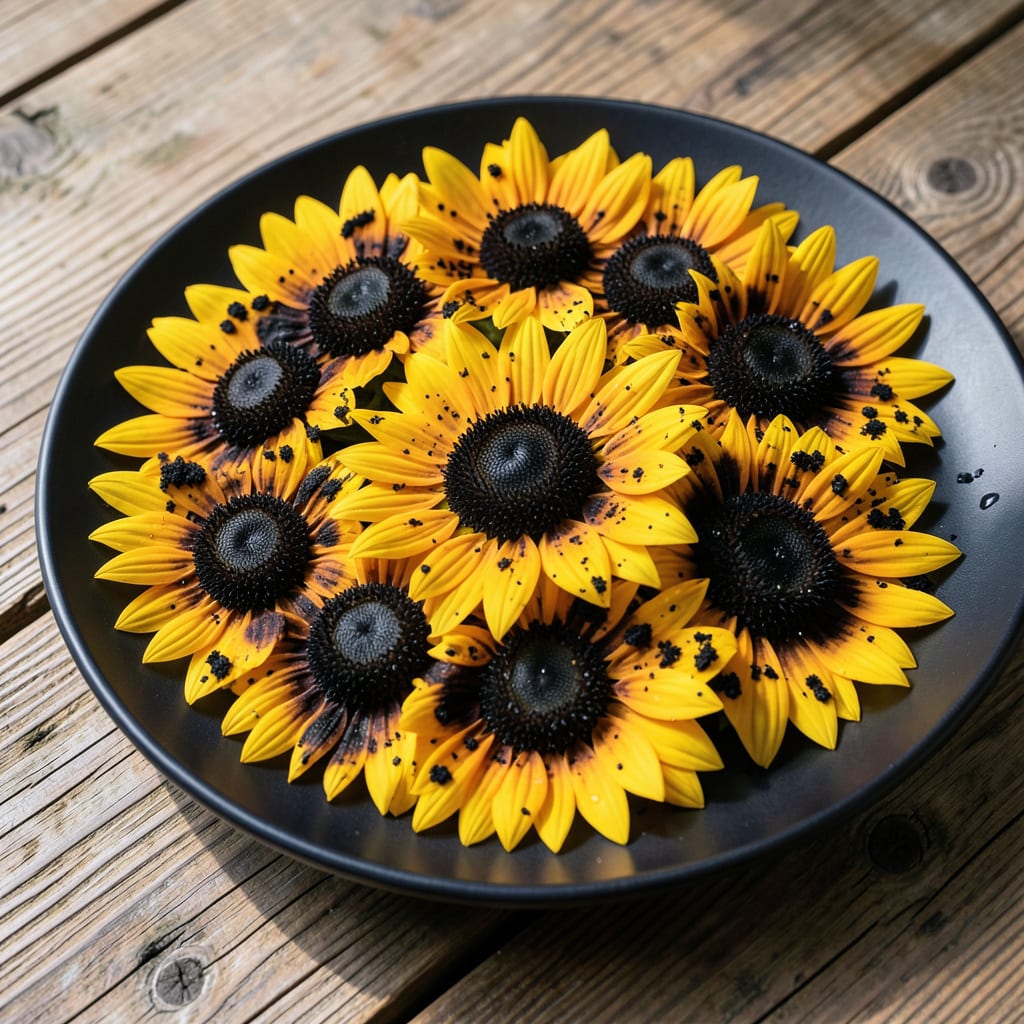
Those black spots on your black-eyed Susans aren’t just ugly—they’re a warning sign. I’ve seen entire patches go from vibrant to crispy in 2 weeks when ignored.
Most cases trace back to fungal issues like leaf spot, which thrives in wet conditions. Overhead watering, poor air circulation, or last season’s debris can all trigger the problem.
Here’s the thing—early action saves your plants. Remove affected leaves first, then adjust your care routine. You’ll see new growth within 10 days if you catch it soon enough.
Prevention is simpler than treatment. Space plants properly, water at the base, and clean up fallen leaves. That’s your best defense for next season.
Black spots on Black-Eyed Susans often stem from environmental stress, pathogens, or cultural mismanagement. Below are the most common causes, explained with actionable insights.
Fungi like Cercospora or Septoria thrive in wet, humid conditions, producing dark, irregular spots on leaves. These pathogens spread via water splashes or contaminated tools. Prevent by: improving airflow, avoiding overhead watering, and applying copper-based fungicides at first signs.
Excess moisture on foliage or soggy soil invites fungal spores and bacterial growth. Black-Eyed Susans prefer well-draining soil and dry leaves. Fix by: watering at the base early in the day and amending heavy clay soil with compost.
Insects like aphids or Japanese beetles chew leaves, creating entry points for secondary infections that manifest as black spots. Control pests: with neem oil or insecticidal soap, and remove heavily infested foliage promptly.
Heat, drought, or nutrient deficiencies (e.g., potassium) can weaken plants, making them vulnerable to spot-causing pathogens. Mitigate stress: by mulching to retain moisture and fertilizing with a balanced, slow-release formula in spring.
Tackling those unsightly black spots on Black Eyed Susans starts with pinpointing the cause. Below are targeted solutions for the most common culprits, along with tips to keep your plants thriving.
Fix: Remove and destroy affected leaves to prevent spread. Apply a copper-based fungicide or a homemade mix of 1 tsp baking soda + 1 quart water + a drop of dish soap. Spray every 7–10 days until the issue clears.
Prevent: Improve air circulation by thinning plants. Water at the base (not overhead) in the morning so foliage dries quickly. 💡 Pro tip: Mulch with straw to reduce soil splash, which spreads spores.
Fix: Blast pests off with a strong stream of water, or apply neem oil or insecticidal soap. For severe infestations, use pyrethrin-based sprays at dusk.
Prevent: Encourage natural predators like ladybugs by planting companion flowers (e.g., marigolds). Inspect leaves weekly for early signs of pests. ✨
Fix: Let the soil dry out between waterings. If the plant is in a waterlogged spot, amend the soil with compost or sand to improve drainage.
Prevent: Use a moisture meter to check soil before watering. Plant in well-draining soil and ensure containers have drainage holes. 🌡️ Pro tip: Black Eyed Susans are drought-tolerant—less water is often better!
Fix: Provide afternoon shade with a shade cloth or relocate potted plants to a less intense spot. Trim scorched leaves to redirect energy to healthy growth.
Prevent: Acclimate plants gradually to full sun. Mulch around the base to retain moisture and regulate soil temperature. 🎯
Not always! While fungal infections are the most common cause, pest damage or environmental stress can also create similar spots. Check for insects or signs of heat scorching first.
Yes, but act quickly. Remove all affected foliage and treat with a fungicide or neem oil. If the stems are healthy, new growth should appear within 1-2 weeks.
Water deeply at the base once or twice weekly, allowing soil to dry between sessions. Morning watering helps foliage dry faster, reducing fungal risks.
Avoid composting diseased foliage unless your pile reaches 140°F+ to kill pathogens. Otherwise, dispose of affected leaves in the trash to prevent spreading.
