
Beautiful Plants For Your Interior
Beautiful Plants For Your Interior
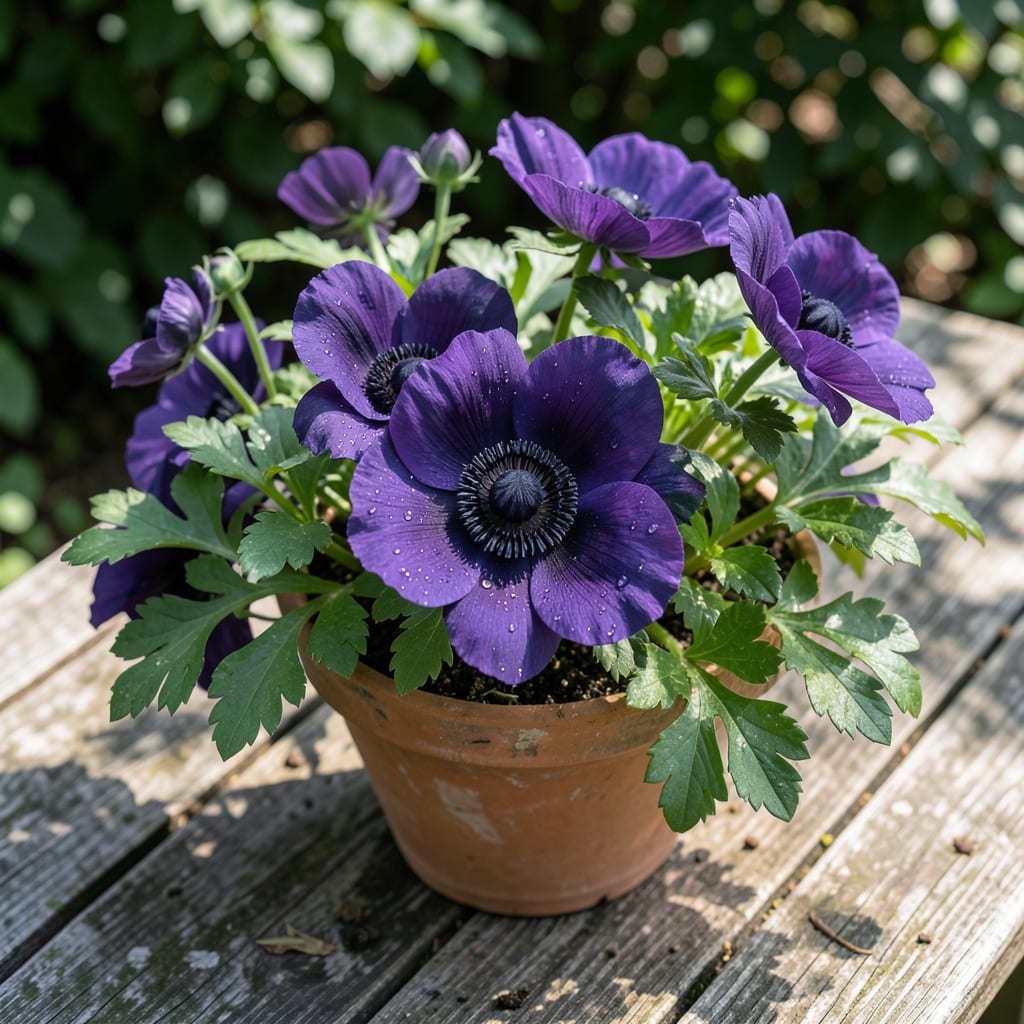
This variety stopped me in my tracks at the garden center last spring. The contrast between pure white petals and those deep purple centers looks like something from a painting.
It thrives in partial shade with well-draining soil, and once established, it’s surprisingly low-maintenance. I planted mine in April and had blooms by early summer that lasted until fall.
📚 In This Guide
Here’s the method I use to grow these stunning perennials with confidence in any garden setting.
Choose a site with partial shade to full sun, though afternoon shade is beneficial in hotter climates. These anemones thrive in locations where they receive 4-6 hours of sunlight daily. The soil should be well-draining yet rich in organic matter—avoid heavy clay or waterlogged areas that can cause root rot.
I always test the drainage by digging a 12-inch hole, filling it with water, and watching how quickly it drains. If water remains after 30 minutes, amend the soil with compost or plant in a raised bed. The right location prevents most common issues before they start.
Loosen the soil to a depth of 12-15 inches and mix in 2-3 inches of compost to improve fertility and structure. Anemones prefer slightly acidic to neutral soil (pH 6.0-7.0), so if your soil is alkaline, work in a bit of sulfur or peat moss.
Remove any weeds or debris that could compete with your plants for nutrients. I’ve found that adding a handful of bone meal to the planting hole gives them an extra boost for strong root development. The preparation here determines how well they establish and bloom.
Dig a hole just deep enough to accommodate the root ball, placing the crown 1-2 inches below the soil surface. Space plants 18-24 inches apart to allow for their mature spread. Backfill with the amended soil and press gently to eliminate air pockets.
Water thoroughly after planting to settle the soil and encourage root contact. I mulch with 1-2 inches of organic mulch to retain moisture and suppress weeds, but I keep it away from the crown to prevent rot. Proper planting depth is critical—too shallow and roots dry out; too deep and stems suffocate.
Keep the soil consistently moist but not soggy during the first growing season as plants establish. After that, they’re reasonably drought-tolerant but perform best with 1 inch of water per week, either from rainfall or supplemental irrigation.
Apply a balanced, slow-release fertilizer in early spring to support vigorous growth and abundant blooms. I deadhead spent flowers regularly to encourage continuous blooming and prevent self-seeding, which can become aggressive in ideal conditions. Real talk: they’ll tell you when they’re thirsty—leaves will droop slightly before wilting.
Watch for common issues like powdery mildew, especially in humid conditions. Ensure good air circulation by spacing plants properly and avoiding overhead watering. Slugs and snails can also be a problem, particularly in damp areas.
I use organic slug bait or set up beer traps to keep them at bay. If aphids appear, a strong blast of water or insecticidal soap usually takes care of them. Here’s the thing—healthy plants are less susceptible to pests, so proper care is your first line of defense.
Small details often mean the difference between thriving plants and constant struggles with these perennials.
Sunlight Precision: The 4-6 hours of sunlight daily mentioned in Step 1 is non-negotiable for optimal blooming. In hotter climates, afternoon shade prevents petal scorch while still allowing for vibrant growth. I’ve seen plants in full sun wilt dramatically during summer heatwaves.
Drainage Test Wisdom: That 30-minute drainage test in Step 1 isn’t just a suggestion—it’s your insurance policy against root rot. If water lingers longer, raised beds or generous compost amendment become essential. I learned this the hard way after losing a whole section of plants to soggy soil.
Planting Depth Critical: In Step 3, placing the crown 1-2 inches below the soil surface is the sweet spot. Too shallow and you’ll battle drought stress; too deep and you’ll smother the growth point. I mark the depth with a stick before backfilling to ensure consistency.
Watering Discipline: The 1 inch of water per week guideline in Step 4 works perfectly once established, but new plantings need consistent moisture. Here’s what nobody tells you—drip irrigation at soil level prevents both fungal issues and water waste from overhead spraying.
Keep the soil moist but well-drained, and plant in partial shade. These anemones thrive in cool temperatures and prefer fertile, humus-rich soil. Mulch lightly to retain moisture.
Plant in early spring or fall for best results. This allows roots to establish before extreme heat or cold. Avoid planting in summer’s peak heat.
Yes! Choose a pot with drainage holes and use a high-quality potting mix. Place in a spot with partial sunlight and water regularly to keep soil moist.
Lack of blooms may mean insufficient light or nutrients. Ensure they get dappled sunlight and fertilize lightly with a balanced fertilizer in early spring.
