
Beautiful Plants For Your Interior
Beautiful Plants For Your Interior
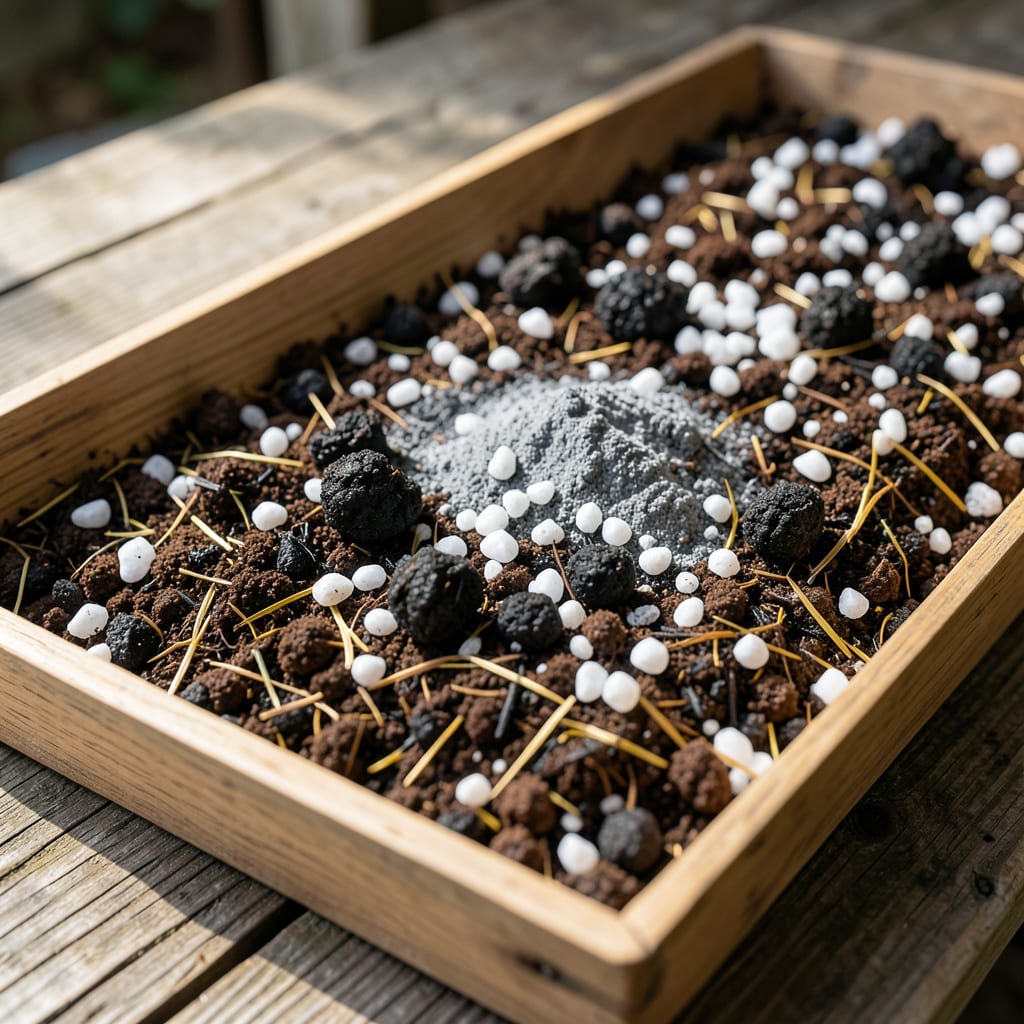
This soil mix transformed my garden from struggling to shockingly lush. Black Kow’s composted cow manure delivers nutrients without the harshness of fresh manure.
I use it to amend poor soil or create a rich base for vegetables and flowers. Plants grow faster and stronger with less effort, and the results speak for themselves.
📚 In This Guide
Follow this proven approach to create a nutrient-dense blend that gives your garden a powerful boost.
Start with 1 part well-aged compost as your foundation. This provides beneficial microbes that break down organic matter into plant-available nutrients. I always source compost that’s been aged for at least 6 months—fresh compost can burn tender roots with excess ammonia.
Add 1 part aged cow manure (the “black cow” in this mix). Black Kow or similar brands work excellently. This manure should be fully composted—it will look dark, crumbly, and smell earthy, not pungent. The aging process eliminates harmful pathogens while concentrating nutrients like nitrogen, phosphorus, and potassium.
Mix in 1 part coarse perlite to improve aeration and prevent compaction. Perlite holds air in its porous structure, which encourages robust root development. Without it, dense organic matter can suffocate roots, especially in container gardens.
Add 1 part worm castings for an extra nutrient kick. These are essentially super-compost, packed with enzymes, beneficial bacteria, and immediately available nutrients. The castings also help retain moisture without waterlogging, creating an ideal balance for most plants.
Blend all components thoroughly in a large container or on a tarp. I use a shovel to turn the mix until the color is uniform—this ensures even distribution of nutrients and structure. You’ll notice the mix should feel loose and slightly moist, not dusty or clumping.
Test the texture by squeezing a handful. It should hold together briefly when compressed but crumble easily when released. If it stays in a tight ball, add more perlite. If it won’t hold shape at all, incorporate a bit more compost to bind the mixture.
Let the blend sit for 48-72 hours before planting. This allows the microbial activity to stabilize and the components to fully integrate. You’ll see the color deepen slightly as the materials interact—a sign the mix is maturing properly.
Water the mixture lightly during this period to activate the microbial life. It should feel like a wrung-out sponge—damp but not dripping. This pre-conditioning prevents the shock that can occur when roots first encounter a new growing medium.
Mastering this blend is about precision and patience—here’s what I’ve learned.
The Aging Factor: In Step 1, that 6-month aging for compost isn’t just a suggestion. Fresh compost can introduce ammonia that’ll damage young roots, while properly aged material ensures a stable, nutrient-rich foundation. I source mine from local farms that test their compost for maturity.
Texture Test: During Step 3, don’t underestimate the squeeze test. If your mix holds together like a snowball when compressed, you’ve overdone the compost—add perlite until it crumbles easily. Conversely, if it won’t hold shape at all, a touch more compost will bind it without compromising aeration.
Conditioning Period: The 48-72 hour rest in Step 4 is non-negotiable. This is when microbial communities establish themselves and the components truly merge. I’ve tried rushing it, and the plants always show the difference in slower initial growth.
Moisture Balance: When pre-wetting during conditioning, aim for that wrung-out sponge consistency. Too dry and microbial activity stalls; too wet and you risk anaerobic conditions. A light misting every 12 hours during this period keeps it in the Goldilocks zone.
Black Kow soil mix is a nutrient-rich compost ideal for gardens, flower beds, and potted plants. It improves soil structure, retains moisture, and boosts plant health with organic matter. Perfect for vegetables, flowers, and lawns!
Use it once or twice a year—spring and fall are best. Mix it into the top 4-6 inches of soil for new plantings or as a top dressing for existing beds.
Yes! Blend it with potting soil (1:1 ratio) for indoor plants. Avoid overusing it in containers, as it can retain too much moisture for some houseplants.
Black Kow is a commercial, standardized compost made from aged cow manure, ensuring consistent quality. Regular compost varies based on homemade ingredients and may lack uniformity.
Overuse can cause waterlogging or salt buildup. Ensure proper drainage and avoid piling it too thickly around plant stems. Adjust watering if needed.
