
Beautiful Plants For Your Interior
Beautiful Plants For Your Interior
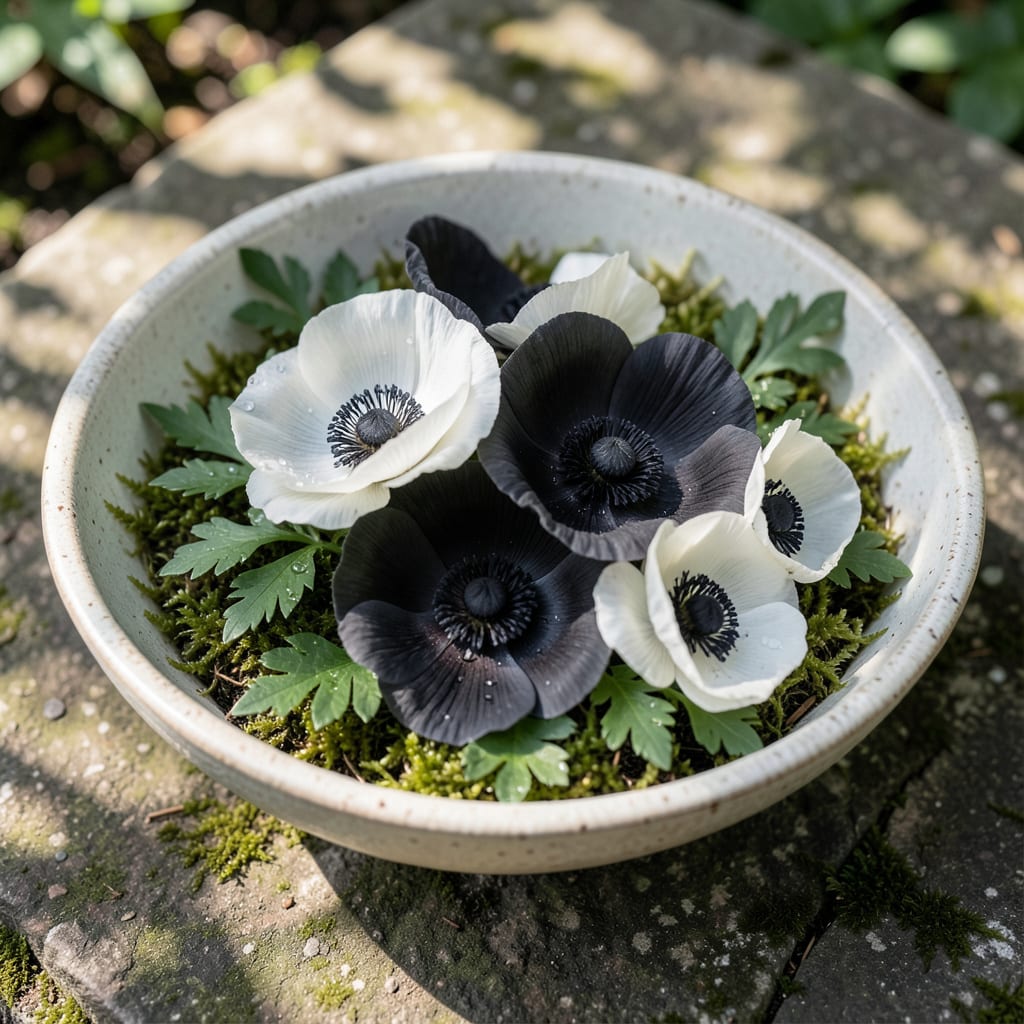
That first glimpse of black and white anemones swaying in shade is pure magic. I planted mine beneath a maple tree, and the contrast against dark soil became my garden’s focal point.
These flowers thrive in partial shade with rich, well-draining soil. They naturalize beautifully, returning each spring with minimal care. Perfect for adding drama to quiet corners of your yard.
📚 In This Guide
Here’s the straightforward method I use to establish these striking shade-loving perennials.
Select a spot with partial to full shade, especially in warmer climates. Black and white anemones thrive under the dappled light of tall trees or on the north side of structures. The ideal location mimics their natural woodland habitat.
Ensure the soil is well-draining but retains some moisture. These plants dislike both waterlogged roots and completely dry conditions. A location with rich, humusy soil works best for establishing strong root systems.
Loosen the soil to a depth of 12-15 inches and mix in 2-3 inches of compost or well-rotted organic matter. This improves drainage in heavy soils while increasing moisture retention in sandy ones.
Remove any weeds or grass from the planting area, as these will compete with your new anemones for nutrients and water. The soil should be loose enough to easily insert your finger up to the second knuckle.
For rhizomes, plant them 1-2 inches deep with the growth buds facing upward. Space them 4-6 inches apart to allow for natural spreading. If planting container-grown specimens, dig a hole twice as wide as the root ball.
Place the plant so the crown sits slightly above soil level to prevent rot. Backfill with the amended soil and press gently to remove air pockets. Water thoroughly after planting to settle the soil around the roots.
Keep the soil consistently moist but not soggy for the first 4-6 weeks after planting. This is critical while the plants establish their root systems. You’ll know they’re settling in when you see new growth emerging.
Apply a 2-inch layer of organic mulch around the plants to conserve moisture and suppress weeds. Keep the mulch an inch away from the stems to prevent rot. Shredded bark or leaf mold work particularly well for anemones.
Once established, black and white anemones require minimal care. Water during prolonged dry spells, providing about 1 inch of water per week. These plants are remarkably drought-tolerant once their root systems develop.
In early spring, apply a light application of balanced fertilizer if your soil isn’t particularly rich. Divide clumps every 3-4 years in spring or fall to maintain vigor and prevent overcrowding. The best time to divide is when the plants are dormant.
Small details make the difference between struggling plants and a thriving shade garden.
Soil Preparation Tip: In Step 2, when loosening the soil to that 12-15 inch depth, I always add a bit more compost than the 2-3 inches suggested if my soil is particularly heavy. This extra organic matter helps prevent compaction, which anemones hate.
Planting Depth Matters: For Step 3, don’t plant rhizomes deeper than 1-2 inches—any deeper and they may rot. I learned this the hard way after losing several plants my first year. The growth buds must face upward, or they won’t emerge properly.
Initial Care Insight: During those first 4-6 weeks mentioned in Step 4, I check soil moisture daily by sticking my finger an inch into the soil. If it feels dry, it’s time to water. Overwatering is just as dangerous as underwatering for new plants.
Mulching Strategy: When applying that 2-inch layer of mulch, I use shredded bark because it breaks down slowly and adds organic matter to the soil over time. Keep it that inch away from stems—this prevents moisture from wicking up and causing rot.
Keep the soil moist but well-drained, and plant in partial shade. These hardy perennials thrive in USDA zones 5-8 with minimal fertilizing. Mulch lightly in winter for protection.
Plant in early spring or fall for best results. This timing allows roots to establish before extreme heat or cold. They’ll bloom in late summer to early fall.
They prefer partial shade, especially in hotter climates. In cooler areas, they can tolerate full sun if the soil stays consistently moist.
Pair with hostas, ferns, or astilbes for a lush, textured look. These plants share similar light and moisture needs, creating a harmonious shade garden.
Check for too much shade, dry soil, or over-fertilizing. Ensure they’re planted in rich, well-draining soil and avoid disturbing the roots once established.
