
Beautiful Plants For Your Interior
Beautiful Plants For Your Interior
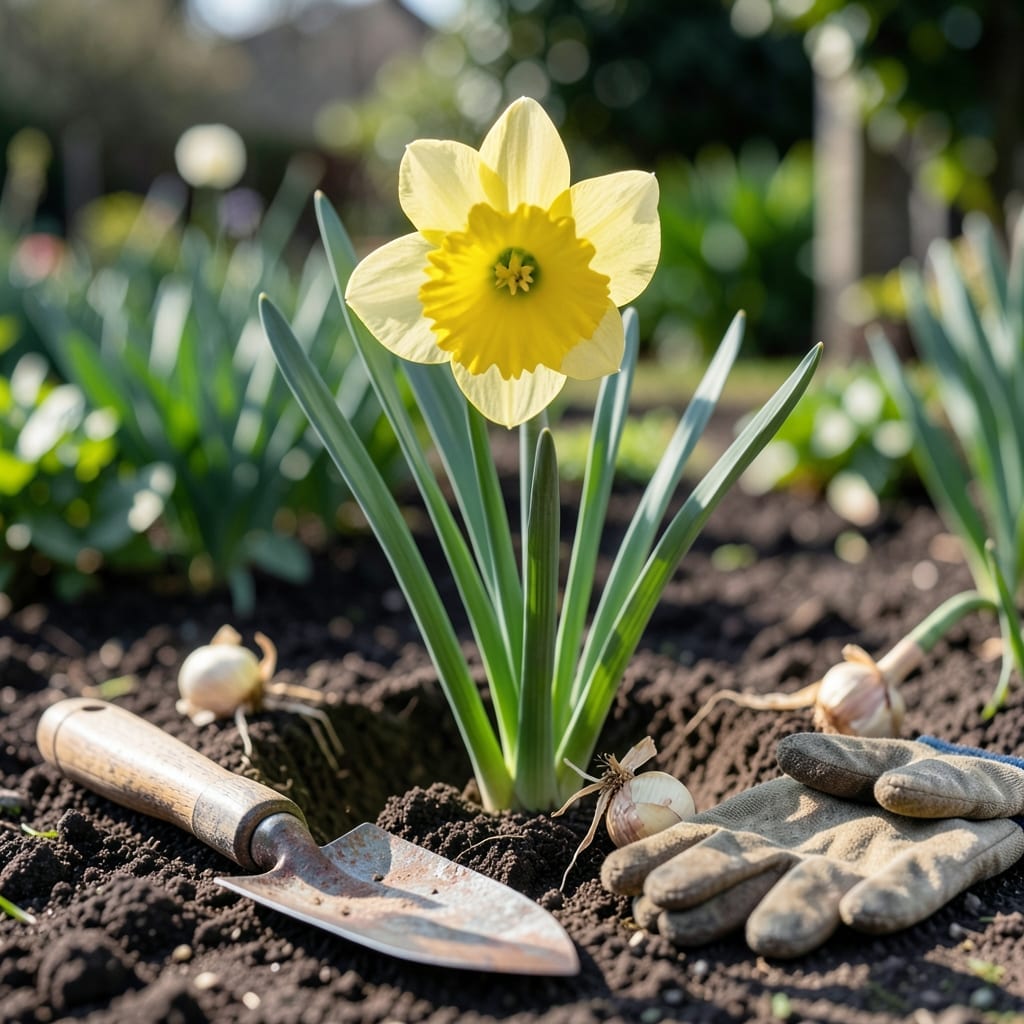
Timing is everything when it comes to moving your Daffodil 🌼 bulbs. Get it right, and you’ll be rewarded with vibrant blooms next season. Get it wrong, and you risk shocking these hardy perennials.
I’ve learned that the best window comes when the foliage starts to yellow, signaling dormancy. This is nature’s way of telling you the bulbs are ready for their new home.
Discover the exact seasonal cues and preparation steps to ensure your Daffodils thrive after the move. Let’s make your garden transition seamless.
The best time to move daffodils is after their foliage has turned yellow and died back, typically 6 weeks after flowering. This signals the bulbs have entered dormancy and can handle the stress of transplanting.
I’ve found that late spring to early summer works perfectly in most climates. The bulbs have stored enough energy, and the soil is still warm enough to help them establish in their new location.
| Stage | Action | Timing |
|---|---|---|
| Flowering Ends | Foliage yellows | May-June |
| Dormancy | Foliage dies back | 6 weeks post-bloom |
| Transplant Ready | Bulbs can be moved | Late spring-early summer |
For gardeners in cooler climates (USDA zones 4-6), aim for June when the soil is workable. Warmer zones (7-9) can push this to early July if needed.
If you miss this window, early fall is your second-best option. The bulbs will have time to establish roots before winter. However, avoid moving them during active growth or freezing conditions.
A key sign is dry, papery foliage. When you see this, it’s time to act. I always mark my calendar after the last bloom fades to track the 6-week waiting period.
In my experience, morning digging reduces stress on the bulbs. The cooler temperatures and higher humidity help them stay hydrated during the move.
For container-grown daffodils, the same rules apply. Wait until the foliage has completely died back before transplanting to a new pot or garden bed.
Remember, daffodil bulbs store energy in their roots during dormancy. Moving them at the right time ensures they’ll have enough reserves to bounce back strong next season.
If you’re dividing clumps, do it during this window too. It’s the perfect opportunity to rejuvenate overcrowded beds and spread the beauty around your garden 🌼
Transplanting daffodils successfully starts with proper preparation. I always begin by watering the bulbs 2-3 days before moving to reduce shock and make digging easier.
Use a garden fork to carefully lift the bulbs from the soil. This minimizes damage to the roots and surrounding daffodil clumps. Be gentle—healthy bulbs are your ticket to next year’s blooms.
After digging, inspect the bulbs for any signs of disease or damage. Discard any that look soft, moldy, or rotten to prevent issues in their new location.
When replanting, dig holes about 6-8 inches deep—roughly 2-3 times the bulb’s height. Space them 4-6 inches apart to allow for growth and airflow.
I like to mix compost or bulb fertilizer into the planting hole. This gives the bulbs a nutrient boost as they establish. After planting, water deeply to settle the soil and eliminate air pockets.
Finally, mulch lightly with organic matter to retain moisture and protect the bulbs. With this care, your daffodils will thrive in their new home and reward you with stunning blooms next spring 🌼