
Beautiful Plants For Your Interior
Beautiful Plants For Your Interior
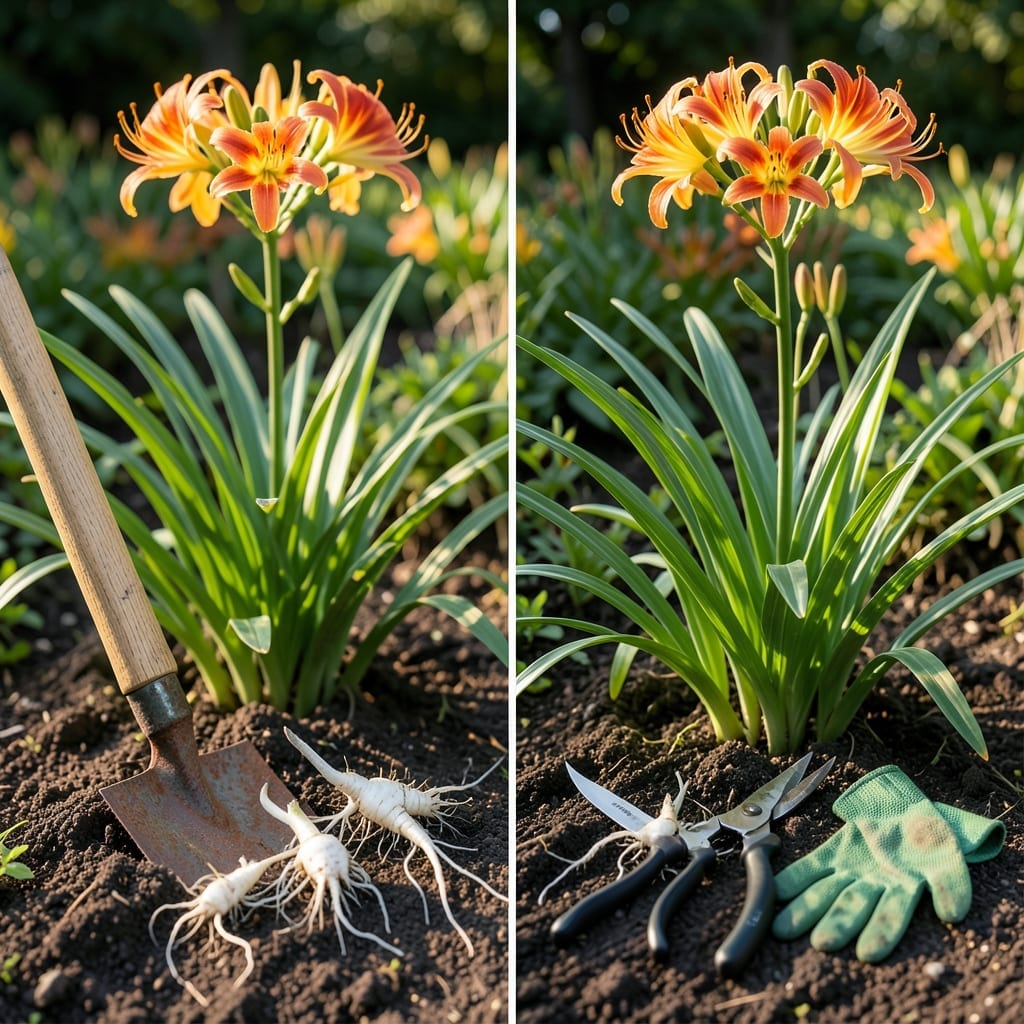
Daylilies are the easiest perennials to grow, but even they need a little TLC to keep blooming their best. If your 🌸 Daylily patch looks crowded or flowers are getting smaller, it’s time for a refresh.
Dividing at the right moment gives your plants a better chance to establish strong roots before the next growing season. Timing is everything for vibrant, healthy blooms.
Let me walk you through the most effective times to tackle this task and how to do it right. Your garden will thank you for it.
The best time to divide daylilies is in early spring or late summer to early fall. This timing allows roots to establish before extreme heat or winter cold sets in. I’ve found spring divisions often bloom the same year.
For most gardeners, late August to September is ideal. The soil is still warm, promoting root growth, and plants have time to settle before dormancy. In warmer climates, you can stretch this into October.
| Season | Timing | Benefits |
|---|---|---|
| Early Spring | As new growth appears | Blooms same season |
| Late Summer | August to September | Strong root establishment |
| Early Fall | 4-6 weeks before frost | Best for cold climates |
If you notice reduced blooming or crowded clumps, it’s a sign your daylilies need dividing. Overcrowded plants compete for nutrients, leading to smaller flowers and weaker growth. Don’t wait too long.
In hotter regions, avoid dividing in peak summer. The stress of heat and transplant shock can stunt recovery. Early fall works better here, giving plants a cooler environment to recover.
For cold climates, aim to finish dividing 6 weeks before frost. This gives roots enough time to establish before winter dormancy. I’ve seen daylilies struggle when divided too late in the season.
Morning hours are best for dividing. The cooler temperatures and lower sun intensity reduce stress on the plants. Always water the clump thoroughly the day before to soften the soil.
After dividing, keep the soil moist but not soggy. Mulch around the new plantings to retain moisture and protect roots from temperature swings. This step is crucial for successful establishment.
Remember, sharp tools make clean cuts, reducing damage to the roots. A good pair of garden forks or a sharp spade will help you lift the clump with minimal disturbance. Clean tools also prevent disease spread.
Finally, don’t fertilize immediately after dividing. Wait 2-3 weeks to avoid burning new roots. Instead, focus on consistent watering to help the plants recover and settle into their new home. 🌸
Dividing daylilies is simpler than you think, but proper technique ensures strong, healthy plants. I always start by watering the clump the day before to loosen the soil and reduce stress.
Begin by trimming the foliage back to 6-8 inches to minimize moisture loss. Then, use a sharp spade or garden fork to carefully lift the entire clump from the ground. ✂️
Once the clump is out, gently separate the individual fans by pulling them apart or cutting with a clean knife. Each division should have healthy roots and 3-4 fans for best results.
Replant the divisions at the same depth as they were originally growing. Space them 18-24 inches apart to allow for future growth. Water thoroughly after planting to settle the soil around the roots.
After replanting, mulch lightly to retain moisture and suppress weeds. Avoid heavy mulch, as it can smother new growth. Keep the soil consistently moist for the first few weeks.
In spring divisions, you may see blooms the same year. For fall divisions, focus on root establishment before winter. Either way, your daylilies will reward you with vibrant blooms next season. 🌸