
Beautiful Plants For Your Interior
Beautiful Plants For Your Interior
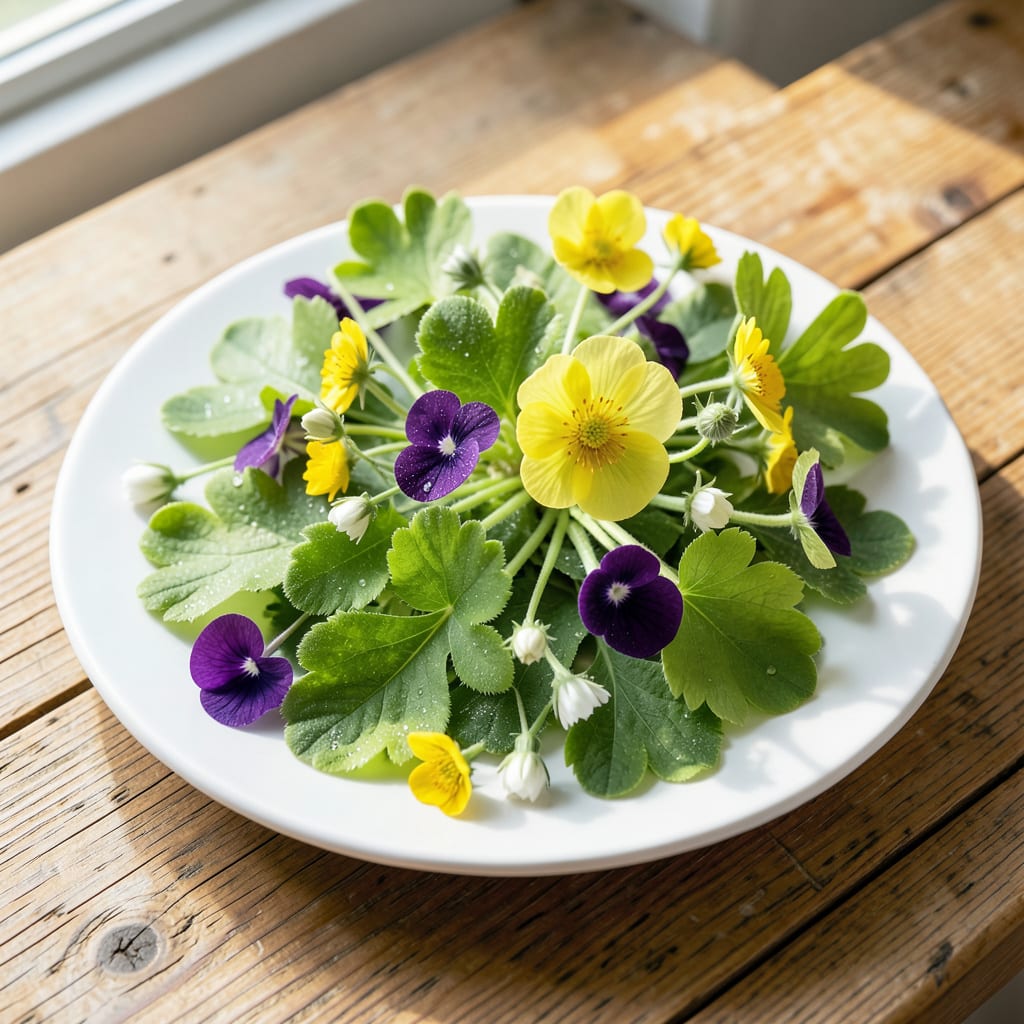
Spring aster leaves emerge as soft, spoon-shaped growth at the base. I check mine daily in early April—these first leaves signal the plant’s waking up after winter dormancy.
Healthy leaves should be bright green and firm. If they look yellow or mushy, your soil might be too wet. A light mulch now keeps roots cool as temperatures climb.
📚 In This Guide
Here’s how to spot and nurture the first signs of healthy aster growth each spring.
In early spring, scan the base of last year’s aster stems for fresh growth. New leaves appear as small, spoon-shaped clusters with a slightly fuzzy texture. They’ll emerge 2-4 weeks after the last frost when soil temperatures reach 50-55°F.
I always mark aster locations in fall with small stakes since the new growth can be subtle. Look for the characteristic deep green color with slightly serrated edges—this distinguishes aster foliage from weeds.
Healthy aster leaves in spring should be firm and upright, not floppy or discolored. Each new shoot should have 3-5 leaves forming a small rosette. Check for signs of pests like aphids, which appear as tiny green dots on the undersides.
If you notice yellowing or brown spots, it often means the plant needs more moisture or the soil is too compacted around the roots. Gently loosen the surrounding earth with your fingers to improve aeration.
Even frost-hardy asters can suffer leaf damage when temperatures drop below 28°F. When forecasts predict late frosts, cover emerging foliage with a light frost cloth or even an overturned bucket. Remove coverings during the day to allow sunlight and air circulation.
I’ve found that a simple layer of mulch around the base helps insulate the roots and encourages faster leaf recovery after cold snaps. Avoid heavy mulches that can smother new growth.
Once leaves are 2-3 inches tall, apply a balanced, slow-release fertilizer to support vigorous growth. Water deeply at the base of the plant rather than overhead to prevent fungal issues on the developing foliage.
Watch for the transition from basal leaves to stem growth—this signals the plant is shifting from root establishment to vertical development. Strong spring leaves mean you’ll have abundant blooms come late summer.
Spring is when fungal diseases like powdery mildew can first appear. Check leaf surfaces weekly for white, powdery spots or yellowing patterns. Remove any affected leaves immediately and dispose of them away from the garden.
Ensure good air circulation by thinning crowded stems. This simple step prevents most fungal issues and keeps your aster plants healthy throughout the growing season.
These practical insights will help you nurture the healthiest growth from the start.
The Temperature Factor: Those soil temperatures of 50-55°F in Step 1 are non-negotiable for emergence. I check with a soil thermometer rather than guessing—cold soil delays growth, while warmer conditions may bring leaves up sooner than the typical 2-4 weeks after last frost window.
Health Check: In Step 2, when examining those 3-5 leaves in each rosette, pay special attention to the undersides. Aphids love to hide there, and catching them early prevents them from spreading to other plants in your garden.
Frost Protection: For Step 3, remember that 28°F is the magic number where damage occurs. I keep a lightweight frost cloth on hand all spring—it’s amazing how much difference a single layer makes during unexpected cold snaps.
Growth Encouragement: When leaves hit that 2-3 inches tall mark in Step 4, resist the urge to fertilize earlier. Applying nutrients too soon can burn tender new growth and actually set your plants back rather than helping them thrive.
Early yellowing can signal overwatering or poor drainage. Check soil moisture and ensure good airflow to prevent fungal issues.
Apply a balanced fertilizer once new growth appears, usually in late spring. Avoid over-fertilizing, as it can harm young leaves.
Yes, lightly prune damaged or dead leaves to encourage healthy growth. Avoid heavy pruning until after the first bloom.
Use organic insecticidal soap or neem oil for aphids and mites. Regularly inspect leaves for early signs of infestation.
Consider daisies or coneflowers for similar leafy growth and easy care in spring gardens.
