
Beautiful Plants For Your Interior
Beautiful Plants For Your Interior
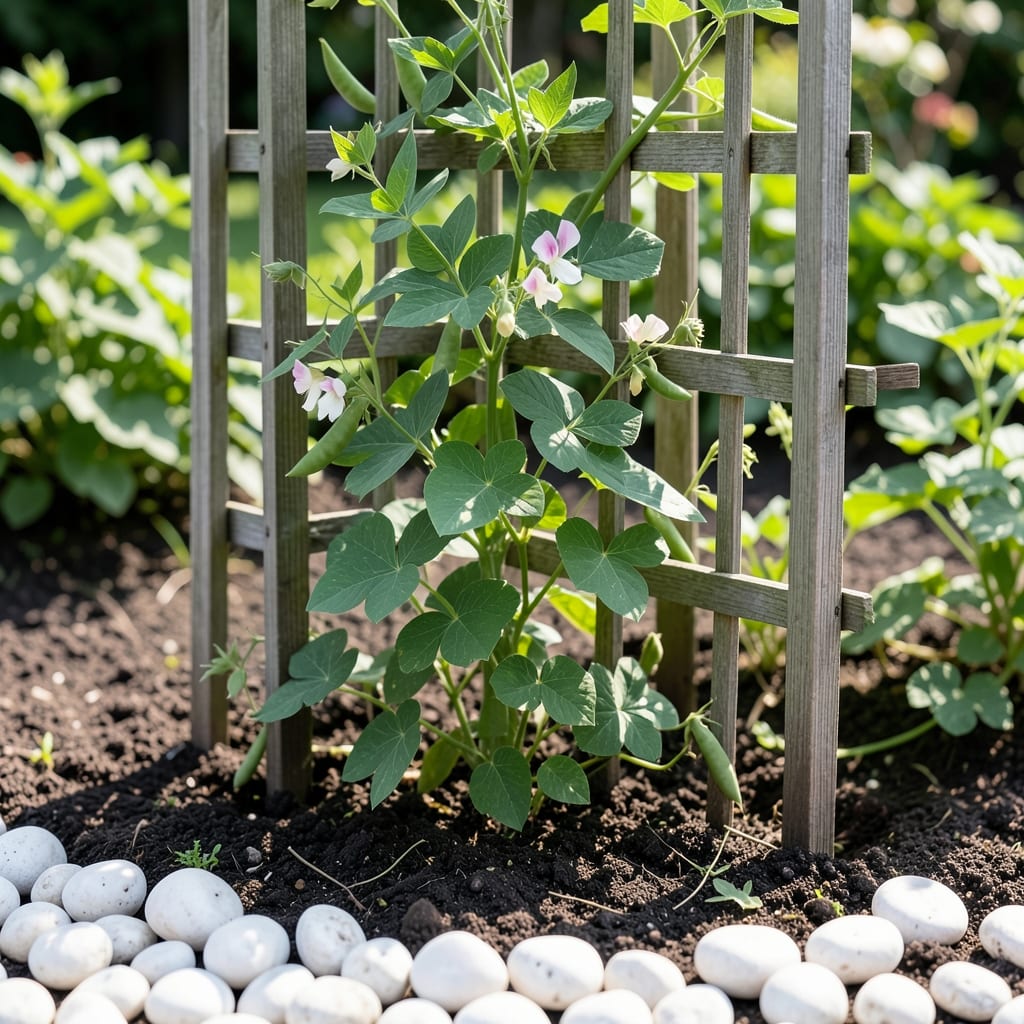
White pea pebbles transformed my garden pathways from muddy messes to elegant walkways. 🌿 These smooth, rounded stones create a clean, modern look that brightens any outdoor space while suppressing weeds naturally.
They last for years without fading or breaking down, and maintenance is as simple as occasional raking. Pair them with drought-tolerant plants like lavender or ornamental grasses for a polished, low-upkeep landscape.
📚 In This Guide
Here’s the method I’ve perfected for creating a durable, attractive pathway that stays pristine for years.
Start by outlining the pathway shape with a garden hose or spray paint. I always walk the proposed path first to ensure it feels natural—nothing looks worse than a straight line that cuts awkwardly through your landscape. Aim for a width of at least 3 feet to accommodate comfortable foot traffic.
Check for underground utilities before digging, even for shallow projects. A quick call to your local utility locating service prevents costly mistakes. The pea gravel will settle ½ inch over time, so account for this in your final height planning.
Excavate the marked area to a depth of 4-6 inches, removing all vegetation and large rocks. The base must be perfectly level—use a carpenter’s level and a long, straight board to check your work. I’ve found that compacting the soil with a hand tamper at this stage prevents future settling that creates uneven surfaces.
Lay down landscape fabric to block weeds while allowing drainage. Overlap edges by 6 inches and secure with landscape staples. Here’s the thing—cheap fabric tears easily, so invest in a heavy-duty grade that will last 10+ years under the gravel.
Add a 2-3 inch layer of crushed stone or road base gravel. This creates a stable foundation that prevents the pea pebbles from shifting underfoot. Use a rake to spread it evenly, then compact it thoroughly with a plate compactor or hand tamper.
Water the base layer lightly to help it settle before adding the final pea pebble layer. You’ll see the surface firm up as the water drains through—this is your signal that the base is properly compacted. Don’t skip this step (I learned the hard way when my first pathway developed ruts within months).
Spread the white pea pebbles in an even layer about 1-2 inches deep. Use a metal rake to distribute them uniformly, then switch to a plastic rake for final leveling to avoid damaging the pebbles. The uniform size of pea gravel makes this easier than with irregular stones.
Walk over the entire surface to press the pebbles into the base layer. You’ll notice the gravel shifts slightly underfoot—this is normal. Add more pebbles to any low spots until the surface is perfectly even. The finished pathway should have a slight crown (higher in the center) for drainage.
Install edging material to contain the pea pebbles and create a crisp border. Plastic or metal landscaping edging works well, but I prefer natural stone for a more organic look. Bury the edging so at least 1 inch is below soil level to prevent the pebbles from migrating into adjacent planting areas.
Sweep the entire pathway with a stiff broom to remove any dust or debris. This final step brings out the bright white color of the pebbles and gives the pathway that polished look. Real talk: the first rain will wash away any remaining dust, so don’t stress about getting it perfect immediately.
Small details make the difference between a pathway that lasts and one that fails within months.
Layout Wisdom: In Step 1, when marking your pathway, walk it multiple times at different angles. I’ve seen too many homeowners realize too late that their straight path looks unnatural from the house. That 3-foot width isn’t just for comfort—it prevents erosion at the edges from foot traffic.
Base Layer Critical: The 4-6 inch excavation depth in Step 2 isn’t arbitrary. Shallower bases lead to shifting and ruts, while deeper ones waste materials. Use that carpenter’s level religiously—an uneven base will telegraph through to the finished surface no matter how well you compact.
Water Test Insight: That light watering in Step 3 serves two purposes: it reveals low spots that need more gravel and helps the base settle before the pea pebbles go down. Confession: I skipped this once and spent a weekend redoing a pathway that looked like a washboard after the first rain.
Drainage Secret: The slight crown mentioned in Step 4 is non-negotiable. Aim for about ¼ inch of slope from center to edge. Without it, you’ll have standing water that turns your beautiful white pebbles into a muddy mess during heavy rains.
Rake the area smooth, lay landscape fabric to block weeds, then spread a 2–3 inch layer of pebbles. Use a tamper to settle them and create a stable, even surface.
They’re low-maintenance! Rake occasionally to keep them even and top up if they scatter. Remove debris to prevent stains.
Consider black or rainbow pea gravel, decomposed granite, or mulch for a different look. Each offers unique texture and color options.
Yes, they may accumulate dust or algae. Rinse with water or use a leaf blower to keep them looking fresh and bright.