
Beautiful Plants For Your Interior
Beautiful Plants For Your Interior
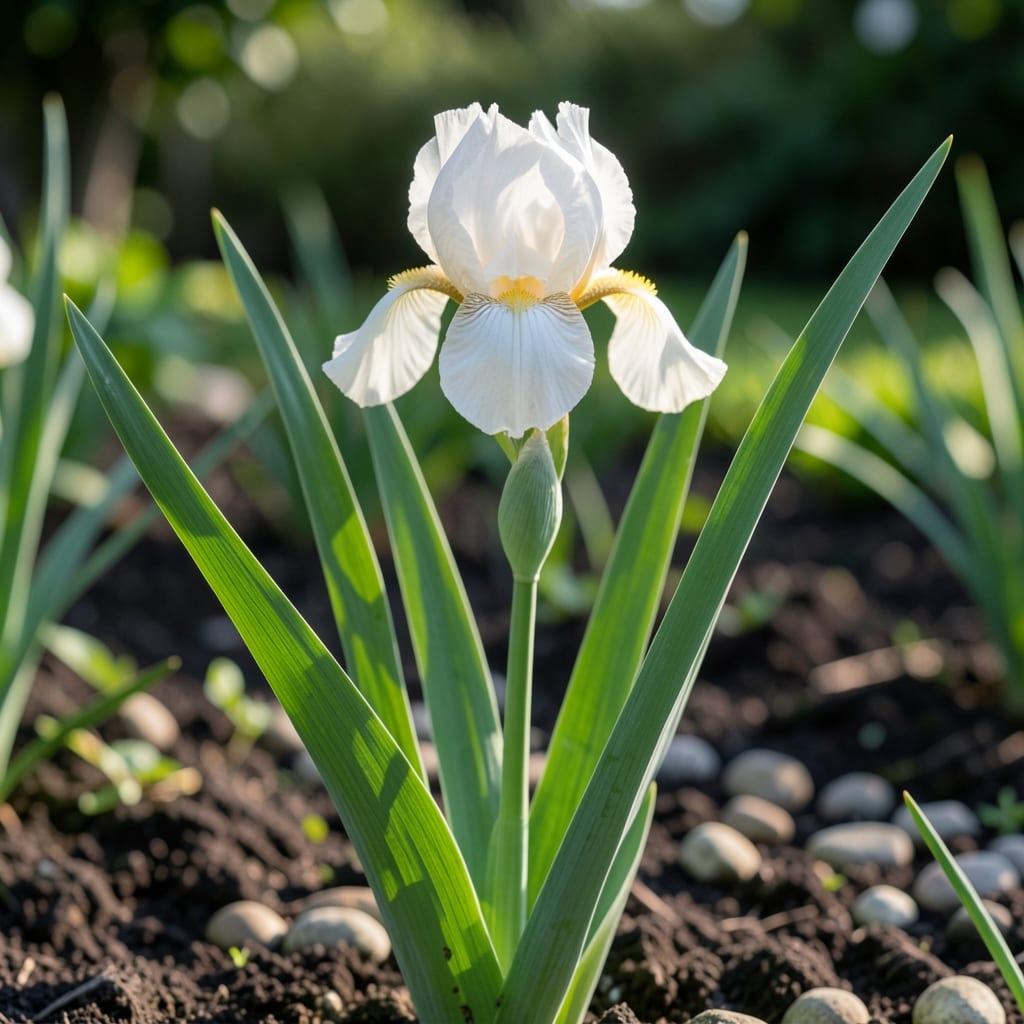
White Dutch iris brings elegant spring blooms with minimal effort. I planted my first batch three seasons ago, and they’ve returned bigger and better each year.
These thrive in full sun with well-draining soil, and their crisp white petals contrast beautifully against deep green foliage. Plant the bulbs in fall for stunning early spring color with almost no maintenance.
📚 In This Guide
Here’s the method I rely on for robust blooms that return year after year.
White Dutch iris thrive in full sun to partial shade, so select a location that receives at least 6 hours of direct sunlight daily. The soil should be well-draining to prevent bulb rot—clay-heavy ground is a death sentence. I always amend the area with compost to improve drainage and fertility before planting.
Test drainage by digging a 12-inch deep hole and filling it with water. If it drains within 1 hour, you’re good to go. If not, work in sand or perlite to lighten the soil. The ideal pH is 6.0-7.0, slightly acidic to neutral.
Plant bulbs in early fall, about 6-8 weeks before the first hard frost. This gives them time to establish roots before winter. Set each bulb 4-6 inches deep (measure from the base of the bulb) and space them 3-6 inches apart—closer for a dense display, farther for naturalizing.
I place bulbs with the pointed end facing upward. If you’re unsure which end is up, plant it sideways; the shoot will find its way. Cover with soil and water thoroughly to settle the ground and eliminate air pockets around the bulbs.
After planting, water deeply to encourage root growth. White Dutch iris need consistent moisture during their active growth period. I check the soil weekly—if the top 2 inches feel dry, it’s time to water. Avoid overhead watering to prevent fungal diseases on the foliage.
Apply a 2-3 inch layer of mulch (straw or shredded leaves work well) after the ground freezes to insulate the soil and protect bulbs from temperature fluctuations. This is especially important in colder climates where winter temps drop below 20°F.
As soon as shoots emerge in early spring, remove the mulch gradually to allow the sun to warm the soil. I apply a balanced, low-nitrogen fertilizer (like 6-6-6) when the shoots are 2-3 inches tall to support flower development. Avoid high-nitrogen fertilizers, which promote leafy growth at the expense of blooms.
Stake tall flower stems if needed, as White Dutch iris can reach 18-24 inches and may topple in wind or rain. I use thin bamboo stakes and soft twine to support the stems without damaging them.
After the flowers fade, deadhead by cutting back the flower stems to the base, but leave the foliage intact. The leaves continue photosynthesizing to feed the bulb for next year’s growth. I wait until the foliage turns yellow and dies back naturally (usually by early summer) before removing it.
Divide clumps every 3-4 years if blooms become sparse or crowded. Dig up the bulbs after foliage dies back, separate offsets, and replant immediately. This rejuvenates the planting and ensures consistent, vibrant blooms each spring.
Small details make the difference between lackluster blooms and a stunning spring display.
Site Preparation: That 6 hours of daily sunlight isn’t negotiable—these bulbs will produce weak, sparse blooms in deep shade. I learned this the hard way after planting a batch under a dense tree canopy. Test your soil’s drainage exactly as described: a 12-inch deep hole should empty in 1 hour or less, or you risk bulb rot.
Planting Precision: The 4-6 inches deep and 3-6 inches apart guidelines in Step 2 are critical. Too shallow, and bulbs may heave out of the ground during freeze-thaw cycles. Too deep, and they’ll struggle to emerge in spring. If you’re unsure about bulb orientation, remember: sideways planting works perfectly—the shoot will right itself.
Winter Care: Don’t skip the 2-3 inch mulch layer in Step 3. In climates where temperatures drop below 20°F, this insulation prevents the soil temperature fluctuations that can damage or kill bulbs. Apply it after the ground freezes, not before, to avoid trapping heat that could trigger premature growth.
Post-Bloom Maintenance: Resist the urge to cut back foliage immediately after flowering. Those leaves are solar panels, feeding the bulb for next year’s display. I mark my calendar for early summer as the safe removal time, when foliage turns yellow and dies back naturally as mentioned in Step 5.
Plant bulbs 4-6 inches deep in well-draining soil, 3-6 inches apart, in full sun to partial shade. Water thoroughly after planting and keep the soil moist but not soggy. Ideal for fall planting in most regions.
Expect elegant white blooms in early to mid-spring, typically 12-16 weeks after planting. Flowering lasts 2-3 weeks, adding a crisp, timeless look to your garden.
Consider white crocuses or Snowdrops (Galanthus) for similar early-spring charm. For taller elegance, try white tulips or Daffodils. Each offers unique beauty with low maintenance.
Common causes include insufficient sunlight, poor drainage, or planting too shallow. Ensure bulbs are deep enough and in a sunny spot. Overcrowding or nutrient-poor soil can also delay blooms.