
Beautiful Plants For Your Interior
Beautiful Plants For Your Interior
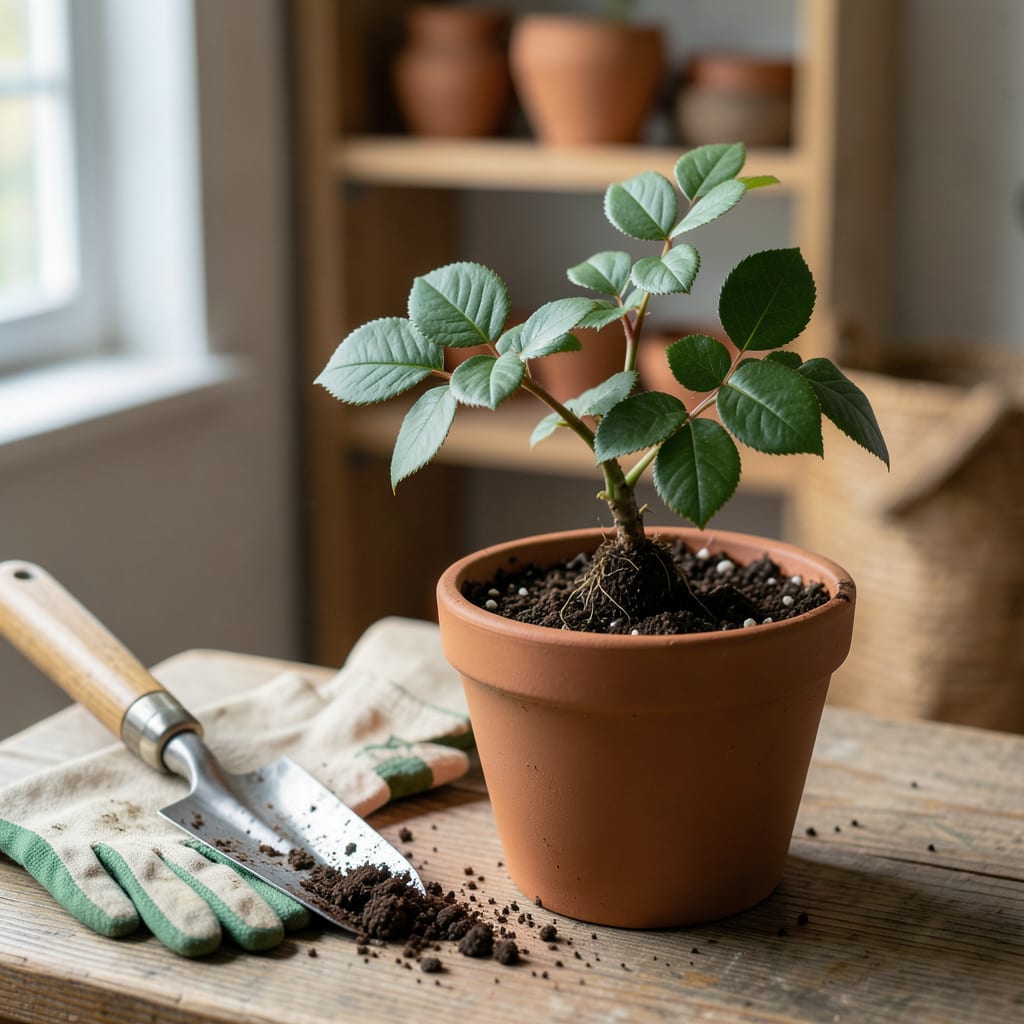
That moment when your 🌱 propagated cuttings finally sprout roots feels like magic—until you realize one wrong move could ruin everything. Transplant too early, and they’ll drown or rot. Wait too long, and growth stalls before they even begin.
I’ve lost count of how many cuttings I’ve killed by guessing instead of watching for the 5 key signs they’re truly ready. The good news? It’s easier than you think to get it right. Let’s break down exactly what to look for—and how to make the move without the heartbreak.
Timing is everything when moving your propagated cuttings into soil. Too early, and they’ll struggle to survive. Too late, and they’ll become root-bound or weak. I’ve learned the hard way that patience pays off—but how do you know when it’s finally time? Let’s break it down.
The key is watching for root development and new growth patterns. Unlike seeds, propagated plants give you visual clues—like root length and leaf vigor—that signal they’re ready. Ignore these, and you risk transplant shock or stunted growth.
Pro Tip: Succulents and snake plants need shorter roots (1-1.5 inches), while pothos and coleus thrive with longer roots (3+ inches).
Let’s talk about root color and texture. Healthy roots are white or light tan, not brown or mushy. If you spot black spots or a foul smell, your cutting has root rot—hold off on transplanting and trim the damaged parts first.
Another telltale sign? Leaf development. If your cutting has 2-3 new leaves since propagation, it’s likely ready. But watch for yellowing or wilting—these scream “I’m not ready!” and mean you should wait another week or two.
For water-propagated plants, the transition to soil can be jarring. I always harden off my cuttings by placing them in a humid environment (like a plastic bag or dome) for 3-5 days before transplanting. This reduces shock and boosts survival rates.
Don’t forget the tug test! Gently pull on the stem—if it resists slightly, roots are anchoring well. No resistance? It’s not ready. This simple trick has saved me from killing countless basil cuttings and rose stems over the years.
If you’re propagating in soil or perlite, check for roots poking out of the drainage holes. This is nature’s way of saying, “Hey, I need more space!” For herbs like mint or oregano, this usually happens in 3-4 weeks.
Finally, consider the season and plant type. Spring and early summer are ideal for transplanting most cuttings—warm temps and longer daylight help roots establish faster. Tropical plants (like monstera) may need higher humidity post-transplant, while woody stems (like rosemary) prefer a grittier soil mix.
Remember, every plant is different. My lavender cuttings take 6-8 weeks to root, while pothos is ready in 2-3 weeks. Keep a propagation journal to track progress—it’s the best way to learn what works for your green babies! 🌿
Now that you’ve confirmed your propagated cuttings are ready, the real challenge begins: transplanting without shock. I’ve lost count of how many pothos cuttings I’ve wilting by rushing this step. The secret? Preparation and gentleness—your plants are still babies!
Start with the right soil mix. A light, well-draining blend is non-negotiable. I use 60% potting soil, 30% perlite, and 10% coconut coir for most cuttings. For succulents or herbs, swap coir for sand or pumice to prevent rot.
Pro Tip: If leaves droop after transplanting, mist them with water and place in indirect light for 24 hours.
Before moving your cutting, pre-moisten the soil. Fill your pot ¾ full, then water until it’s damp but not dripping. Use your finger to create a small hole—just deep enough to cover the root ball without burying the stem.
Gently remove the cutting from water or propagation medium. For water roots, rinse them lightly to remove algae. Place the roots into the hole and backfill loosely—never press down. Firm the soil just enough to hold the plant upright.
After transplanting, create a humid microclimate. Cover the pot with a clear plastic bag or dome for 3-5 days. Keep it in bright, indirect light (no direct sun!). Remove the cover for 1 hour daily to prevent mold.
Watering is critical now. For the first week, check moisture daily—stick your finger 1 inch deep. If dry, water lightly. Avoid fertilizer for 2-3 weeks; fresh roots are sensitive. Watch for new growth—this means your plant is happy!
If you notice yellowing leaves or wilting, don’t panic. Trim damaged foliage and check for overwatering (soggy soil) or underwatering (dry, crumbly soil). Most cuttings bounce back in 3-7 days with proper care. 🌿
If you’ve ever debated whether to root your cuttings in water or directly in soil, you’re not alone. Both methods work, but they’re not created equal—especially when it comes to speed and success rates. I’ve tested both with everything from pothos to rosemary, and the differences might surprise you.
Water propagation is easier to monitor—you can see roots growing in real time—but it’s not always faster. Soil propagation often produces hardier roots that transition better to permanent homes. The best method depends on your plant type, environment, and even your patience level. Let’s compare the two head-to-head.
| Method | Root Speed | Success Rate | Transplant Shock | Best For |
|---|---|---|---|---|
| Water Propagation | 2-4 weeks (visible roots) | 80-90% (high rot risk) | Moderate (roots adapt to soil) | Pothos, mint, coleus |
| Soil Propagation | 3-6 weeks (hidden roots) | 70-85% (less rot, more drying) | Low (roots already in soil) | Succulents, rosemary, lavender |
| Hybrid (Water → Soil) | 3-5 weeks (combined) | 85-95% (best of both) | Mild (gradual transition) | Monstera, philodendron, basil |
Note: Success rates assume ideal conditions (warmth, humidity, proper light). Woody stems (like rosemary) root slower in water but thrive in soil.
From my experience, water propagation is faster for herbaceous plants like mint or basil, but the roots are often weaker and more prone to shock. Soil-propagated cuttings, like my lavender experiments, take longer but develop sturdier root systems that handle transplanting like champs.
The hybrid approach—starting in water, then moving to soil—gives you the best of both worlds. I use this for monstera and philodendron cuttings. The trick? Transplant when roots are 1-2 inches long, not longer. Waiting too long makes the transition harder, as water roots are different in structure from soil roots.
For succulents and woody herbs, skip water entirely. I’ve had zero success rooting rosemary or thyme in water—they rot every time. Soil propagation with a gritty mix (50% perlite) works far better. The same goes for snake plants; they prefer dry conditions and hate soggy roots.
If you’re propagating in high humidity (like a greenhouse), soil propagation often wins. But for indoor growers with dry air, water propagation’s visibility helps you monitor progress and catch issues early. Whichever method you choose, consistency is key—don’t switch mid-process! 🌿
Most cuttings need 2-3 inches of root growth before transplanting. For succulents or snake plants, 1-1.5 inches is enough. Check for white, firm roots—if they’re mushy or black, wait and trim damaged parts first.
Early morning or late afternoon is ideal to reduce stress. Avoid midday heat, which can cause wilting. If moving indoors, choose a time when temps are stable (not right after watering or during drafts).
Regular potting soil is often too dense. Mix 60% potting soil with 30% perlite and 10% coconut coir for drainage. For succulents or herbs, add sand or pumice to prevent rot.
Wilting usually means transplant shock. Check for overwatering (soggy soil) or underwatering (dry soil). Mist leaves, provide indirect light, and cover with a plastic bag for 3-5 days to boost humidity. Most recover in a week!
Yes! Water roots are fragile. Harden off cuttings in a humid environment for 3-5 days before transplanting. Use a light soil mix and avoid fertilizing for 2-3 weeks to let roots adjust.
