
Beautiful Plants For Your Interior
Beautiful Plants For Your Interior
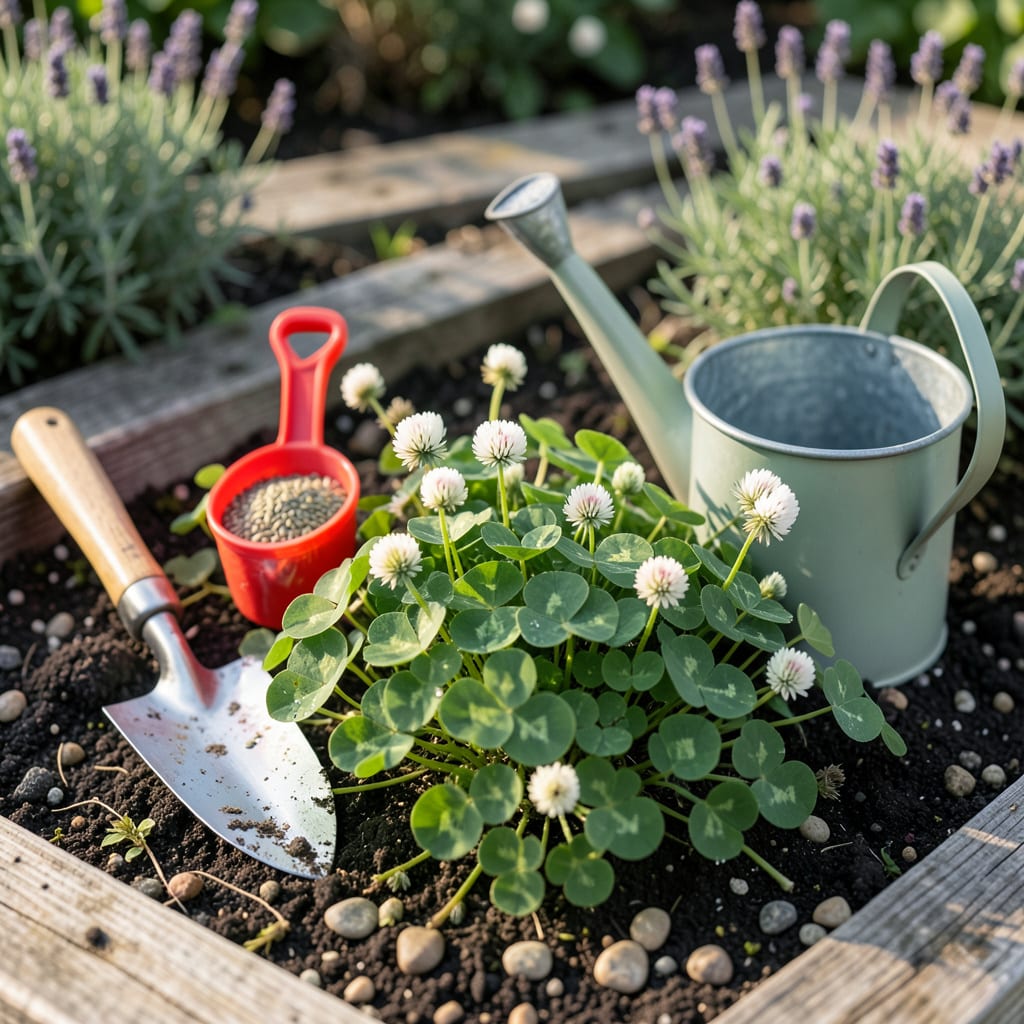
If you’ve ever struggled with patchy lawns or poor soil quality in Georgia, ☘️ White Clover might be your game-changer. This humble plant thrives in our state’s humid subtropical climate—but only if you nail the timing.
Whether you’re in the Piedmont’s rolling hills or the Coastal Plain’s sandy soils, I’ll show you the exact windows for planting success. From frost dates to soil prep tricks, we’ll cover everything you need to establish lush, resilient clover that lasts for years.
If you’re planting white clover in Georgia, timing isn’t just important—it’s the difference between a lush, nitrogen-rich meadow and a sparse, struggling patch. Georgia’s diverse climate, spanning USDA Zones 7b–9a, means your planting window shifts dramatically from the Piedmont’s clay soils to the Coastal Plain’s sandy stretches. Get it right, and you’ll enjoy a hardy, self-seeding ground cover for years.
The secret? Soil temperature—not just the calendar. White clover germinates best when soils hit 50–65°F. That’s why fall planting (August–October) often outperforms spring in Georgia, giving roots a head start before winter. But spring (March–May) can work too if you avoid late frosts. Let’s break down the region-specific windows so you can plant with confidence.
| Region | USDA Zone | Best Planting Window | Soil Prep Tip |
|---|---|---|---|
| North Georgia (Mountains) | 7a–7b | Aug 15–Sep 30 (fall) or Apr 1–May 15 (spring) | Add compost to improve drainage in clay soils. |
| Piedmont | 7b–8a | Aug 1–Oct 15 (fall) or Mar 15–Apr 30 (spring) | Test pH—aim for 6.0–7.0 before sowing. |
| Coastal Plain | 8b–9a | Sep 1–Nov 1 (fall) or Feb 15–Mar 30 (spring) | Mix in sand or organic matter to retain moisture. |
Pro Tip: Fall plantings establish 30% faster in Georgia due to cooler temps and reduced weed competition. ☘️
In the North Georgia Mountains, cooler temps mean you’ll want to plant earlier in fall (by late September) to avoid frost damage to young seedlings. Spring plantings here should wait until after April 1, when soil temps stabilize above 50°F. I’ve seen mountain gardeners lose entire patches by planting too early—don’t rush it!
The Piedmont region, home to Atlanta and Athens, offers a longer fall window (August through mid-October). This is your best bet for Dutch white clover, which thrives in the Piedmont’s moderate winters. Spring plantings here compete with summer heat, so aim for early March to give clover a fighting chance before the 90°F+ scorchers hit.
Down in the Coastal Plain—think Savannah and Valdosta—you’ve got mild winters and sandy soils that drain fast. Here, fall is king: plant by November 1 to capitalize on winter moisture. Spring plantings can work if you sow by late February, but watch for drought stress—new clover needs consistent watering in sandy soil.
No matter your region, soil prep is non-negotiable. I always recommend a soil test—Georgia’s Extension Service offers affordable kits—to check pH and nutrient levels. White clover prefers slightly acidic to neutral soil (6.0–7.0). If your pH is off, amend with lime (to raise pH) or sulfur (to lower it) at least 4 weeks before planting.
For seed depth and spacing, less is more. Broadcast seeds at ¼ inch deep—no deeper, or they’ll struggle to sprout. Aim for 2–3 lbs of seed per 1,000 sq ft for a dense stand. After sowing, lightly rake the area and press seeds into soil with a roller or your feet (yes, really!) to ensure good contact. Water gently but daily for the first 2 weeks to keep soil moist.
If you’re using white clover as a cover crop or living mulch, time your planting to align with your garden’s schedule. For winter cover, sow by early October in most regions. For summer weed suppression, a late spring planting (after veggies are established) works well—just be ready to water during Georgia’s July–August dry spells.
Finally, don’t forget about variety selection. Dutch white clover is the go-to for most Georgia gardeners—it’s heat-tolerant and persistent. For heavier grazing or erosion control, consider Ladino clover, but it may need more maintenance in our humidity. Whichever you choose, stick to the regional windows above, and you’ll be rewarded with a thriving, low-maintenance ground cover.
Georgia’s Piedmont and Coastal Plain regions couldn’t be more different when it comes to planting white clover. In the Piedmont, you’re battling heavy clay soils that drain poorly, while the Coastal Plain’s sandy loam dries out faster than you can say “drought stress.” These differences demand tailored soil prep and adjusted planting timelines—ignore them, and your clover will pay the price.
The Piedmont’s clay-heavy soils hold moisture but can suffocate clover roots if not amended. I always recommend working in 2–3 inches of compost or well-rotted manure before planting to improve drainage. Aim for a pH of 6.0–7.0—clover thrives in this range. If your soil is compacted, consider light tilling or aerating before broadcasting seeds. Timing-wise, stick to August 1–October 15 for fall or March 15–April 30 for spring to avoid summer heat stress.
Key Takeaway: Adjust watering frequency and soil amendments based on your region’s soil type. ☀️
Down in the Coastal Plain, the game changes entirely. Sandy soils drain fast, so moisture retention is your top priority. Mix in organic matter like peat moss or compost to help hold water. A light mulch (straw or pine needles) after planting can also reduce evaporation. Planting windows here are more flexible—September 1–November 1 for fall or February 15–March 30 for spring—but don’t push it. Late fall plantings risk winter washouts, while spring plantings may face early summer droughts.
For both regions, seed-to-soil contact is critical. In the Piedmont, I use a lawn roller after broadcasting to press seeds into the clay. In the Coastal Plain, a light raking followed by a straw blanket (¼ inch thick) helps protect seeds from washing away while keeping moisture in. Watering is another divide: Piedmont clover needs less frequent but deeper watering (1 inch per week), while Coastal Plain plantings thrive on shallow, frequent drinks (½ inch every 3–4 days) until established.
If you’re planting white clover as a companion crop, pair it with tall fescue or ryegrass in the Piedmont—the grasses help stabilize the soil. In the Coastal Plain, bahiagrass or centipedegrass make better partners, as they tolerate sandy soils and heat. Avoid planting clover with aggressive spreaders like Bermuda grass, which can outcompete it. For nitrogen fixation, ensure your clover isn’t overshadowed—give it at least 50% sunlight to do its job.
One mistake I see often? Skipping the soil test. Georgia’s Extension Service offers free or low-cost tests—use them! They’ll tell you if your soil lacks phosphorus or potassium, both critical for clover establishment. In the Piedmont, low pH is common; in the Coastal Plain, magnesium or calcium deficiencies might pop up. Address these 4–6 weeks before planting with amendments like lime, gypsum, or bone meal. Trust me, your clover will thank you with faster germination and denser growth.
Even with perfect timing, white clover can flop in Georgia if you fall into these common traps. I’ve seen gardeners waste time and seed by overlooking simple but crucial details. Let’s tackle the top 5 mistakes—and how to sidestep them—for a thriving clover patch.
First up: ignoring soil tests. Georgia’s soils vary wildly, from the Piedmont’s acidic clay to the Coastal Plain’s alkaline sand. Skipping a test means guessing on pH and nutrients—often badly. A $15 soil test from your local Extension office reveals exactly what amendments you need, like lime for clay or sulfur for sand.
Pro Tip: Fix these mistakes before planting—recovery is tough once seeds are down! ✂️
Another biggie? Planting the wrong variety. Not all clovers are created equal. Dutch white clover handles Georgia’s heat and humidity like a champ, while Ladino clover often wilts in our summers. For grazing or erosion control, Durana clover is a better pick—it’s drought-tolerant and persistent. Always match the variety to your goal and climate.
Watering missteps kill more clover than pests do. New seedlings need daily moisture for the first 10–14 days, but many gardeners either drown them or let them dry out. Use a soil moisture meter (or your finger!) to check the top inch of soil—keep it damp but not soggy. Once established, clover is drought-tolerant, but those first weeks are critical.
Weed competition is another silent killer. I’ve lost count of how many clover patches I’ve seen choked out by crabgrass or nutsedge. Before planting, clear the area of weeds—either by hand, with a clover-safe herbicide, or by solarizing (covering with clear plastic for 4–6 weeks). After planting, mow high (3–4 inches) to shade out weeds while letting clover establish.
Finally, don’t forget long-term maintenance. White clover is low-maintenance but not no-maintenance. In Georgia, plan to mow 2–3 times per year to encourage dense growth and prevent woody stems. If using clover as a cover crop, cut it down before it flowers to maximize nitrogen fixation. And if your patch thins over time? Overseed annually in early fall to keep it lush.
Fall planting (August–October) is ideal for most regions. Cooler temps and consistent moisture help roots establish before winter. Spring works too, but avoid late frosts and summer heat stress.
In the Piedmont, aim for early fall (August–September). Coastal areas can plant later (through October). Spring plantings should wrap up by mid-April to avoid drought.
Work in 2–3 inches of compost to improve drainage. Test pH—clover thrives at 6.0–7.0. If compacted, lightly till or aerate before sowing.
Avoid overworking the soil—just loosen the top ¼ inch for seed contact. Consider mixing with sand if drainage is very poor.
Yes, but amend with organic matter (peat moss or compost) to retain moisture. Mulch lightly with straw after planting to prevent seeds from drying out.
Water more frequently here—½ inch every 3–4 days until established. Sandy soil warms faster, so spring plantings can start earlier (late February).
Skipping the soil test! Georgia’s soils vary wildly—acidic clay in the Piedmont, alkaline sand coastally. A $15 test reveals exact amendments needed.
Other pitfalls: planting too deep (keep seeds at ¼ inch) or over-seeding (stick to 2–3 lbs/1,000 sq ft).
Keep soil consistently moist for the first 10–14 days. Use a sprinkler or mist setting to avoid washing seeds away.
After establishment, clover is drought-tolerant. In sandy areas, check moisture daily until roots take hold.
