
Beautiful Plants For Your Interior
Beautiful Plants For Your Interior
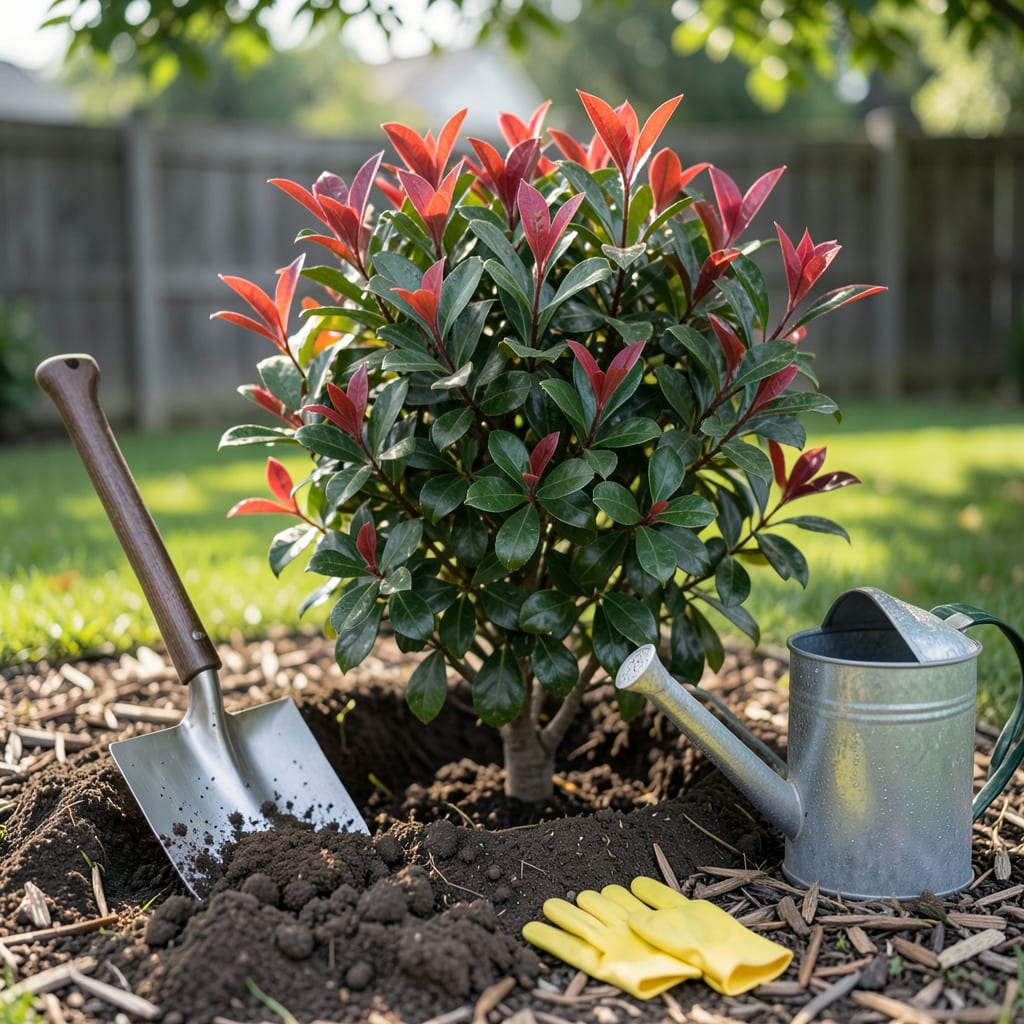
Texas heat can make or break your red tip photinia—plant at the wrong time, and you’ll battle wilting, stunted growth, or worse. The key? Timing your planting around Texas’ extreme seasons, not just the calendar.
Whether you’re in the Panhandle’s Zone 6 or the Gulf Coast’s Zone 10, I’ll break down the exact windows to get those vibrant red hedges established. No guesswork, just a zone-specific plan for lush, thriving shrubs—even in Texas’ toughest conditions.
If you’ve ever wondered why your red tip photinia struggles in Texas, timing is likely the culprit. Texas spans USDA zones 6a–10b, meaning planting windows vary dramatically from the Panhandle to the Gulf Coast. Get it wrong, and you’ll battle heat stress or frost damage before roots even establish.
In North Texas (Zones 6–8), fall planting is ideal—October to early November lets roots grow before winter. Meanwhile, South Texas (Zones 9–10) gardeners should plant in late fall or early spring to avoid scorching summers. Let’s break it down by region so you never guess again.
| Region | USDA Zones | Best Planting Time | Avoid Planting |
|---|---|---|---|
| North Texas | 6a–8a | October–November | July–August (heat) |
| Central Texas | 8a–8b | September–October or March | June–August |
| East Texas | 8a–9a | October–November (fall rains help) | May–September (humidity) |
| South Texas | 9b–10b | November–February (mild winters) | April–October (extreme heat) |
Pro Tip: In clay-heavy soils, amend with compost before planting to improve drainage and root spread.
For North Texas (Dallas, Fort Worth), aim for 4–6 weeks before the first frost (around November 15). This gives roots time to anchor before winter dormancy. I’ve seen gardeners lose shrubs by planting in late summer—the 100°F+ temps shock young plants.
In Central Texas (Austin, San Antonio), you’ve got flexibility. Fall planting (September–October) is best, but early spring (March) works if you water deeply. Avoid April–June—new plants wilt under the blazing sun before roots can keep up.
East Texas gardeners, your humidity and acidic soil are double-edged swords. Plant in fall to leverage natural rainfall, but watch for leaf spot fungus. Space shrubs 5–6 feet apart for airflow to prevent disease.
Down in South Texas (Houston, Corpus Christi), your mild winters mean you can plant as late as February. But never plant in summer—even established photinia struggles with 95°F+ heat and drought. Mulch heavily (3–4 inches) to retain moisture.
If you’re in West Texas (El Paso, Lubbock), your Zone 7–8 climate is trickier. Plant in early fall (September) to avoid late frosts (which can hit as late as April). Use windbreaks if your area gets strong spring winds.
No matter your zone, soil prep is non-negotiable. Test your soil—photinia thrives in pH 6.0–6.5. If your Texas clay is alkaline (common!), mix in sulfur or peat moss at planting. I also recommend drip irrigation for the first year to keep moisture consistent.
Finally, watering is critical for the first 3–4 months. Aim for 1–1.5 inches per week, adjusting for rain. In Zone 9–10, you might need daily watering in peak summer until roots establish. Use mulch (wood chips or pine straw) to lock in moisture and regulate soil temp.
By matching your planting time to your Texas zone and prepping the soil, you’ll give your red tip photinia the strongest start. Next, let’s dive into the step-by-step planting process to ensure those roots take off like wildfire. 🌿
Now that you know when to plant, let’s tackle the how—because even perfect timing won’t save a poorly planted shrub. I’ve seen too many Texas gardeners bury their photinia too deep or skip soil prep, only to watch their hedges struggle. Here’s my foolproof method for planting that ensures strong roots and vibrant growth.
Start by testing your soil’s pH. Red tip photinia thrives in pH 6.0–6.5, but Texas soil often leans alkaline. Grab a $10 test kit from your local nursery—if your pH is above 7.0, mix in elemental sulfur or peat moss to lower it. This one step prevents yellowing leaves and poor nutrient uptake down the road.
Never plant deeper than the root ball! Burying the trunk causes rot. Dig the hole twice as wide as the root ball but no deeper. The top of the root ball should sit 1–2 inches above ground level to allow for settling.
Pro Tip: If your soil is heavy clay (common in Texas), amend with 50% compost to improve drainage and root penetration.
When digging, make the hole 2–3 times wider than the container. This loosens the soil, encouraging roots to spread outward. Place the shrub in the hole and backfill with your amended soil mix, gently firming it around the base. Create a 3-inch water basin (a circular ridge of soil) to direct water to the roots during those critical first months.
Spacing matters—especially for hedges. For a dense privacy screen, plant shrubs 3–4 feet apart. If you want individual specimens, give them 5–6 feet of space. Crowding leads to poor airflow and fungal diseases, like the dreaded leaf spot that plagues Texas photinia in humid summers.
After planting, water deeply—until the soil is moist 12 inches down. Then, apply a 3–4 inch layer of mulch (wood chips or pine straw) to retain moisture and regulate soil temperature. Keep mulch 2 inches away from the trunk to prevent rot. In Texas heat, mulch can mean the difference between a thriving shrub and a crispy one.
For the first 4–6 weeks, water every 2–3 days (daily in Zone 9–10 summers). Use a soaker hose or drip irrigation to deliver water slowly and deeply. Avoid overhead sprinklers—they waste water and can spread fungal spores. I also recommend a balanced fertilizer (10-10-10) at planting, then again in early spring to fuel new growth.
Finally, prune lightly after planting only to remove damaged branches. Save major shaping for late winter (before spring growth). With this method, your red tip photinia will establish faster and resist Texas’ toughest conditions—heat, drought, and even the occasional freeze. Next up: the 3 critical mistakes I see Texas gardeners make (and how to avoid them). ✂️
Even with perfect timing, red tip photinia can fail if you fall into these common Texas traps. I’ve watched gardeners lose entire hedges to mistakes that are easily avoidable—once you know what to look for. Let’s tackle the top three pitfalls and how to sidestep them.
First up: overwatering in clay soil. Texas’ heavy clay holds moisture like a sponge, and drowning roots is a fast track to root rot. Stick your finger 2 inches deep—if it’s damp, hold off on watering. In Zone 9–10, water deeply but less often (every 4–5 days once established).
Quick Fix: For sunburnt leaves, apply anti-desiccant spray in summer and water at dawn to reduce evaporation.
That afternoon sun mistake is especially brutal in Central and West Texas. I’ve seen photinia leaves crisp up like autumn foliage by July when planted in unfiltered sun. If your yard lacks shade, consider temporary 40% shade cloth for the first growing season. It’s a game-changer for survival rates.
East Texas gardeners, your humidity is a double-edged sword. While it helps roots stay moist, it also invites leaf spot fungus. Combat this by watering the base (never overhead) and pruning inner branches annually. A copper fungicide spray in early spring can also prevent outbreaks before they start.
Finally, don’t let alkaline soil sabotage your shrubs. Texas’ native pH often hovers around 7.5–8.5, which locks out nutrients like iron. Yellow leaves? That’s chlorosis screaming for help. Fix it with chelated iron supplements or a yearly top-dress of composted oak leaves to naturally acidify the soil.
By dodging these three mistakes, your red tip photinia will thrive instead of just survive. Next time you’re tempted to plant and forget, remember: a little extra care now means lush, red-tipped hedges for years to come. 🌿
Fall is ideal for most of Texas (October–November), especially in Zones 6–8. Spring works in South Texas (Zones 9–10) but avoid late spring’s heat. Check your zone—fall gives roots time to establish before summer stress.
Plant shrubs 3–4 feet apart for a dense hedge. In humid areas like East Texas, stretch to 5 feet for better airflow. Tighter spacing means faster privacy but higher disease risk.
Brown edges often mean underwatering or sun scorch. In Texas heat, water deeply 2–3 times weekly and add 3 inches of mulch. Afternoon shade helps in Zone 8+.
Yes, but choose dwarf varieties and use extra-large pots (15+ gallons). Containers dry out fast—water daily in summer and move to shade when temps hit 95°F+.
Yellowing usually signals iron deficiency from alkaline soil. Treat with chelated iron or mix peat moss into the soil. Test pH—aim for 6.0–6.5 for best results.
