
Beautiful Plants For Your Interior
Beautiful Plants For Your Interior
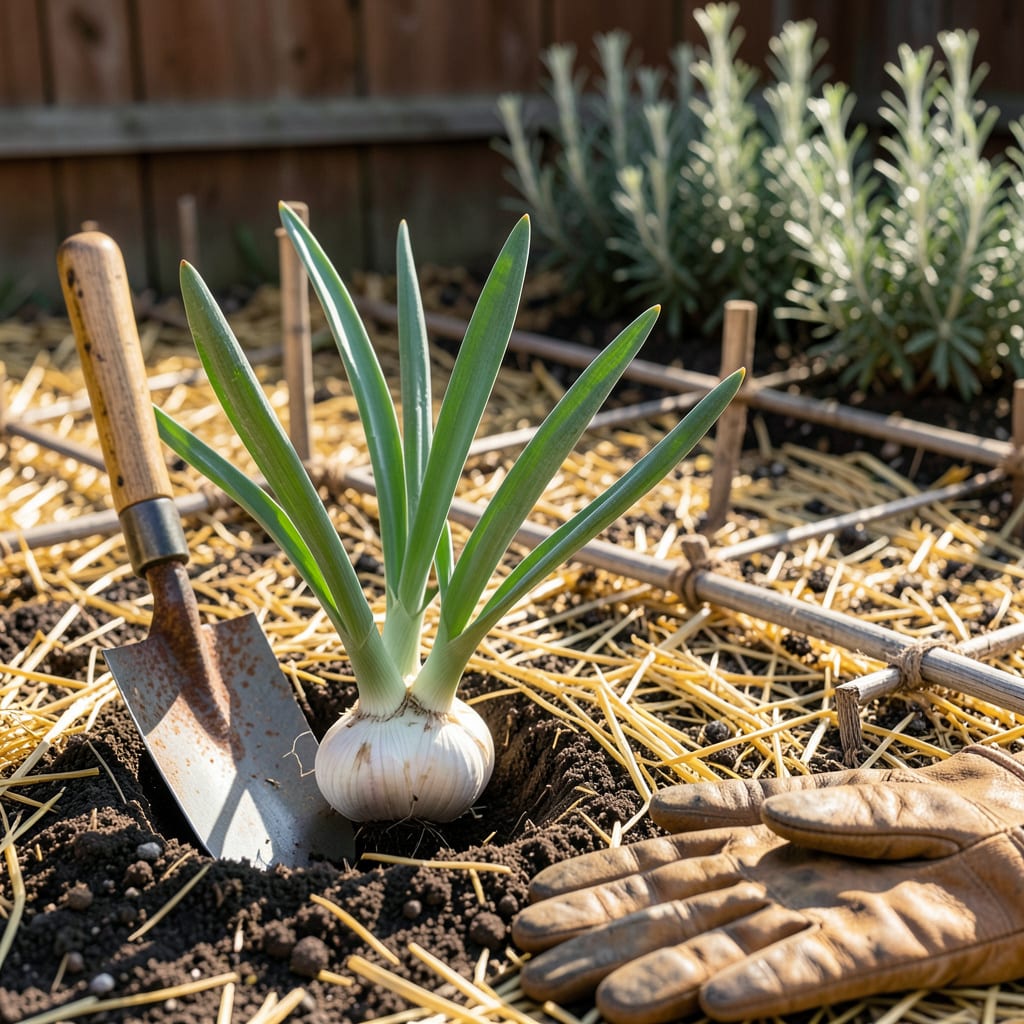
Timing is everything when it comes to growing plump, flavorful 🧄 Garlic in Zone 6. Plant too early, and your cloves might sprout prematurely; wait too long, and they’ll struggle to establish roots before winter. The difference between a mediocre harvest and bulbs that’ll make your neighbors jealous? Just a few weeks in fall.
I’ve tested this firsthand in Zone 6, and the sweet spot is narrower than you’d think. Skip the guesswork—I’ll show you exactly when to get those cloves in the ground for maximum yield, plus the simple prep steps that ensure they thrive. No green thumb required—just the right timing and a little know-how.
If you want garlic bulbs so big they’ll make your garden the talk of the neighborhood, timing your Zone 6 planting is non-negotiable. The magic happens in fall, specifically 4-6 weeks before your first hard frost. For most of Zone 6, that means early October is your golden window.
Why fall? Garlic needs a cold period (vernalization) to split into those plump cloves we love. Plant too early, and you’ll get premature sprouting; too late, and roots won’t establish before winter. Aim for soil temps around 50-60°F—cool enough to prevent shooting but warm enough for root growth.
| Stage | Action | When |
|---|---|---|
| Soil Prep | Loosen soil, add compost | Late September |
| Plant Cloves | 2″ deep, 6″ apart | Early October |
| Mulch | 4-6″ straw/hay | Mid-October |
| First Frost | Protect with extra mulch | Mid-November |
Adjust dates by 1-2 weeks for Zone 6a (earlier) vs. 6b (later).
In Zone 6, early October is your bullseye, but I’ve had great success planting as late as November 1st in milder microclimates. The key? Soil temperature, not just calendar dates. Use a soil thermometer—if it’s consistently below 60°F, it’s go time.
Fall-planted garlic outperforms spring-planted every time in Zone 6. Why? The cloves develop stronger root systems over winter, leading to larger bulbs come harvest. Spring planting often yields smaller cloves because the plants lack that critical cold period for bulb formation.
Don’t stress if your first frost date varies—Zone 6 spans a wide range. In colder areas (like Zone 6a), aim for late September to early October. In warmer pockets (Zone 6b), you can push it to mid-October. When in doubt, plant earlier; garlic can handle a light frost once established.
Here’s my pro tip: Soak cloves in a 1 tbsp baking soda + 1 gallon water solution for 30 minutes before planting. This simple step prevents fungal issues and gives your garlic a head start. Trust me, it’s worth the extra 5 minutes!
What if you miss the fall window? You can* plant in early spring (March), but you’ll need to pre-chill cloves in the fridge for 4-6 weeks first. Results won’t be as impressive, but it’s better than skipping garlic entirely! Just don’t expect those jumbo bulbs fall planting delivers.
Remember, garlic is a long-term investment—it’ll be in the ground for 8-9 months before harvest. But that patience pays off when you’re pulling up plump, paper-wrapped bulbs next summer. Mark your calendar now: October 1st is Garlic Day in my Zone 6 garden!
Up next, I’ll walk you through the exact step-by-step planting process, from soil prep to mulching, so your garlic gets the best possible start. No fluffy advice—just the dirty-handed details that make a difference. 🪴
Now that you know when to plant in Zone 6, let’s dig into the how. The difference between a so-so harvest and monster bulbs often comes down to these key steps. I’ve refined this method over years of Zone 6 garlic growing—no fluff, just what works.
Start with soil prep. Garlic hates soggy feet, so well-draining soil is non-negotiable. I loosen my beds to 12 inches deep and mix in 2-3 inches of compost. A slightly acidic to neutral pH (6.0-7.0) is ideal. Test yours with a $10 soil kit—it’s the best investment you’ll make.
Pro tip: Label rows with variety names—you’ll forget by spring!
Here’s where most gardeners mess up: clove selection. Never use grocery store garlic—it’s often treated to prevent sprouting. Instead, order seed garlic from reputable suppliers. I swear by hardneck varieties like Music or Chesnok Red for Zone 6—they handle cold better and pack more flavor.
Planting depth is critical. Too shallow, and winter heaving can push cloves out of the ground. Too deep, and they’ll rot. I use a 2-inch rule: measure from the clove’s shoulder (where it meets the stem) to the soil surface. Press cloves firmly into the soil—no air pockets!
Mulching is your garlic’s winter coat. In Zone 6, straw is king—it insulates without compacting. Avoid leaves (they mat down) or plastic (traps too much moisture). Apply after planting but before hard frost. I add an extra inch in late November if we get a cold snap.
Watering post-planting is often overlooked. Give your garlic 1 inch of water weekly until the ground freezes. This encourages root growth before dormancy. Stop watering once frost hits—garlic needs dry winter conditions to prevent rot. Come spring, resume when you see green shoots (usually March).
Finally, resist the urge to fertilize at planting. Garlic needs phosphorus for root development, not nitrogen. I side-dress with bone meal (1 tbsp per plant) in early spring when shoots are 6 inches tall. Skip high-nitrogen fertilizers—they’ll give you lush tops but tiny bulbs. 🌱
Not all garlic thrives equally in Zone 6’s climate. The secret to a bountiful harvest starts with picking the right type. In our region, you’ve got two main players: hardneck and softneck garlic. Each has its perks—and its quirks.
Hardneck varieties are my top pick for Zone 6 because they love the cold. They produce fewer but larger cloves, wrapped in a stiff central stem (hence the name). Their bold, complex flavors make them a chef’s favorite. The trade-off? Shorter storage life—usually 4-6 months compared to softnecks.
| Feature | Hardneck | Softneck |
|---|---|---|
| Cold Tolerance | ⭐⭐⭐⭐⭐ | ⭐⭐⭐ |
| Clove Count | 4-12 large | 12-20 small |
| Storage Life | 4-6 months | 8-12 months |
| Flavor | Bold, spicy, complex | Milder, consistent |
| Best For | Cold climates, gourmet use | Braiding, long storage |
Zone 6 winner: Hardnecks for flavor, softnecks for storage.
For Zone 6 gardeners, I recommend starting with ‘German White’ hardneck—it’s a powerhouse. This variety handles our freeze-thaw cycles like a champ and produces jumbo cloves with a rich, spicy kick. Another favorite? ‘Music’, which stores slightly longer than most hardnecks while keeping that gourmet flavor.
If you’re after longer storage, try ‘Silverskin’ softneck. It’s the most cold-tolerant of the softnecks and can last up to 12 months in proper conditions. Just know you’ll sacrifice some flavor intensity. For a middle-ground option, ‘Lorz Italian’ softneck offers decent cold hardiness with a milder taste that’s great for roasting.
Here’s my pro tip: Plant both types! I dedicate 70% of my bed to hardnecks for eating fresh and 30% to softnecks for storage. This way, I’ve got bold-flavored bulbs for summer cooking and keeper garlic that lasts until next year’s harvest. Label your rows—you won’t remember which is which by July! 🌱
Planting before late September risks premature sprouting, which weakens the plant before winter. Early shoots are vulnerable to frost damage and often produce smaller bulbs. Stick to the 4-6 week pre-frost window for best results.
No—most store-bought garlic is treated to prevent sprouting. It may also carry diseases. Always use certified seed garlic from reputable suppliers. Varieties like ‘German White’ are bred for Zone 6’s climate.
Check for green shoots emerging in early spring (March). Gently brush away mulch—healthy cloves will have firm roots. If cloves feel mushy, they likely rotted from excess moisture.
Straw is ideal—it insulates without compacting. Apply 4-6 inches after planting but before hard frost. Avoid hay (seeds!) or leaves (they mat down). Extra mulch in late November protects during deep freezes.
